

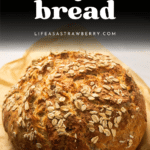
This no-knead oat bread is baked in a Dutch oven for a crispy outer crust and a soft interior. Rolled oats help this bread feel hearty, while honey adds a touch of sweetness. Ready in just a few hours!

This easy recipe makes a rich, soft bread with great flavor. It's perfect for sandwiches, on its own with a bit of butter, or alongside your favorite soup recipes. The dough can feel a bit sticky at first, but the oats soak up a ton of water as they sit, so you'll notice the texture of the dough change a bit as it rises.
PS: If you're new to bread-making, we always recommend starting with our beginner-friendly no-knead bread recipe to get a feel for the process before tackling more complicated loaves!
Find in-depth baking resources (with no ads!) in our Everyday Artisan Bread course. And don't forget: The most important ingredient in homemade bread is practice.
Baking timeline
This recipe takes about 3 hours start-to-finish. Here's a quick overview:
- Mix the dough: 15 minutes
- First rise: 1 hour*
- Shape the loaf: 10 minutes
- Final rise: 30 minutes*
- Bake: 40 minutes*
*Inactive time
Ingredients
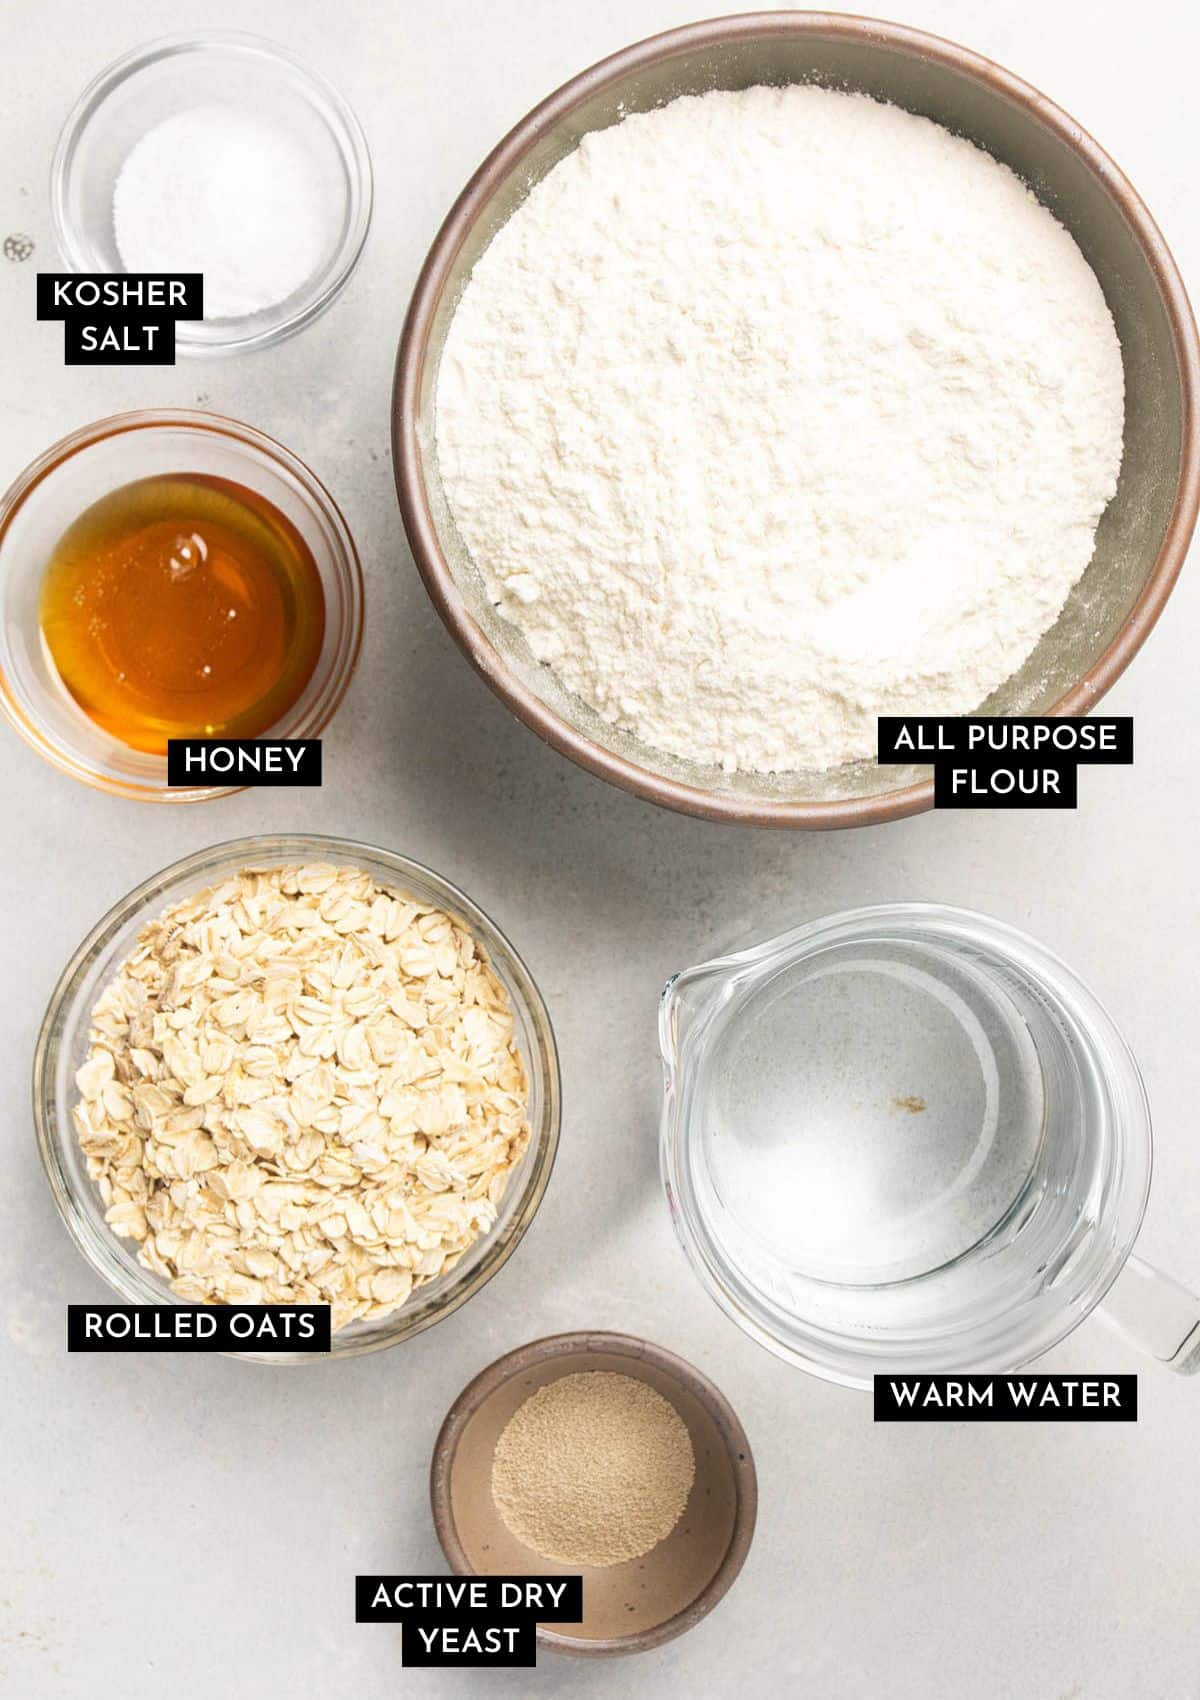
Find a full ingredients list with exact quantities in the recipe card below.
- All purpose flour is our go-to for homemade bread recipes, because we find it's what most home bakers have readily available. You can use bread flour instead if you like. We always recommend using a high-protein flour like King Arthur for best results.
- Whole rolled oats. Look for old fashioned, whole rolled oats (not quick oats or instant oats). We tested this recipe with Bob's Red Mill Old Fashioned Rolled Oats.
- Warm water. Use water that's “warm to the touch,” about 95° to 110° Fahrenheit.
- Honey. If you don't have honey, you can use brown sugar or molasses in its place with similar results.
Use a kitchen scale
Measuring ingredients like flour by volume (with cups) is notoriously unreliable. Because each person fills a cup of flour a little bit differently, it's easy to accidentally use too much in a recipe and end up with dry, dense bread.
But when you use a kitchen scale to measure by weight (in grams), you get a perfect measurement every time. So if you have a kitchen scale, please use it! (No kitchen scale? Measure ingredients like flour with the scoop and level method for best results!)
Step by step instructions
Mix the dough & first rise
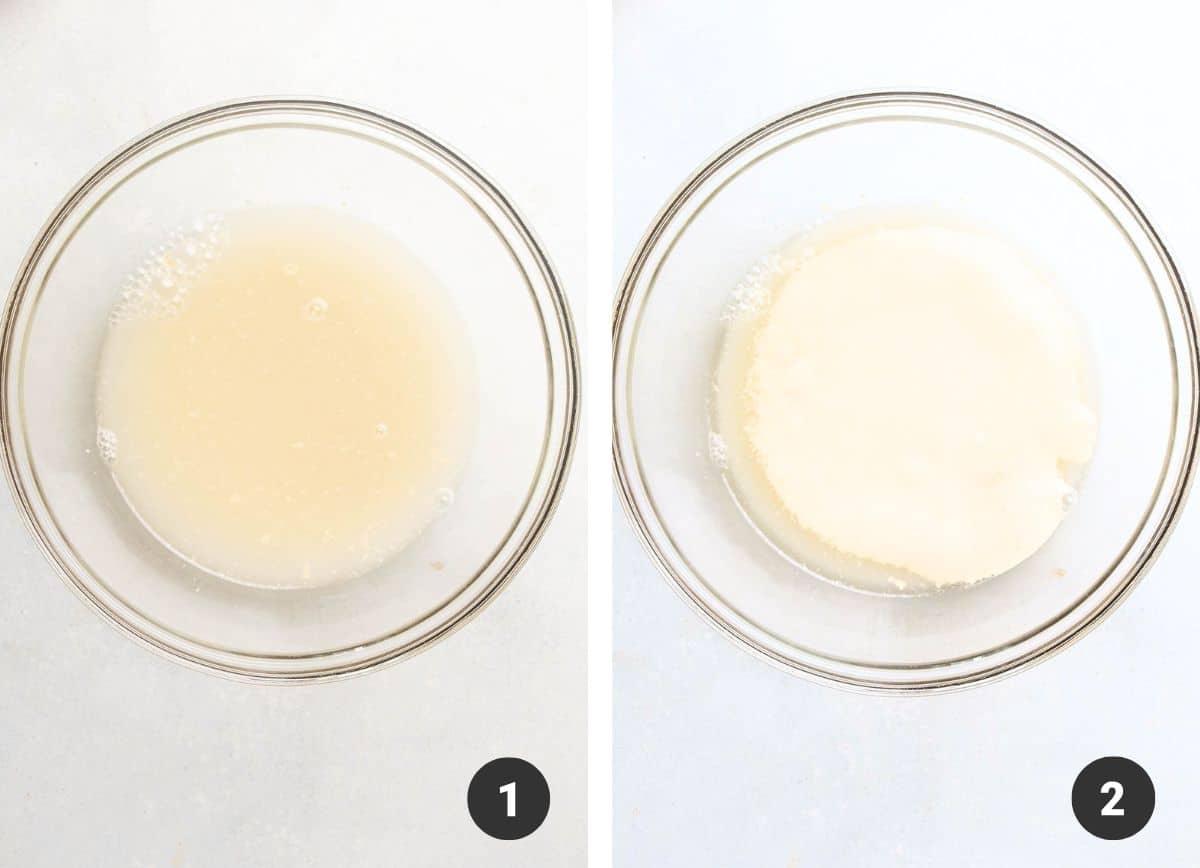
Proof active dry yeast in a large mixing bowl with warm water and honey until it's foamy.
Equipment note: We prefer mixing bread dough by hand with a sturdy spoon or spatula; you can also use a stand mixer fitted with the dough hook attachment.
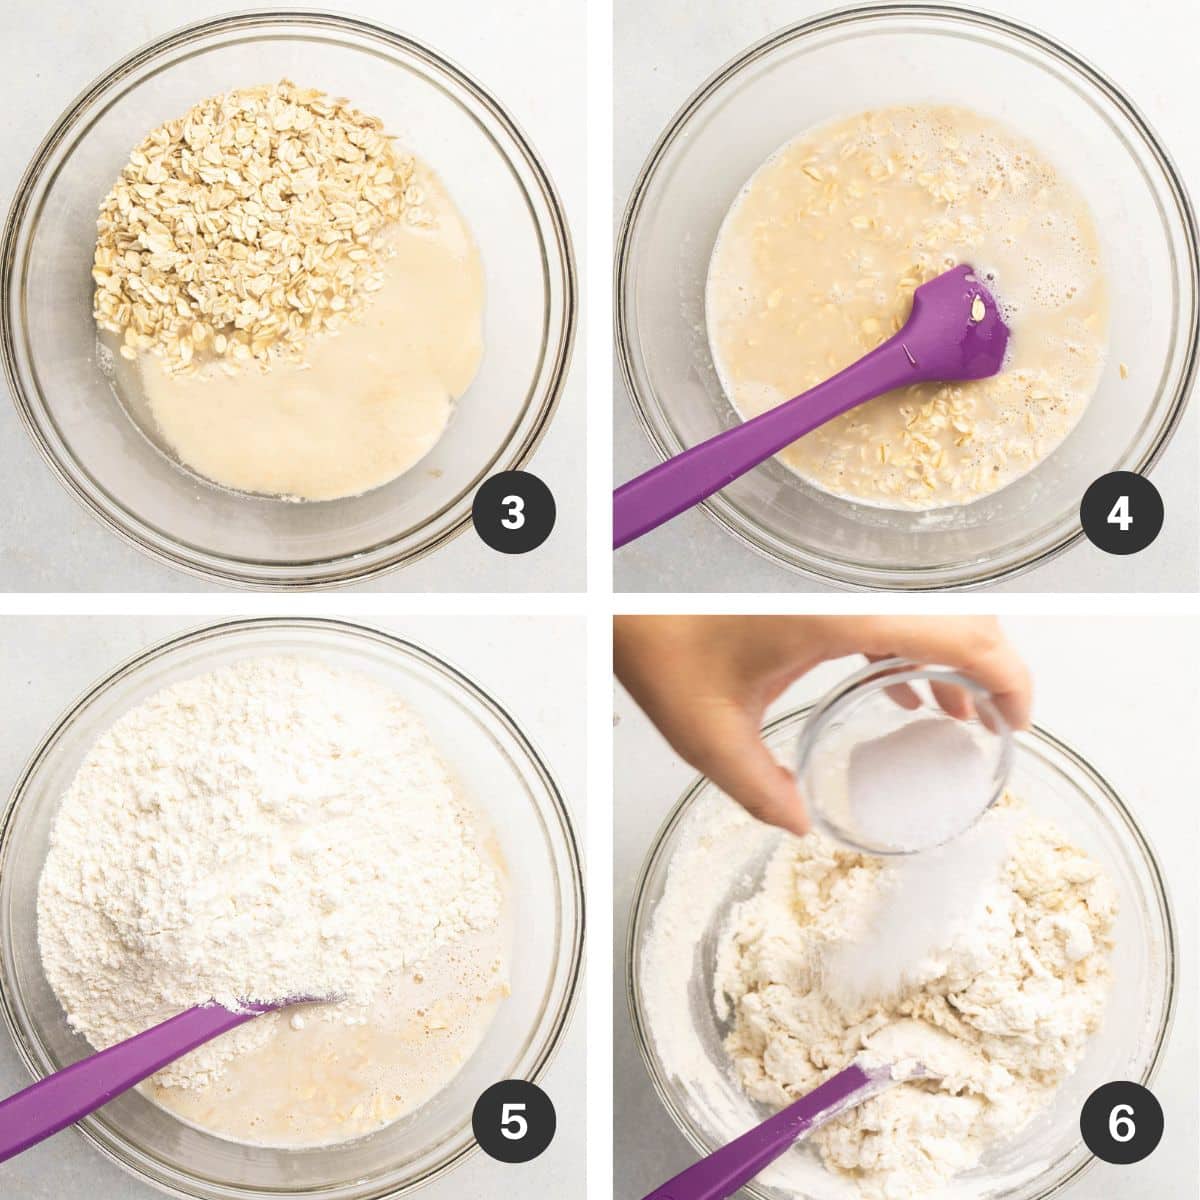
Stir oats into the yeast mixture, then add flour. Stir until the flour is about halfway incorporated, then sprinkle kosher salt across the surface of the dough. Continue stirring until the dough is uniform and no dry flour remains.
You'll have a shaggy, sticky dough right after mixing. It won't form a tight, elastic ball or pull away from the sides of a mixing bowl: That's ok! Our goal is just to make sure all of the flour is saturated with water. The oats will also absorb moisture from the dough as it sits, so you'll notice the dough feels a bit thicker after it has some time to rise.
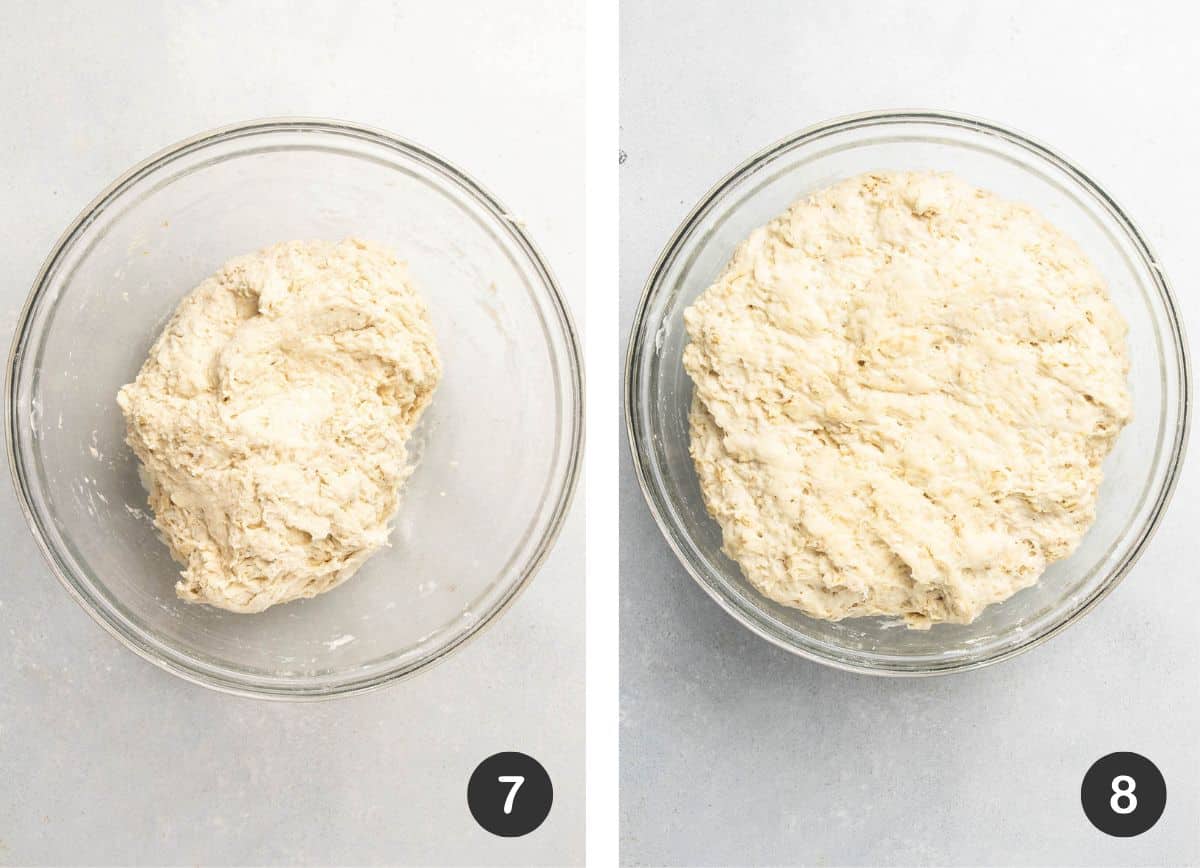
Cover the bowl with a clean tea towel (or a piece of plastic wrap) and let dough rise at room temperature for about an hour, until roughly doubled in size.
Note: Exact rise time can vary depending on temperature. Dough will rise more quickly in warm temperatures; cooler weather can slow this process down.
Shape the loaf
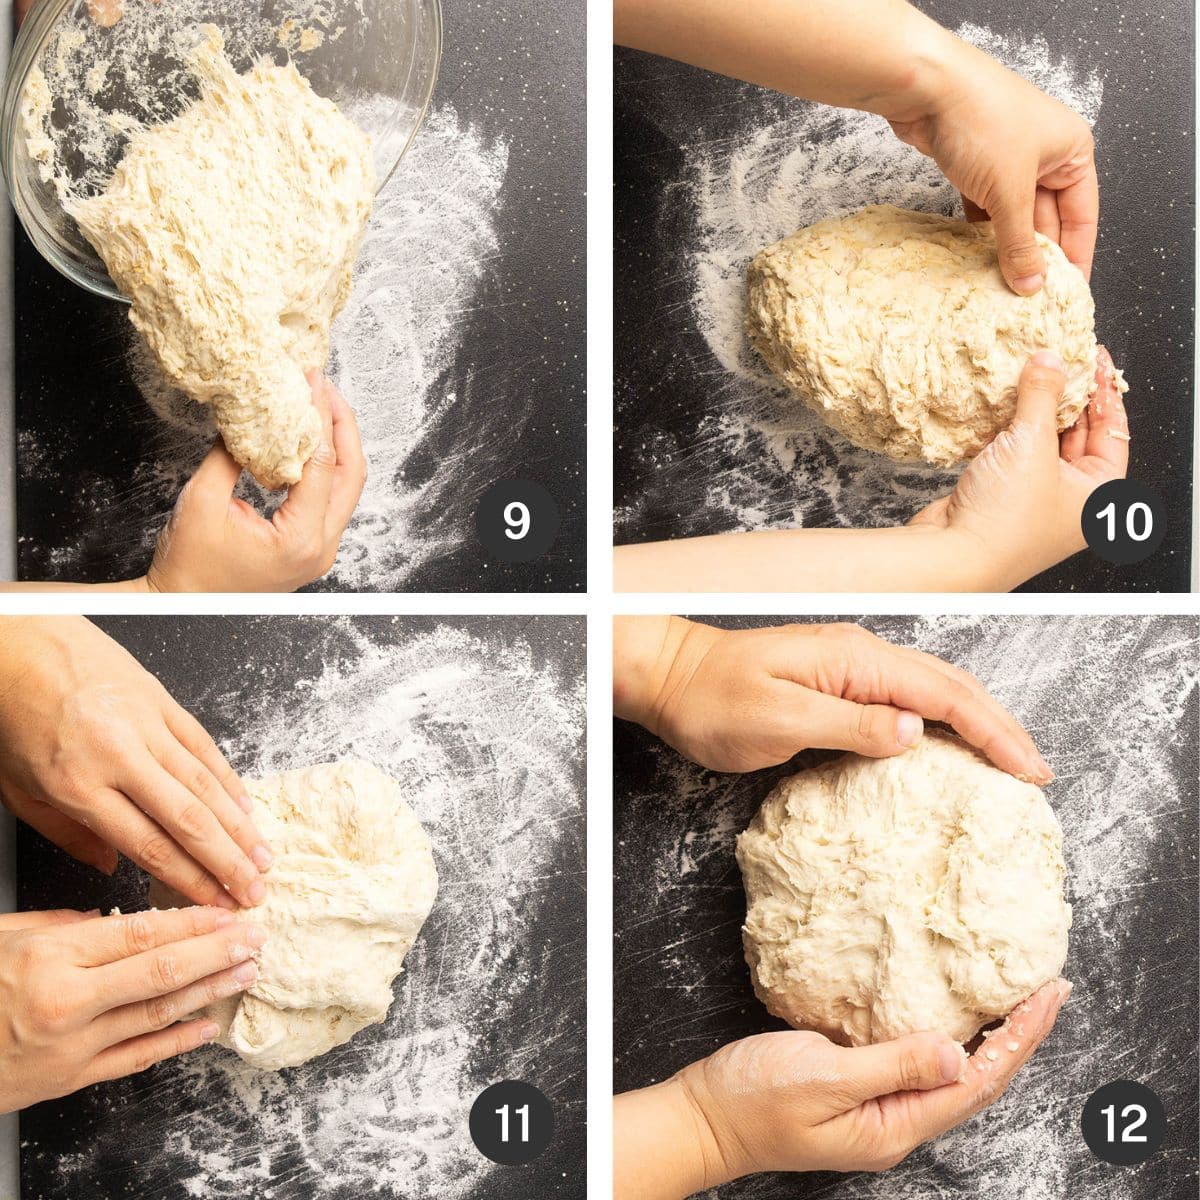
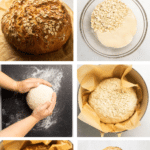
Once dough has risen, tip it onto a lightly floured cutting board. Gently fold the dough into a round shape by pulling each side in towards the center one at a time (think of it like folding an envelope!)
Continue folding the dough - pulling one edge at a time in towards the center - until it begins to hold its shape. The dough will tighten and begin to resist your folds as you go.
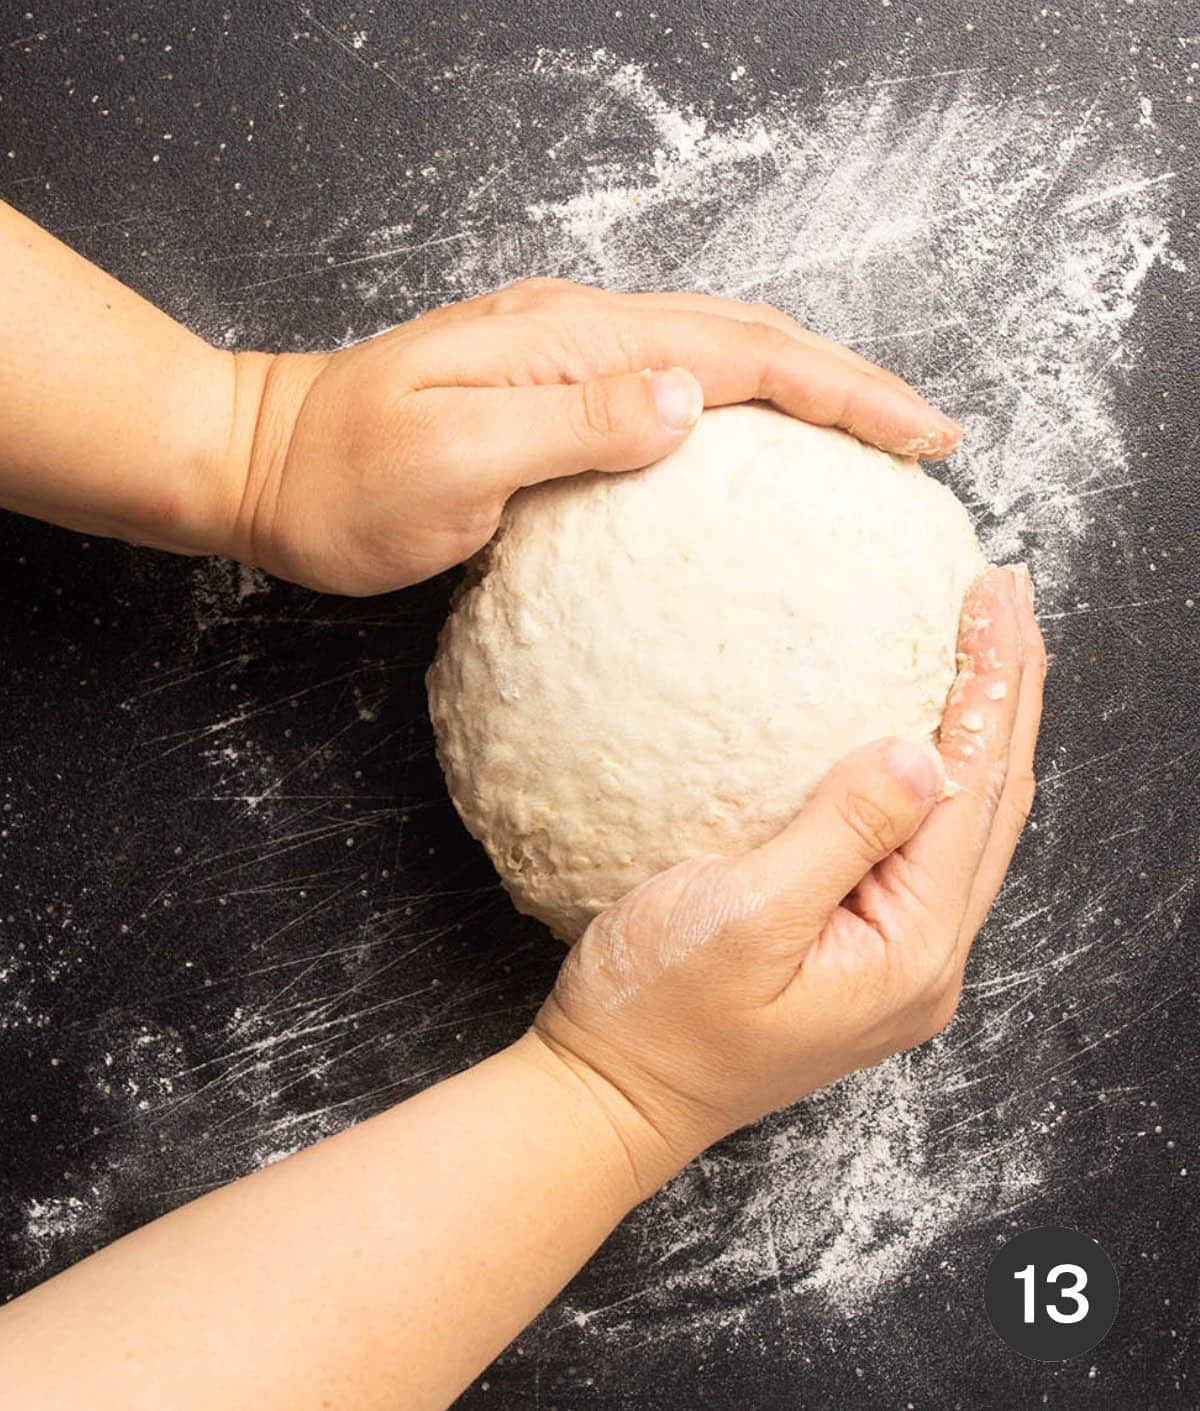
When the dough has tightened up a bit and feels like it's holding its shape fairly well, flip it over so it's seam-side down on the cutting board. Gently pull it towards yourself, letting the underside drag slightly along the lightly floured surface. This tightens up the seams you created and helps the loaf hold its shape!
Shaping bread takes practice! It gets easier and more intuitive the more you do it. See a video tutorial in our asiago bread recipe.
Final rise
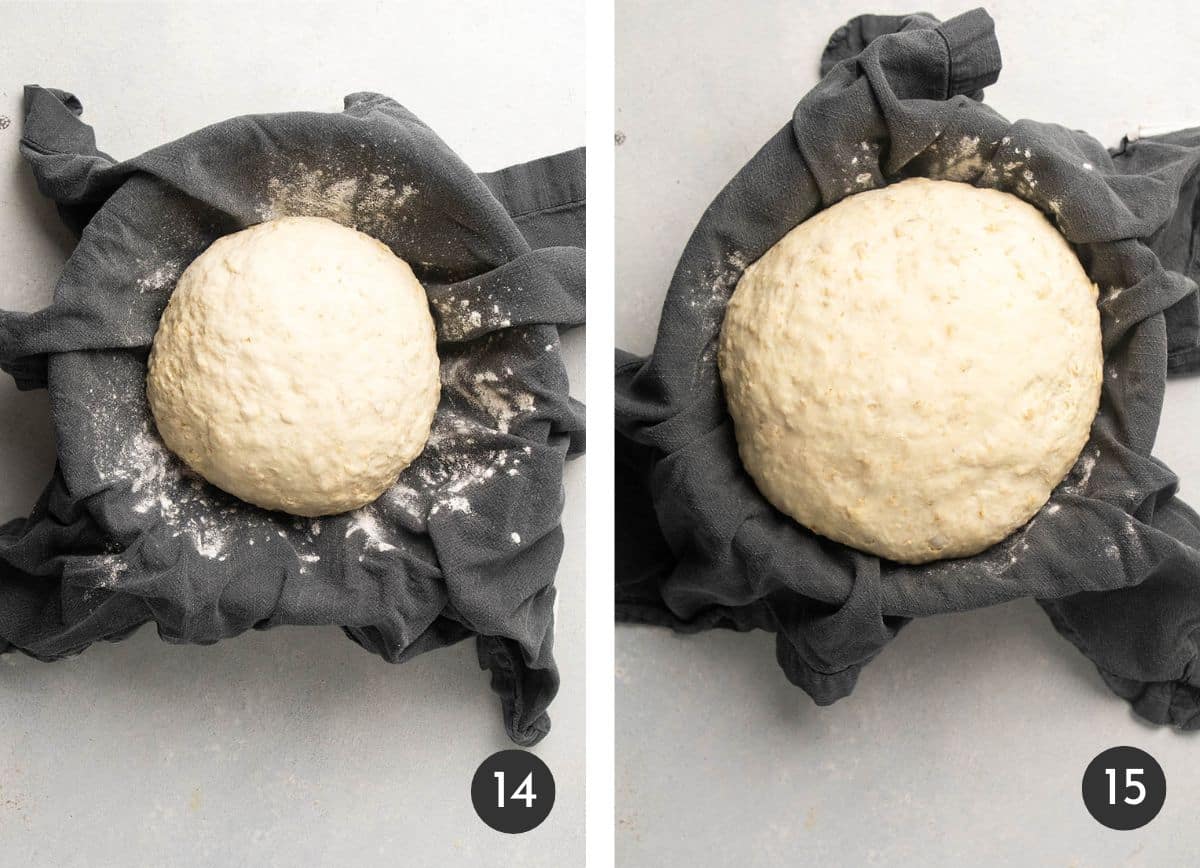
Line a proofing basket or a small mixing bowl with a linen napkin; lightly dust with flour. Place dough seam-side down into the proofing basket, then cover and rest for 30 minutes.
Preheat your oven and Dutch oven while the bread does its final rise! We recommend a 5- to 6-quart Dutch oven for our homemade bread recipes.
Top with oats
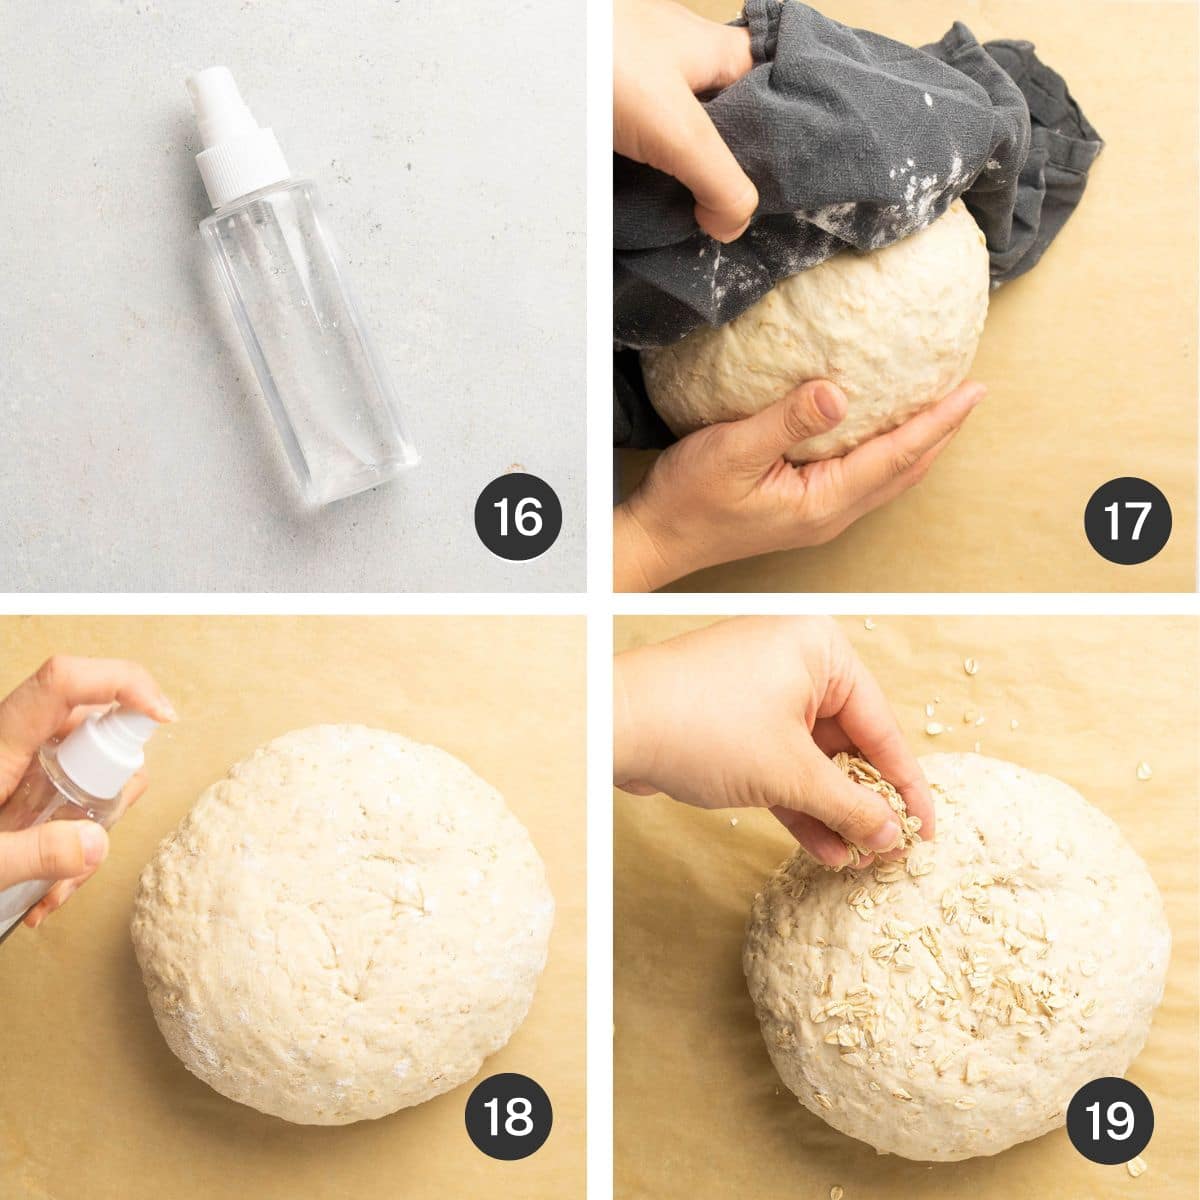
Turn your loaf out onto a piece of parchment paper (this makes it easier to lift the bread in and out of a hot Dutch oven!) Make sure the seam-side faces up: Steam will escape through the cracks as the bread bakes, creating beautiful texture on top of the loaf.
Use a small spray bottle to lightly spritz the top of the loaf with water, then sprinkle a handful of extra rolled oats across the top of the bread.
Equipment note: A light layer of water helps the oats stick to this dough so they don't fall off once it's baked. If you don't have a spray bottle, use a pastry brush to brush a light layer of water over the surface of the dough.
Bake
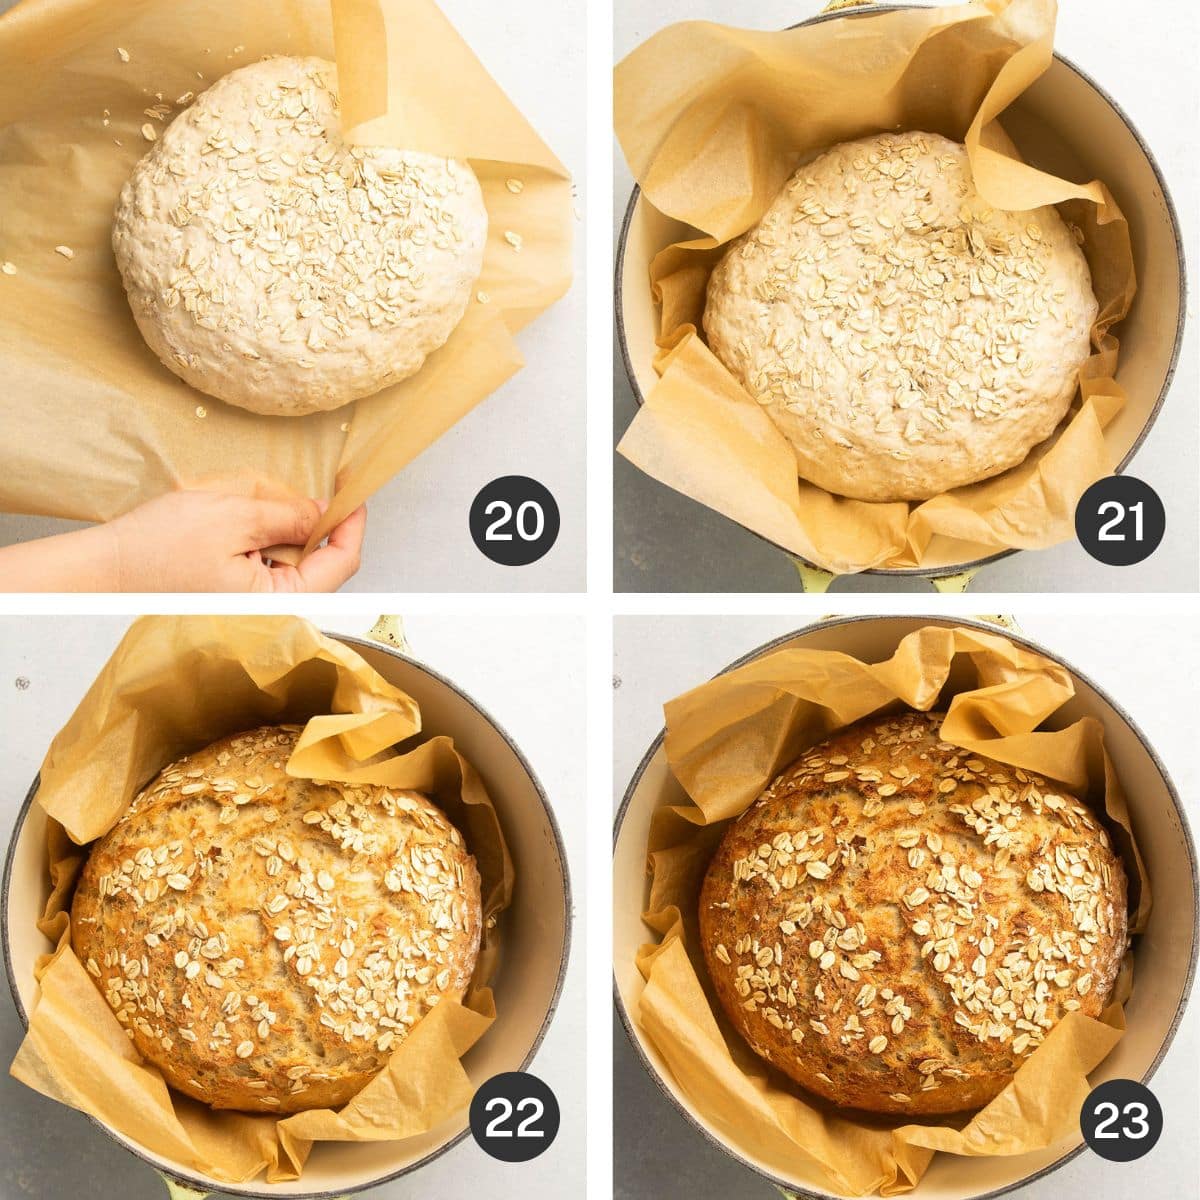
Carefully lift the parchment into your preheated Dutch oven; place the lid on top and transfer the pot to the hot oven. Bake for 30 minutes, then remove the lid.
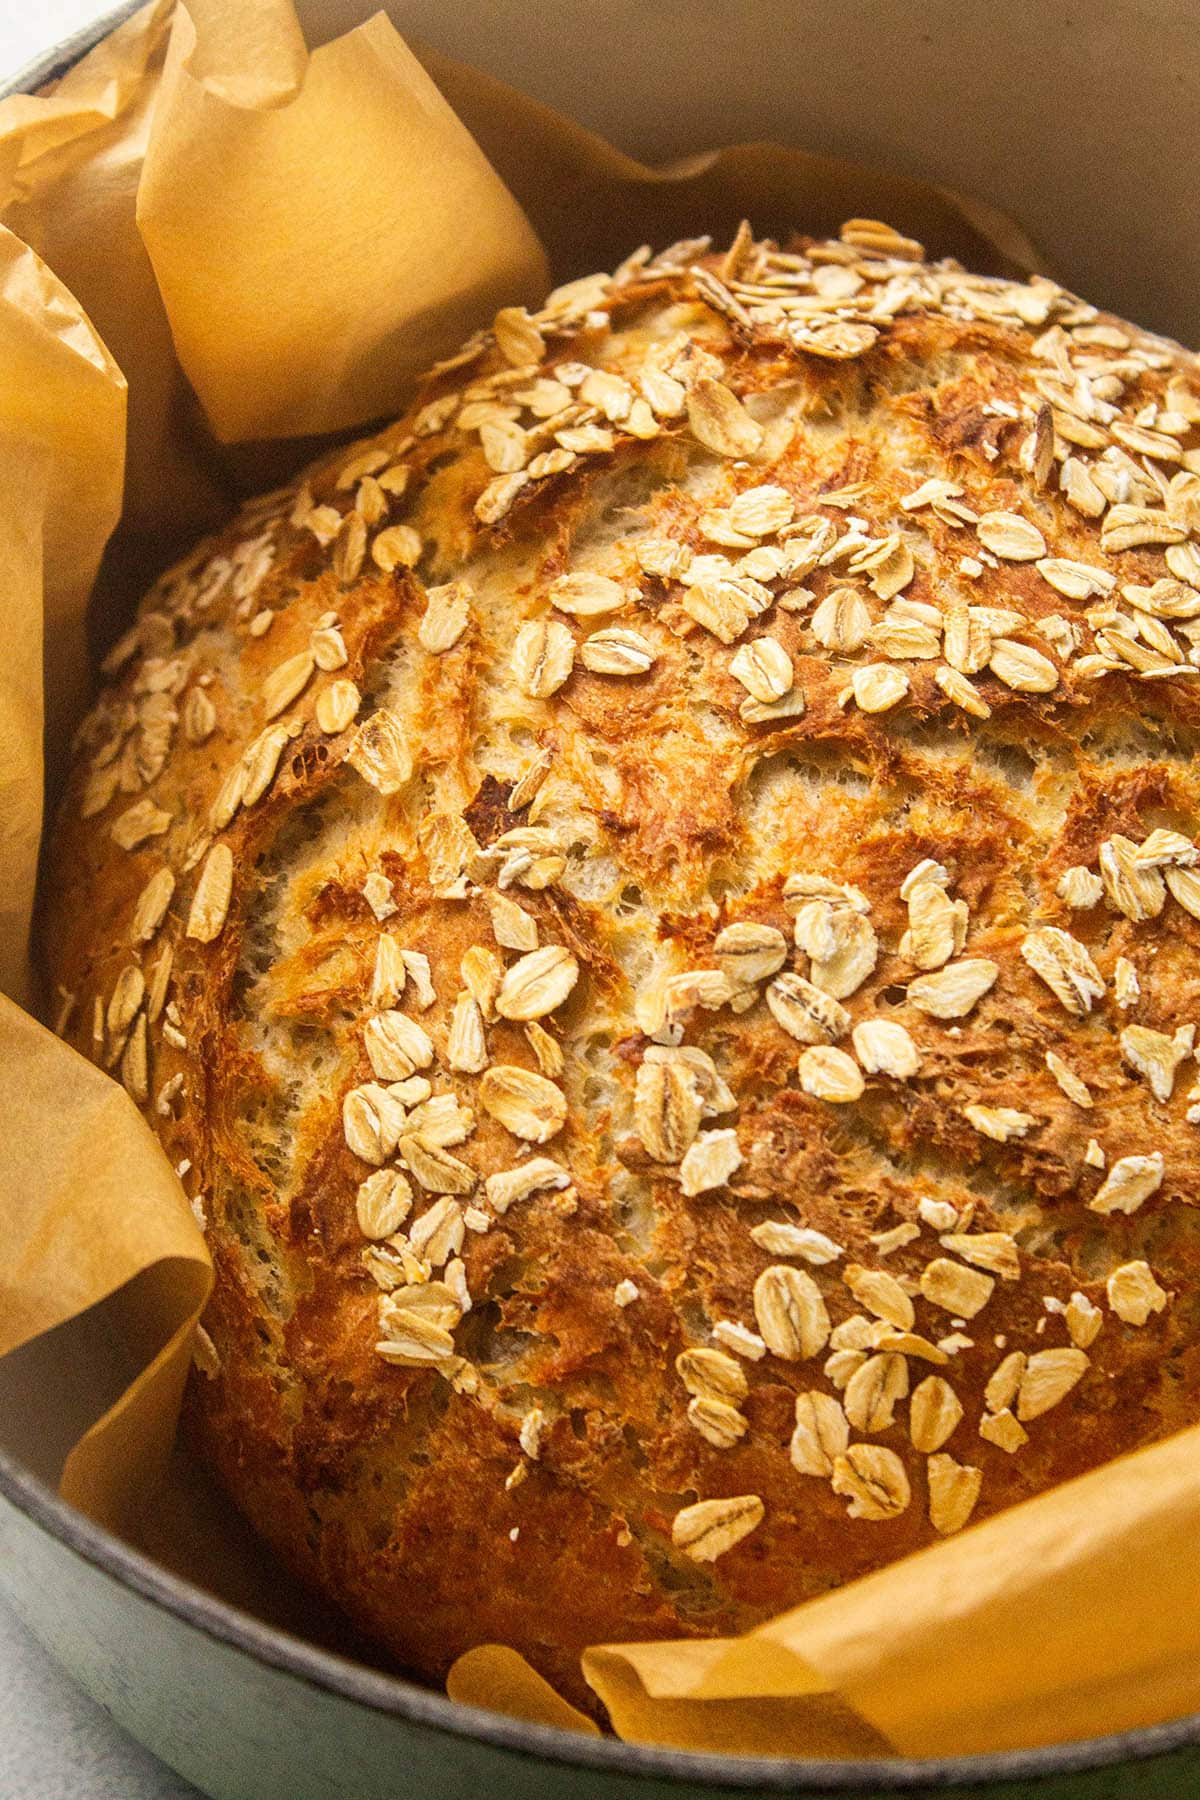
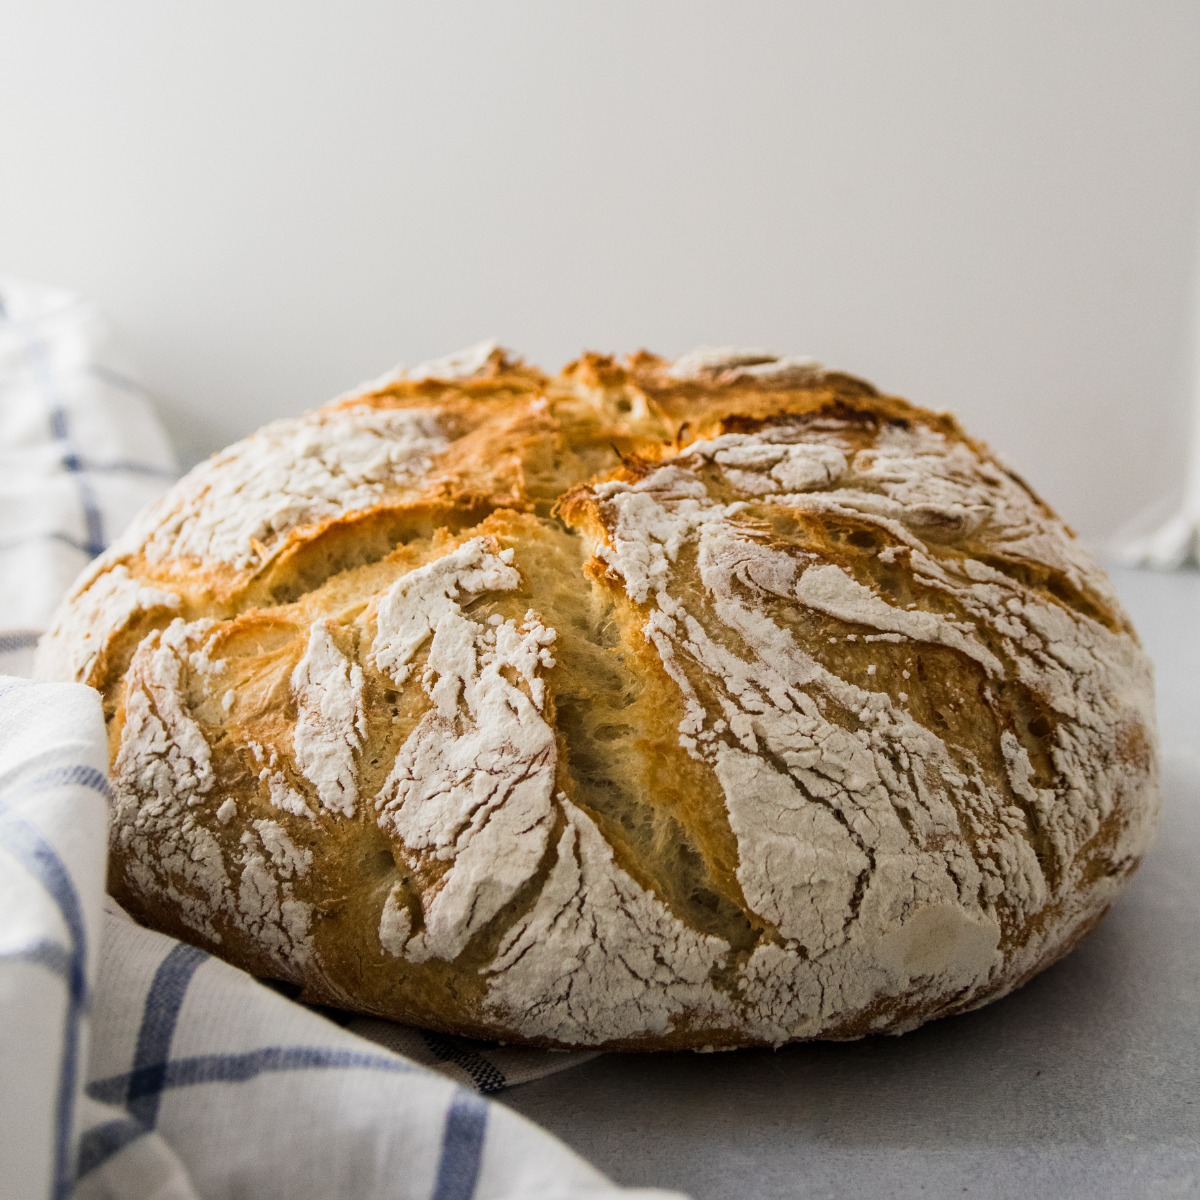
Return the pot to the oven (without the lid) and bake another 5-10 minutes, until the crust is a deep golden brown (Image 23, above).
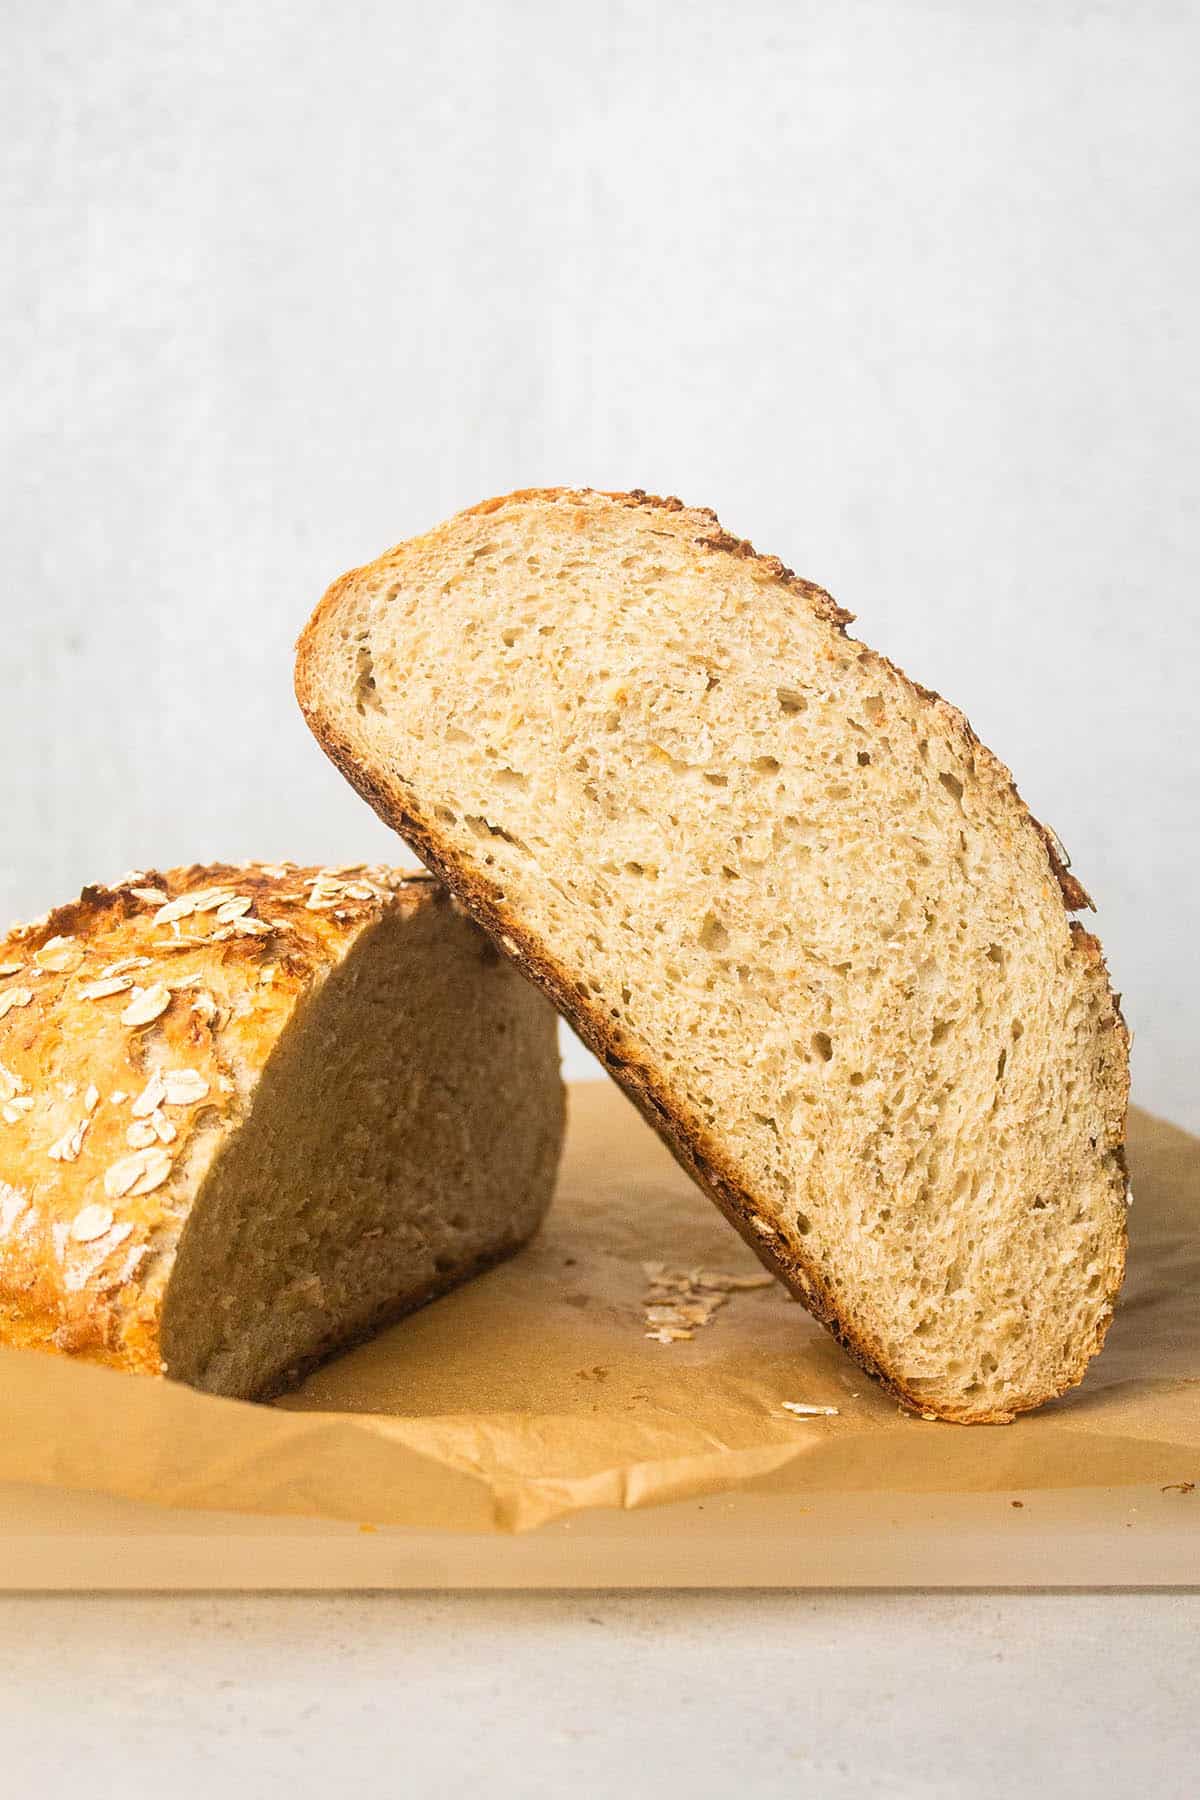
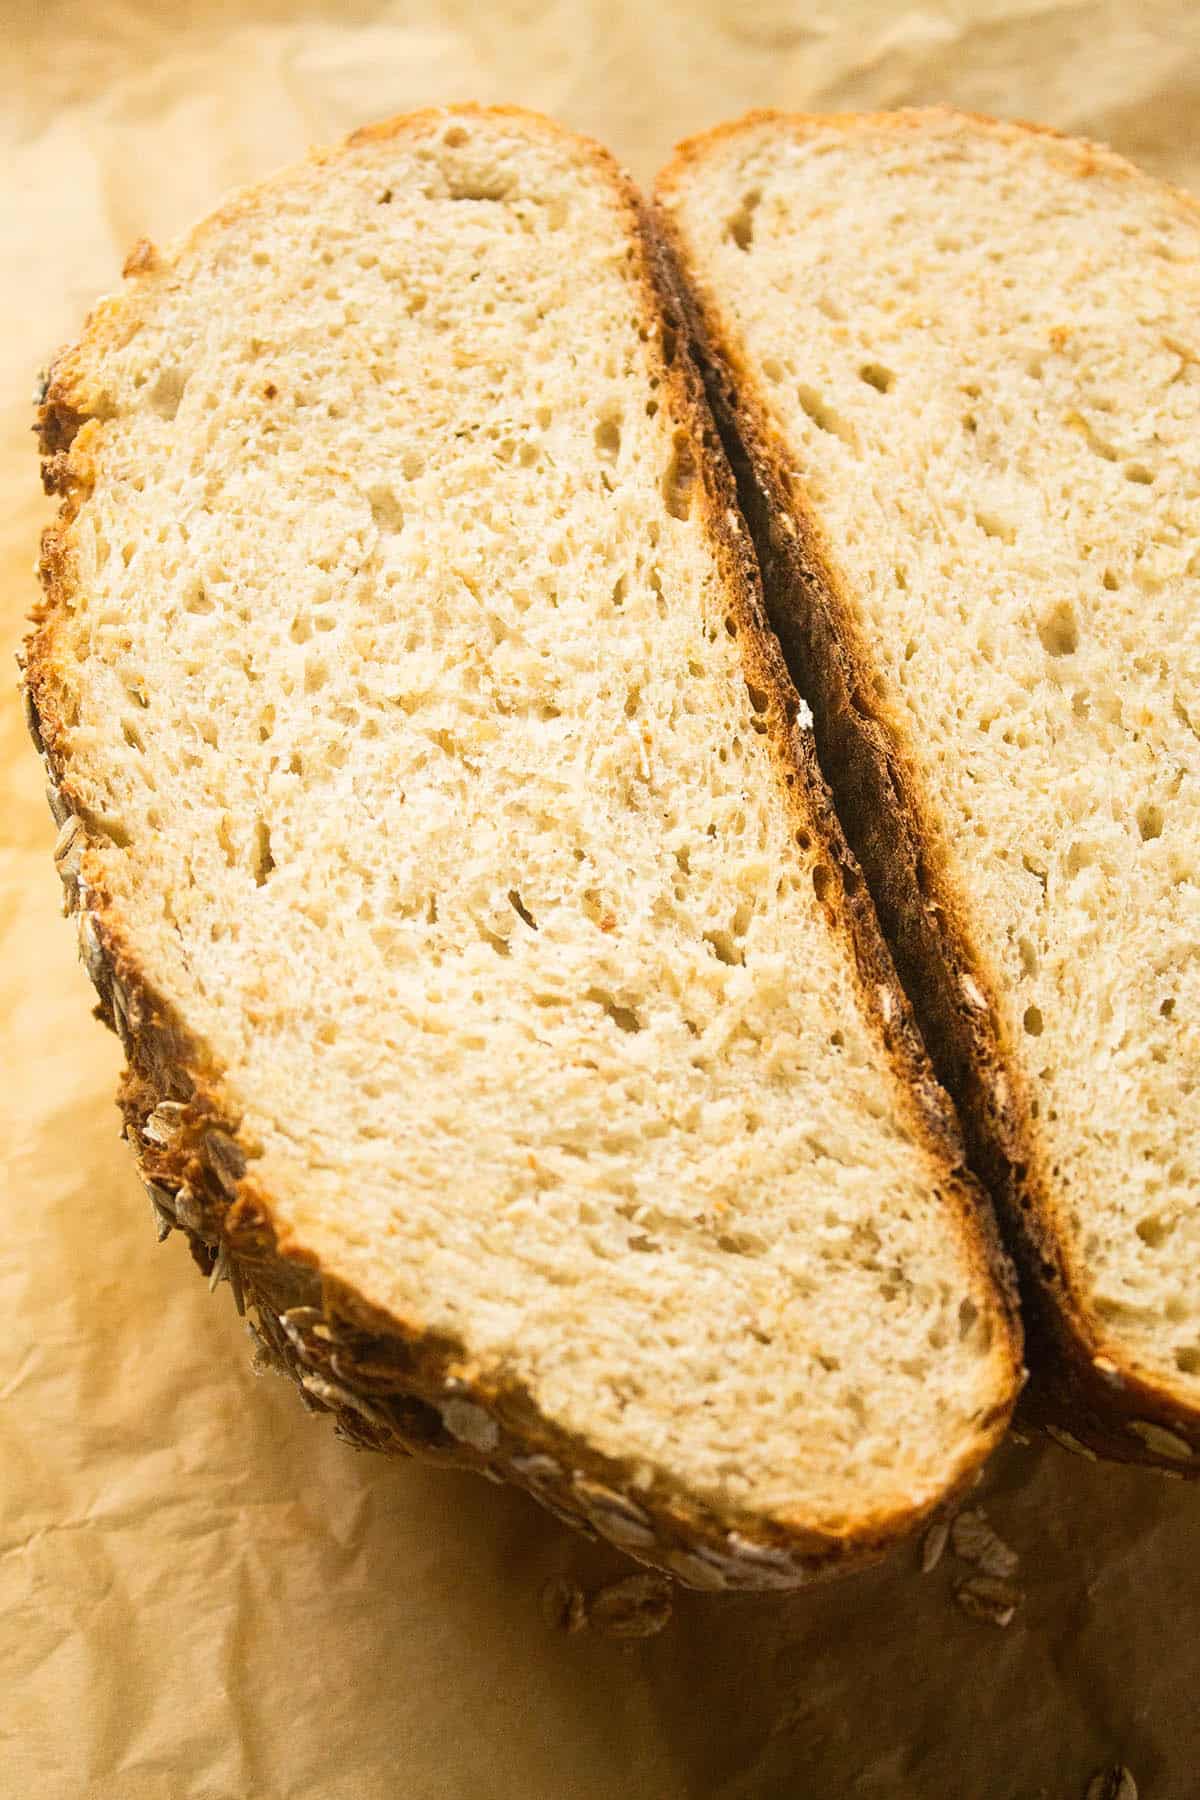
Carefully transfer the loaf to a wire cooling rack, and wait until the bread cools completely (about an hour) before slicing for best results.
No Dutch oven? Try one of our recipe tester-approved methods to bake crusty bread without a Dutch oven!
Storing Leftovers
Store sliced bread in an airtight container on the counter for 3-4 days, or freeze for up to 6 months.
This bread freezes very well, especially if it's already sliced: Defrost it for a few hours on the counter when you're ready to use it, or pop frozen slices directly into a toaster or hot oven (a light toast brings this bread right back to life, even after months in the freezer!)
FAQs
We love mixing this honey oat bread recipe by hand in a large bowl, but you can certainly use an electric mixer (like a KitchenAid stand mixer) fitted with the dough hook if you prefer!
Just keep an eye on it as the mixer runs: Stand mixers can often trap pockets of flour on the very bottom of the bowl, which makes the mixing process take a lot longer.
If your mixer feels like it's not really making progress, turn it off, remove the bowl, and flip the dough over a few times by hand to help it get back on track!
We have not tested this bread in a loaf pan or bread pan for sandwich style bread, but we expect the dough would work in this style. If you'd like to try it, you'll need to use a lower temperature for baking (we tend to recommend reducing the oven temperature to 325°-350°F for sandwich breads). We typically bake sandwich breads and quick breads (like our lemon zucchini bread or pumpkin bread) in a metal 9x5-inch loaf pan.
You can swap up to 100 grams of the all purpose flour in this recipe for whole wheat flour without altering the texture too much. If you use more whole wheat or whole grain flour, the loaf can feel a little bit dense. Check out our full whole wheat crusty bread recipe for more guidance on baking with whole wheat!
See even more detailed FAQs about bread baking in our Easy Crusty French Bread post, or enroll in our Everyday Artisan Bread course for step-by-step training lessons that take you through every technique, buzzword, and more!
📖 Recipe
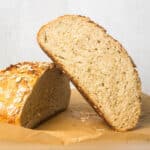
Honey Oat Bread
- Prep Time: 30 minutes
- Rise Time (Inactive): 1 hour 30 minutes
- Cook Time: 45 minutes
- Total Time: 2 hours 45 minutes
- Yield: 1 loaf (about 10 servings) 1x
- Category: Bread
- Cuisine: American
Description
This soft honey oat bread is baked in a dutch oven for a crispy crust. An easy no knead recipe!
Ingredients
- 9 grams active dry yeast (2 ¼ teaspoons)
- 36 grams honey (3 Tablespoons)
- 320 grams warm water, about 100° Fahrenheit (1 ⅓ cup)
- 100 grams whole rolled oats (1 cup), plus extra for topping
- 360 grams All Purpose Flour (3 cups), plus extra for dusting
- 12 grams kosher salt (3 teaspoons)
- Splash of water, to help the oats stick to the top of the bread
Instructions
Proof the Yeast
- Mix yeast, honey, and warm water in a large mixing bowl. Let it sit for 5-10 minutes, until yeast is foamy.
Mix the dough & first rise
- Stir whole rolled oats into the yeast mixture.
- Add all purpose flour. Use a wooden spoon or sturdy spatula to stir dough about halfway, then sprinkle kosher salt across the surface of the dough. Continue stirring until no dry flour remains. If it gets difficult to stir the dough with a utensil, use clean hands to knead the dough together until it’s well mixed.
- Cover dough with a clean tea towel and let rise at room temperature for about one hour, until doubled in size.
Shape the dough & final rise
- Preheat the oven. Place an empty dutch oven (with the lid on) in your oven and heat to 460° Fahrenheit.
- Lightly flour a large cutting board.
- Gently tip the dough out of the bowl and onto the cutting board. Don't punch the dough down - you want to preserve all those air bubbles!
- Shape the loaf. Pull each edge of the dough in towards the center (like folding an envelope) a few times, until you feel the dough tighten up and start to resist your folds. Flip the dough over and gently pull it towards yourself to tighten it into a nice round loaf.
- Flour a proofing basket or a small mixing bowl; place your loaf into it seam-side down. Cover with a tea towel and let rise another 30 minutes while the oven heats up.
Bake
- Gently tip your bread dough onto a piece of parchment paper. Make sure the seam-side is facing up this time - that will create the beautiful cracks across the surface of your finished loaf.
- Spray or brush the surface of your dough with a light layer of water; sprinkle another handful of whole oats on top.
- Use oven mitts to carefully remove the hot dutch oven from the oven and set the lid aside. Use the edges of the parchment paper to carefully lower your loaf into the hot dutch oven, use oven mitts to return the dutch oven lid to the pot, then slide the whole thing back into the your hot oven.
- Cook bread for 30 minutes.
- After 30 minutes, use an oven mitt to remove the lid from your dutch oven. The bread should be crusty and lightly browned.
- Return the dutch oven to the oven and cook, uncovered, for 5-10 minutes more, until the bread has deepened in color. Carefully remove bread to a cooling rack, and let cool for at least an hour before slicing.
Notes
Use whole rolled oats in this recipe, as opposed to instant or quick oats. We tested this recipe with and recommend Bob's Red Mill Old Fashioned Rolled Oats.
Please use a kitchen scale! Measuring ingredients by volume (with cups) is notoriously unreliable – for best results, use a scale to measure by weight with the gram measurements provided! We use and recommend Escali kitchen scales.
Additions and substitutions. Replace up to 100 grams of all purpose flour in this recipe with whole wheat flour if you like. You can use bread flour in place of any or all of the all purpose flour here. Add a pinch of ground cinnamon to the dough if you'd like additional fall flavor.
This dough may feel sticky when first mixed; as it sits, the oats will soak up a lot of moisture and the dough will become more elastic and easier to work with. If you're new to baking, we recommend starting with our beginner-friendly no knead bread recipe to get a feel for the process. As always, we recommend using a high quality flour like King Arthur, which has a high protein content that creates a smoother, more elastic dough.
Nutrition
- Serving Size: 1 slice
- Calories: 183
- Sugar: 3.1 g
- Sodium: 467.7 mg
- Fat: 0.4 g
- Carbohydrates: 37.4 g
- Protein: 5.3 g
- Cholesterol: 0 mg

Comments
No Comments