

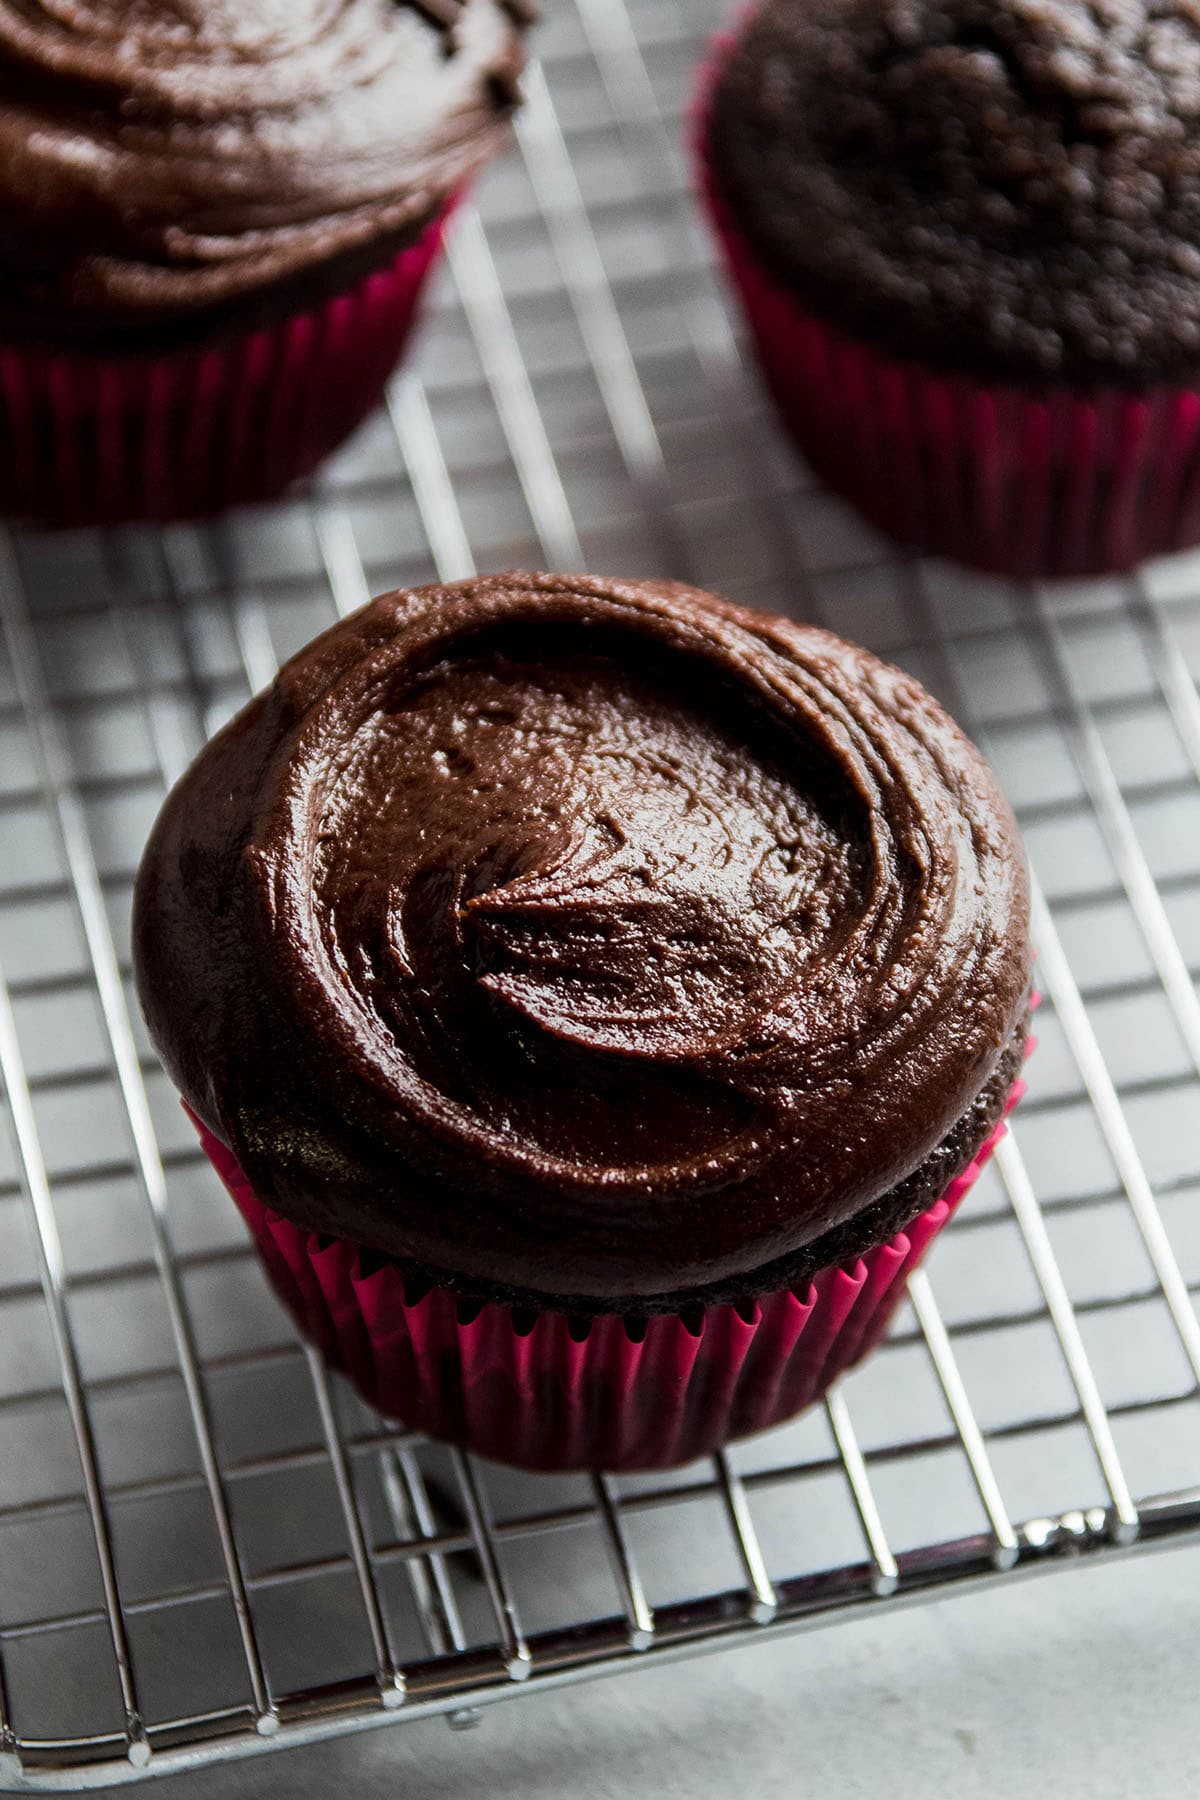
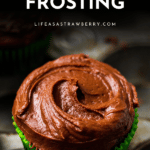
This is the best chocolate fudge frosting: It's perfect for cakes, cupcakes, brownies, and more! With a thick, fudge-y texture that you can really sink your teeth into.

We're putting our favorite chocolate fudge frosting in the spotlight today! This frosting is easy to make from scratch (no mixer required!) and has the most incredible texture.
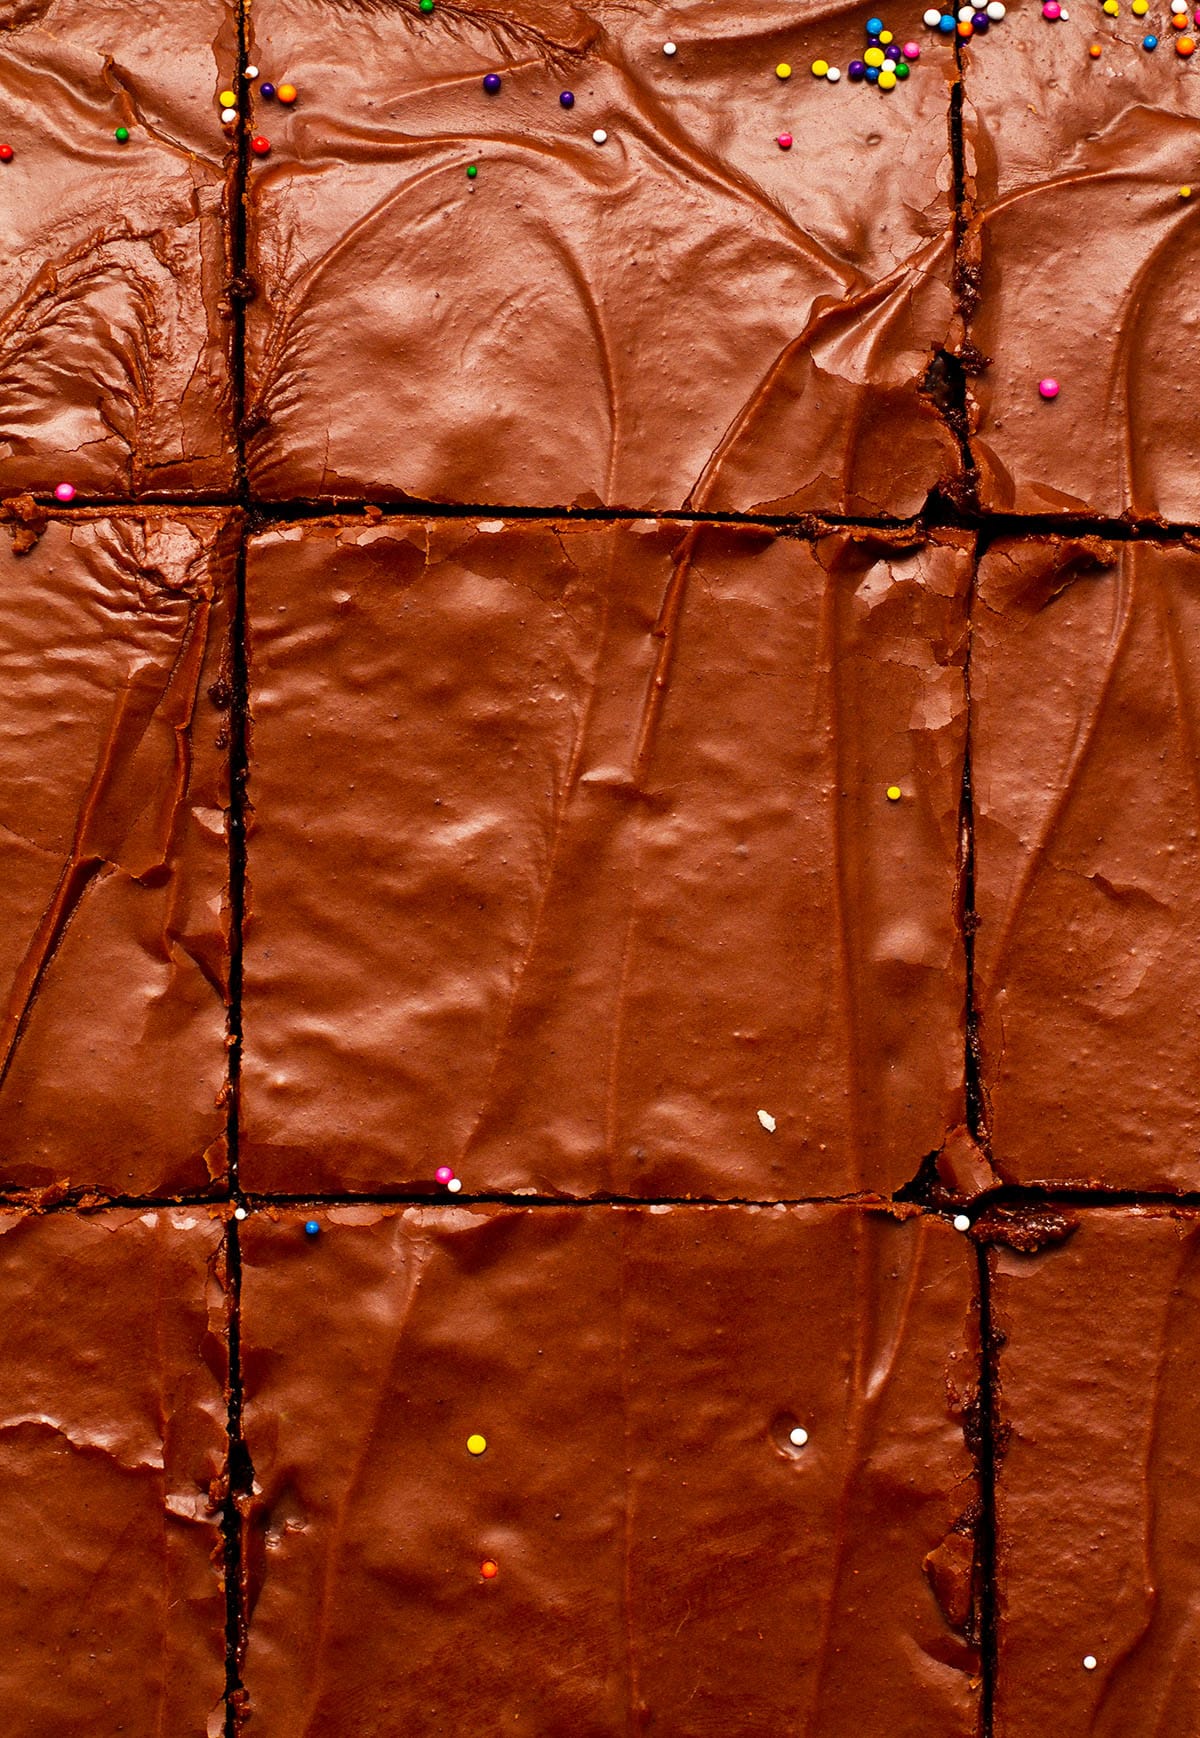
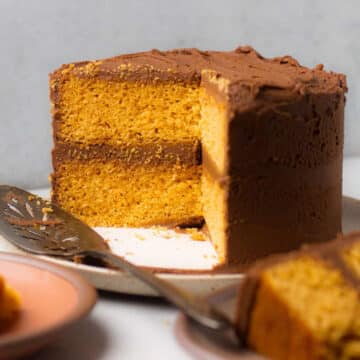
Use this rich, fudge-y frosting on your favorite cake recipe (we love it on our coconut oil chocolate cupcakes, plain yellow cake, chocolate sheet cake, and more). It's also perfect for brownies or as a topping for your favorite sugar cookies!
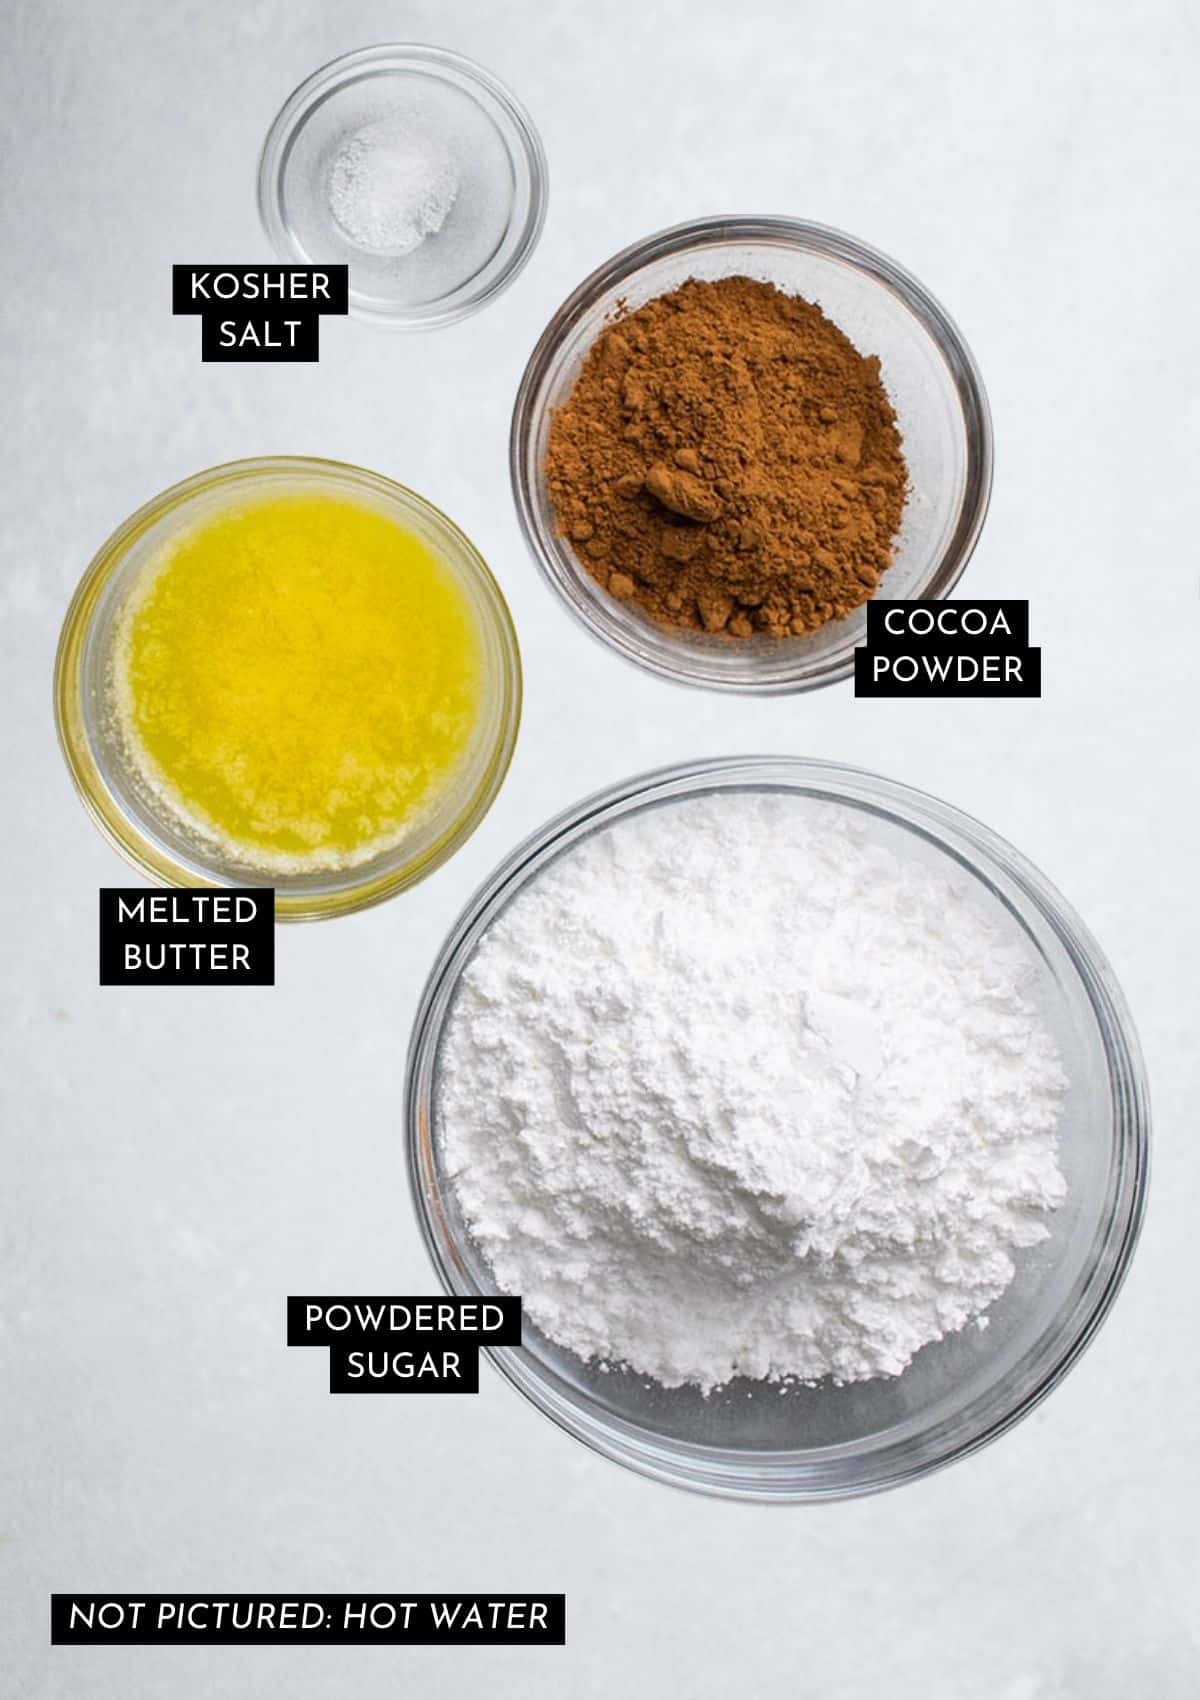
This fudge like icing starts with a bit of melted butter (salted or unsalted butter are both fine!), plenty of powdered sugar, cocoa powder, and a pinch of salt. But you'll bring it all together with (drumrolllllllll, please): HOT WATER.
YUP. No milk, no heavy cream, no condensed milk: Just good ol' hot (nearly boiling!) H2O.
Using hot water here helps us build a decadent, fudge-y consistency, but it also takes out some of the richness that you typically find in dairy-heavy icing (buttercream, for example, involves a lot more butter and cream or milk than this recipe) so it doesn't feel as heavy as other frostings.
Basic order of operations
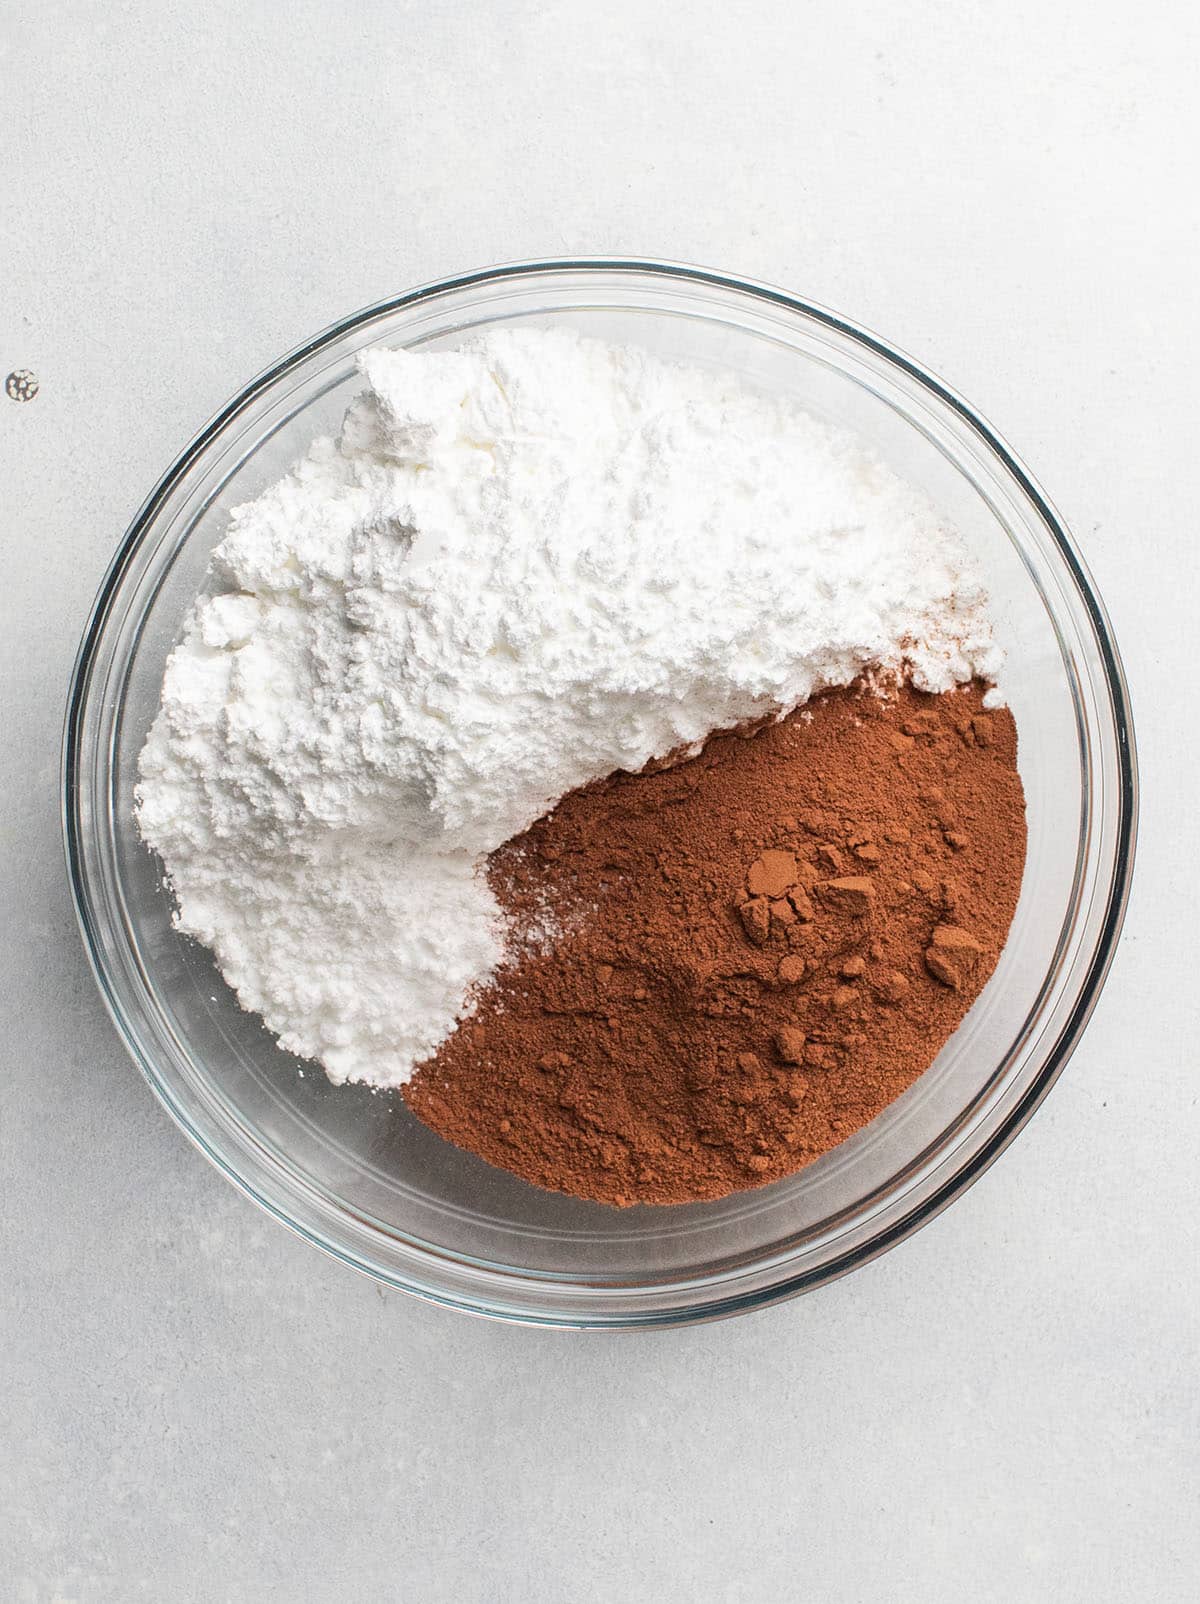
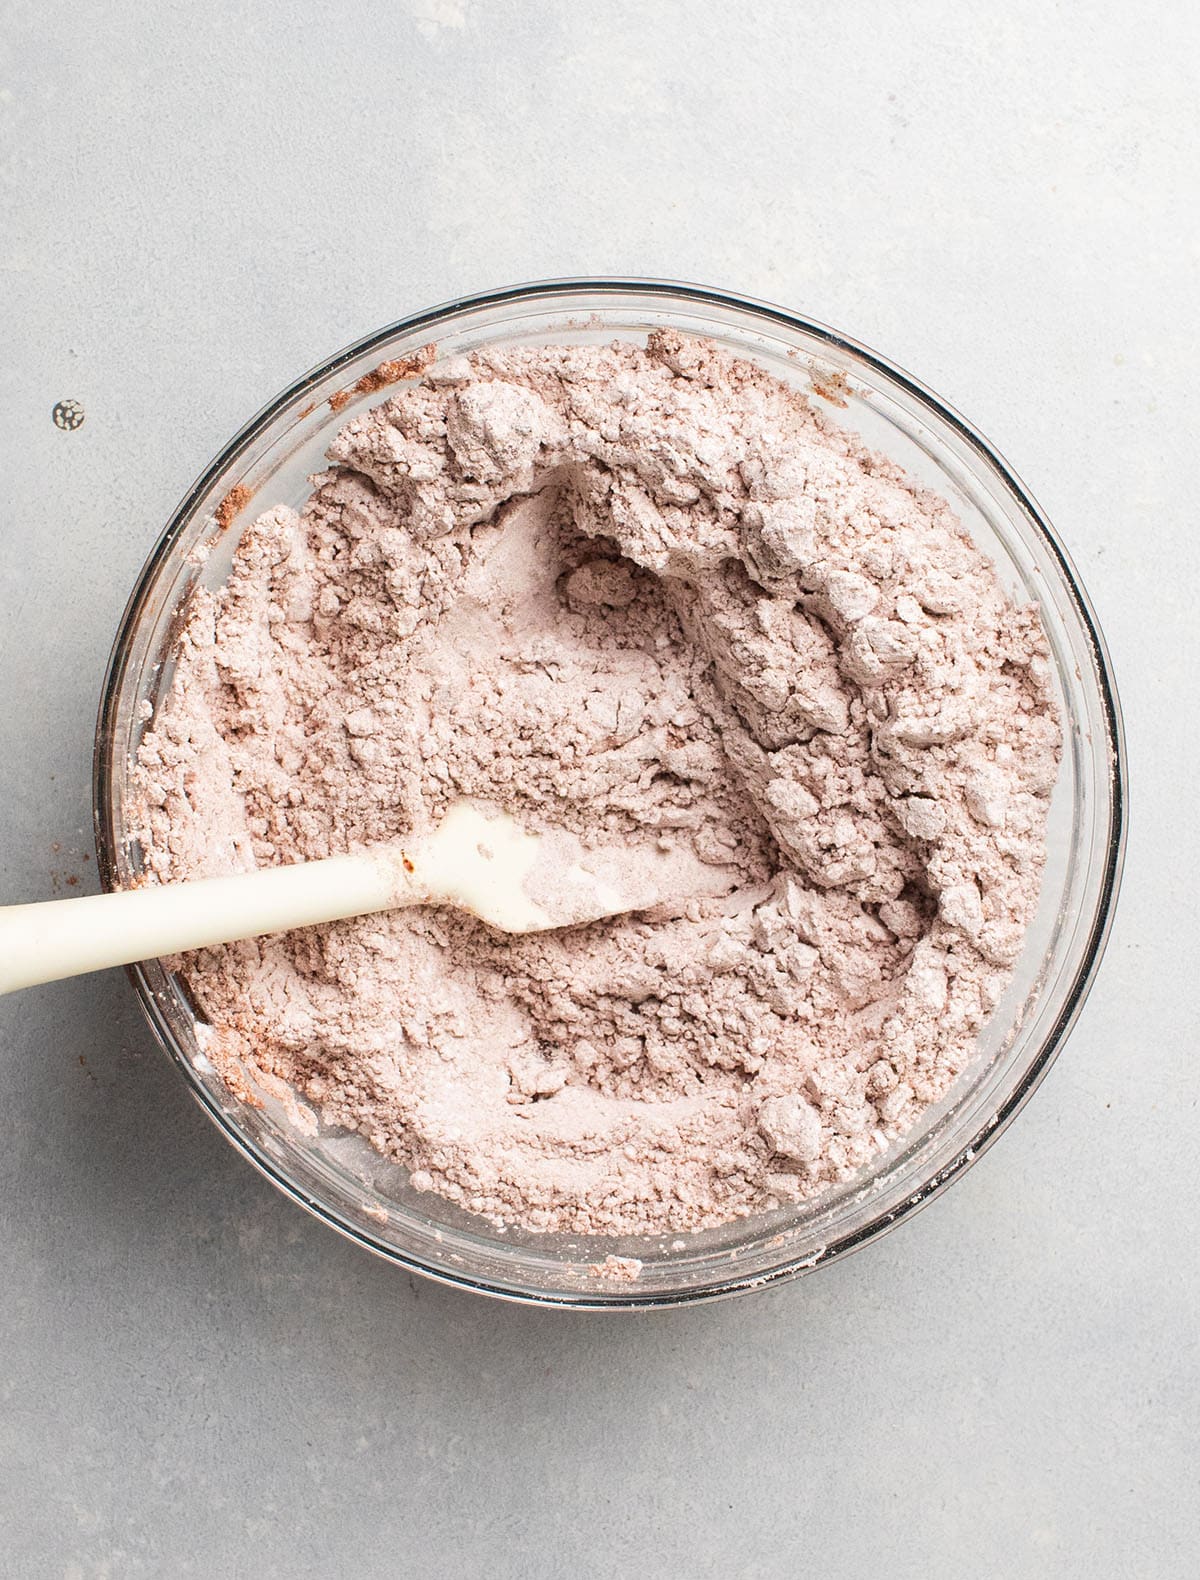
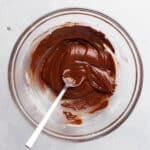
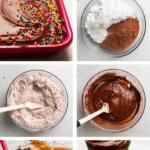
First, whisk your powdered sugar (also called icing sugar) and cocoa powder together in a large mixing bowl with a pinch of kosher salt. Then, stir in the melted butter.
The dry ingredients will glob onto the liquid almost immediately and leave you with a rough, sandy-looking chocolate mixture:
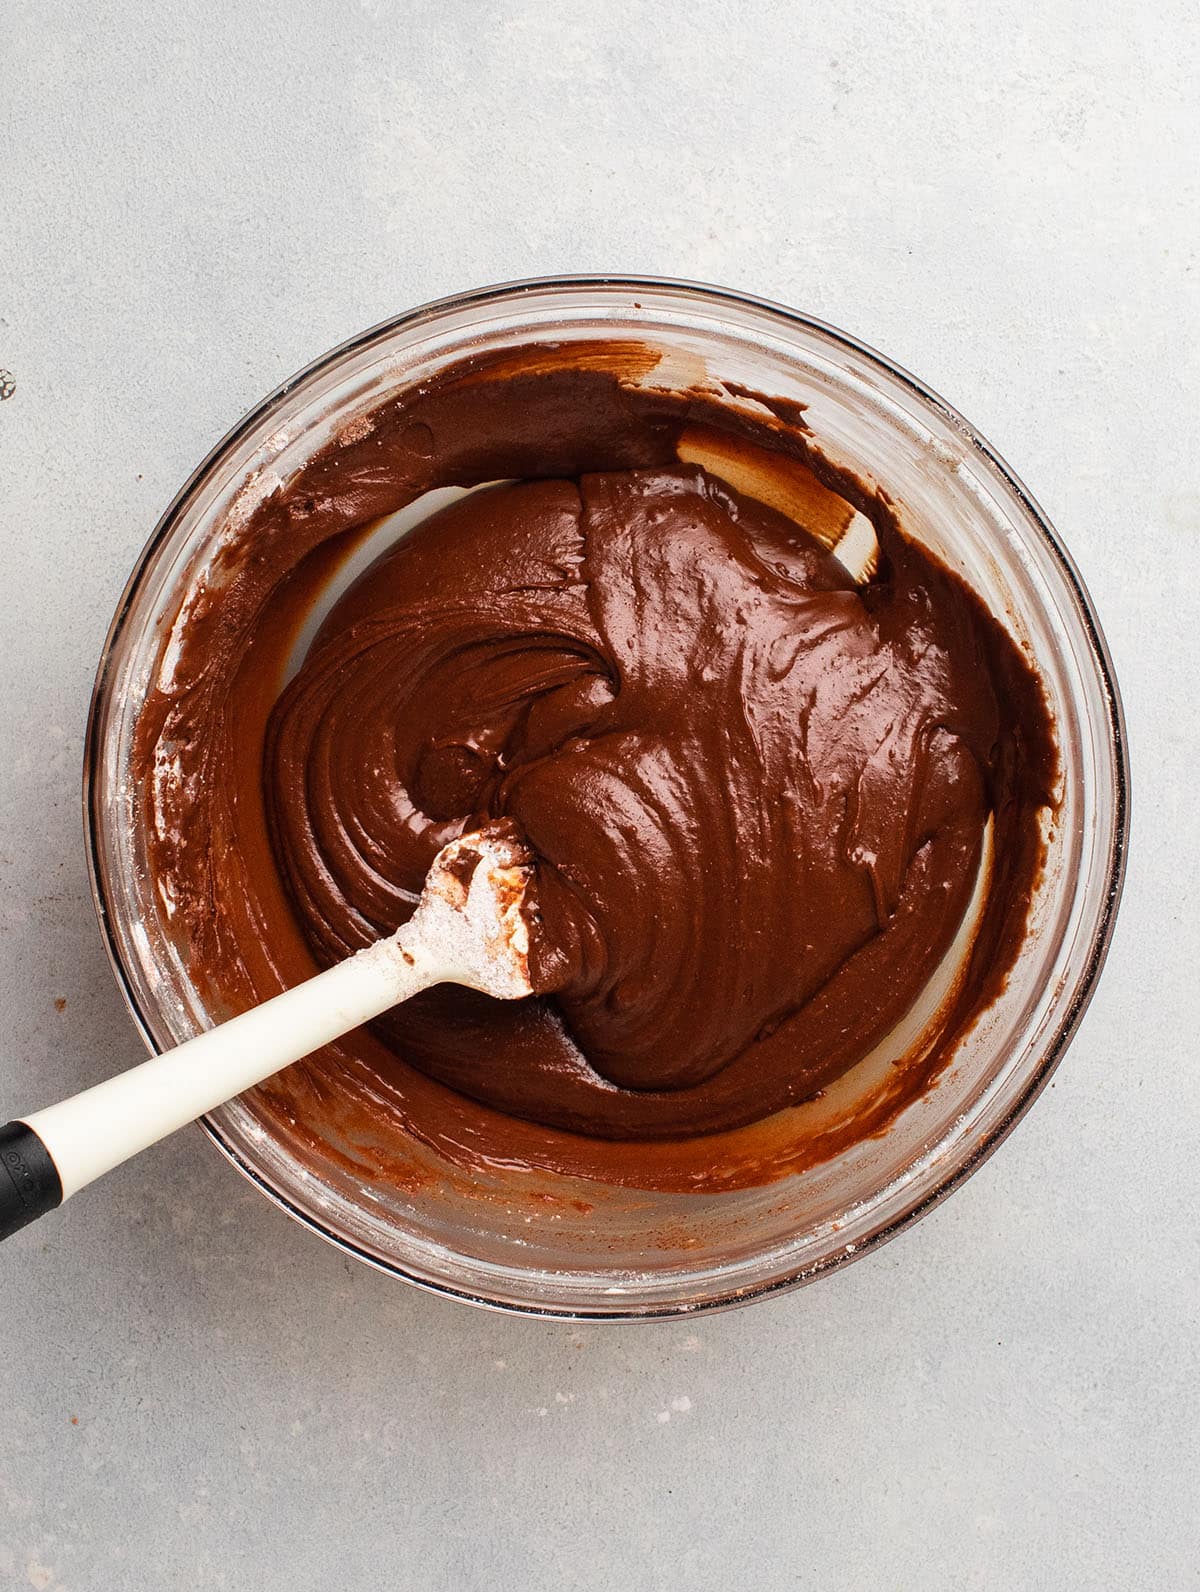
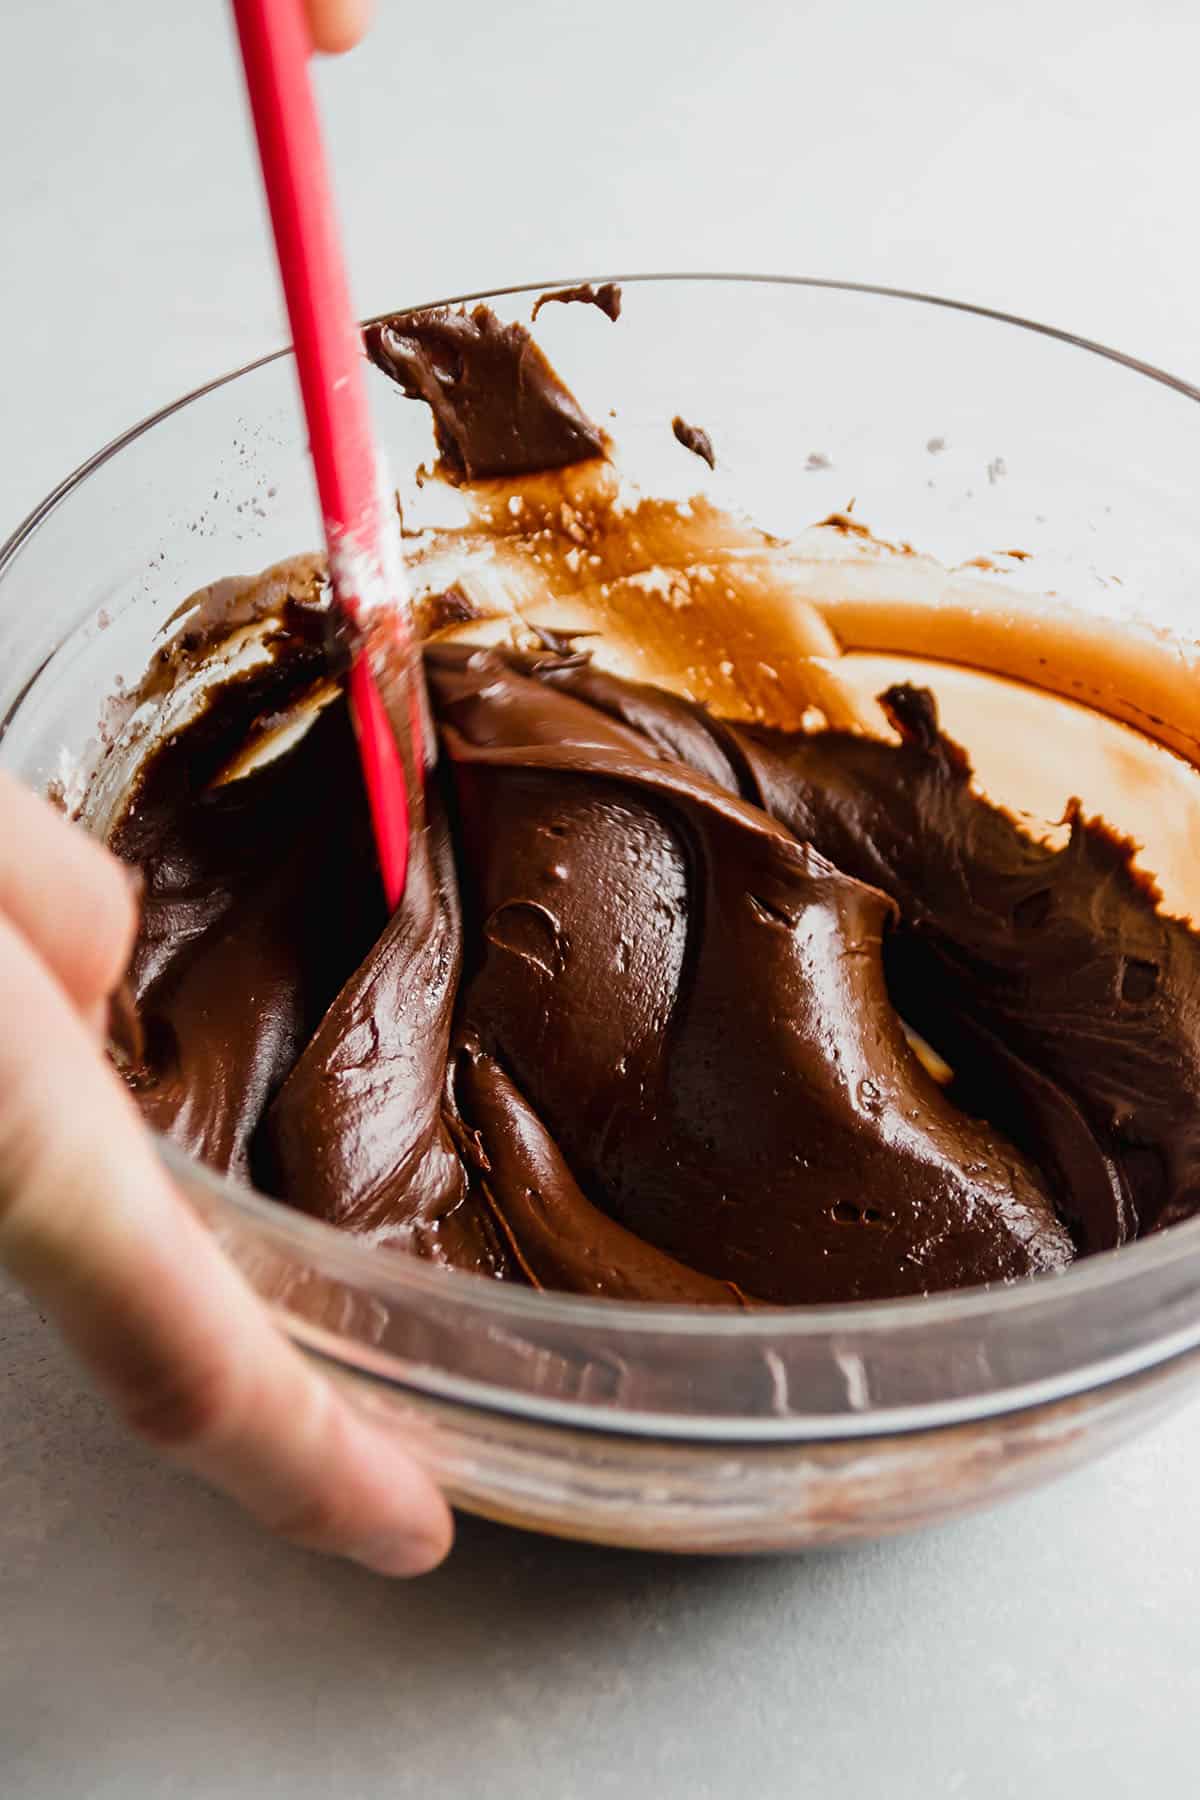
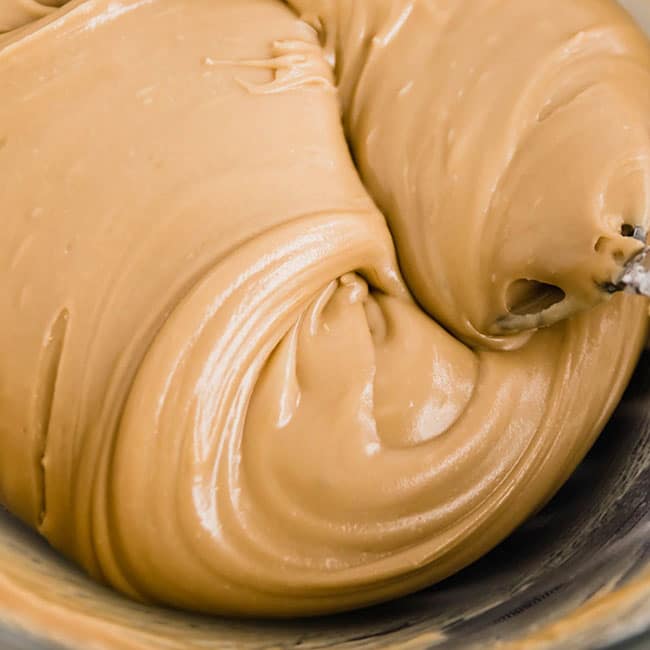
From there, stir in hot water a Tablespoon at a time - just until the frosting smooths out and feels thick and silky.
It doesn't take much water to bring this frosting together - you'll be surprised at how fast it goes! Add water in small increments and stir constantly to avoid thinning the frosting out too much.
How thick should my frosting be?
When it's ready to use on a cake or cupcakes, this frosting should be smooth, but not runny: the desired consistency is similar to cake batter or a thick milkshake.
If you're frosting something where you want a lighter layer of icing - like a chocolate baked donut or some homemade scones - you may want to add a bit of extra hot water so the frosting is thinner and easier to dip or drizzle (similar to our go-to chocolate donut glaze). You can always add more powdered sugar and/or hot water to adjust the consistency as you go!
Work quickly: This frosting will set and harden as it cools
As the frosting cools, the melted butter in this recipe will start to seize back up. Let your frosted cake sit for an hour or two at room temperature, and voilà: the butter solidifies, the icing sets, and you're left with a thick, fudge-y layer of frosting with a slight bite to it - kind of like a thick ganache or a soft chocolate fudge.
Of course, we don't want the icing to set until we're actually done frosting everything. That's why the hot water is important here: it keeps that melted butter soft - and therefore keeps our icing smooth and spread-able - while we mix everything up and get it onto the cake.
What if my frosting hardens too quickly?
If the icing hardens too much as you're using it, you'll notice it start to pull and tear, or it may just start to peel off the surface of your cake. Don't panic: This just means you need to warm the frosting back up so it's smooth and spreadable again!
To reheat frosting, pop it in the microwave for a few seconds (3-5 seconds is usually plenty!) or add one more tiny splash of hot water and stir until it smooths back out. Then continue frosting normally!
Fudge frosting techniques
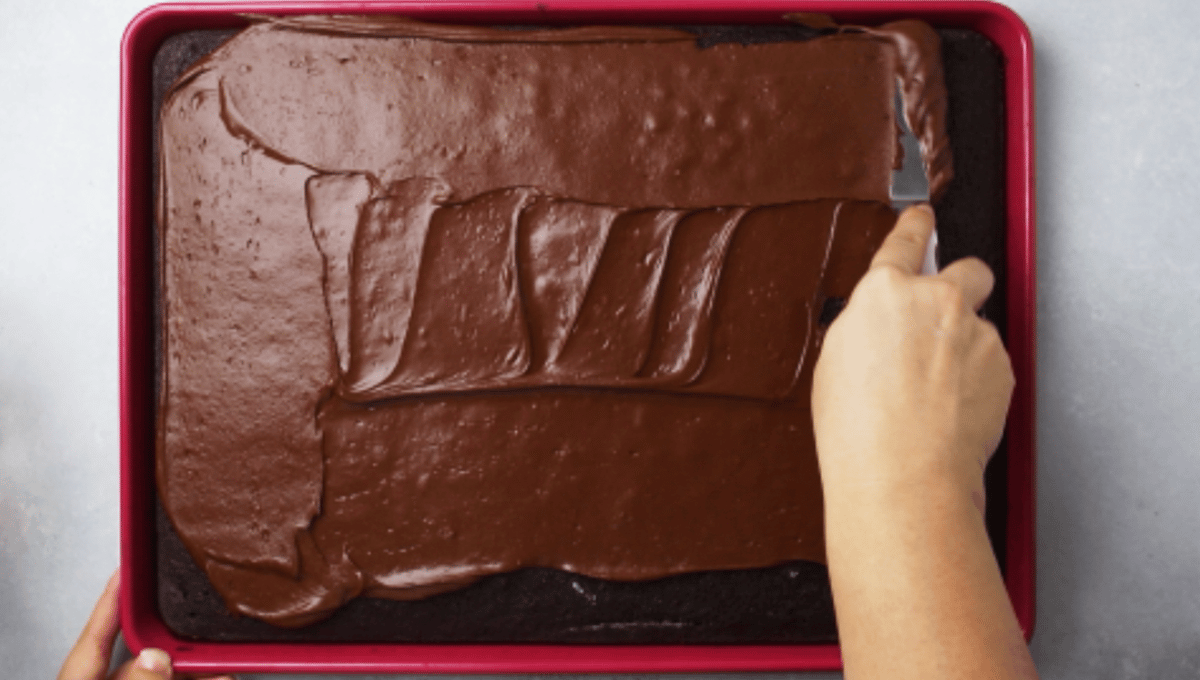
Because of its unusual texture, this frosting works best with cupcakes and sheet cakes that don't need much finessing (it's possible to use this to frost a layer cake, but it takes some practice and can get frustrating: too-cold frosting can tear the cake as you spread it).
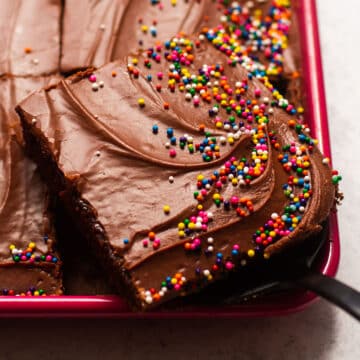
Sheet cakes are especially good candidates for this recipe: just pour the fresh frosting over the cake, use an offset spatula to spread it towards the edges, then let it set.
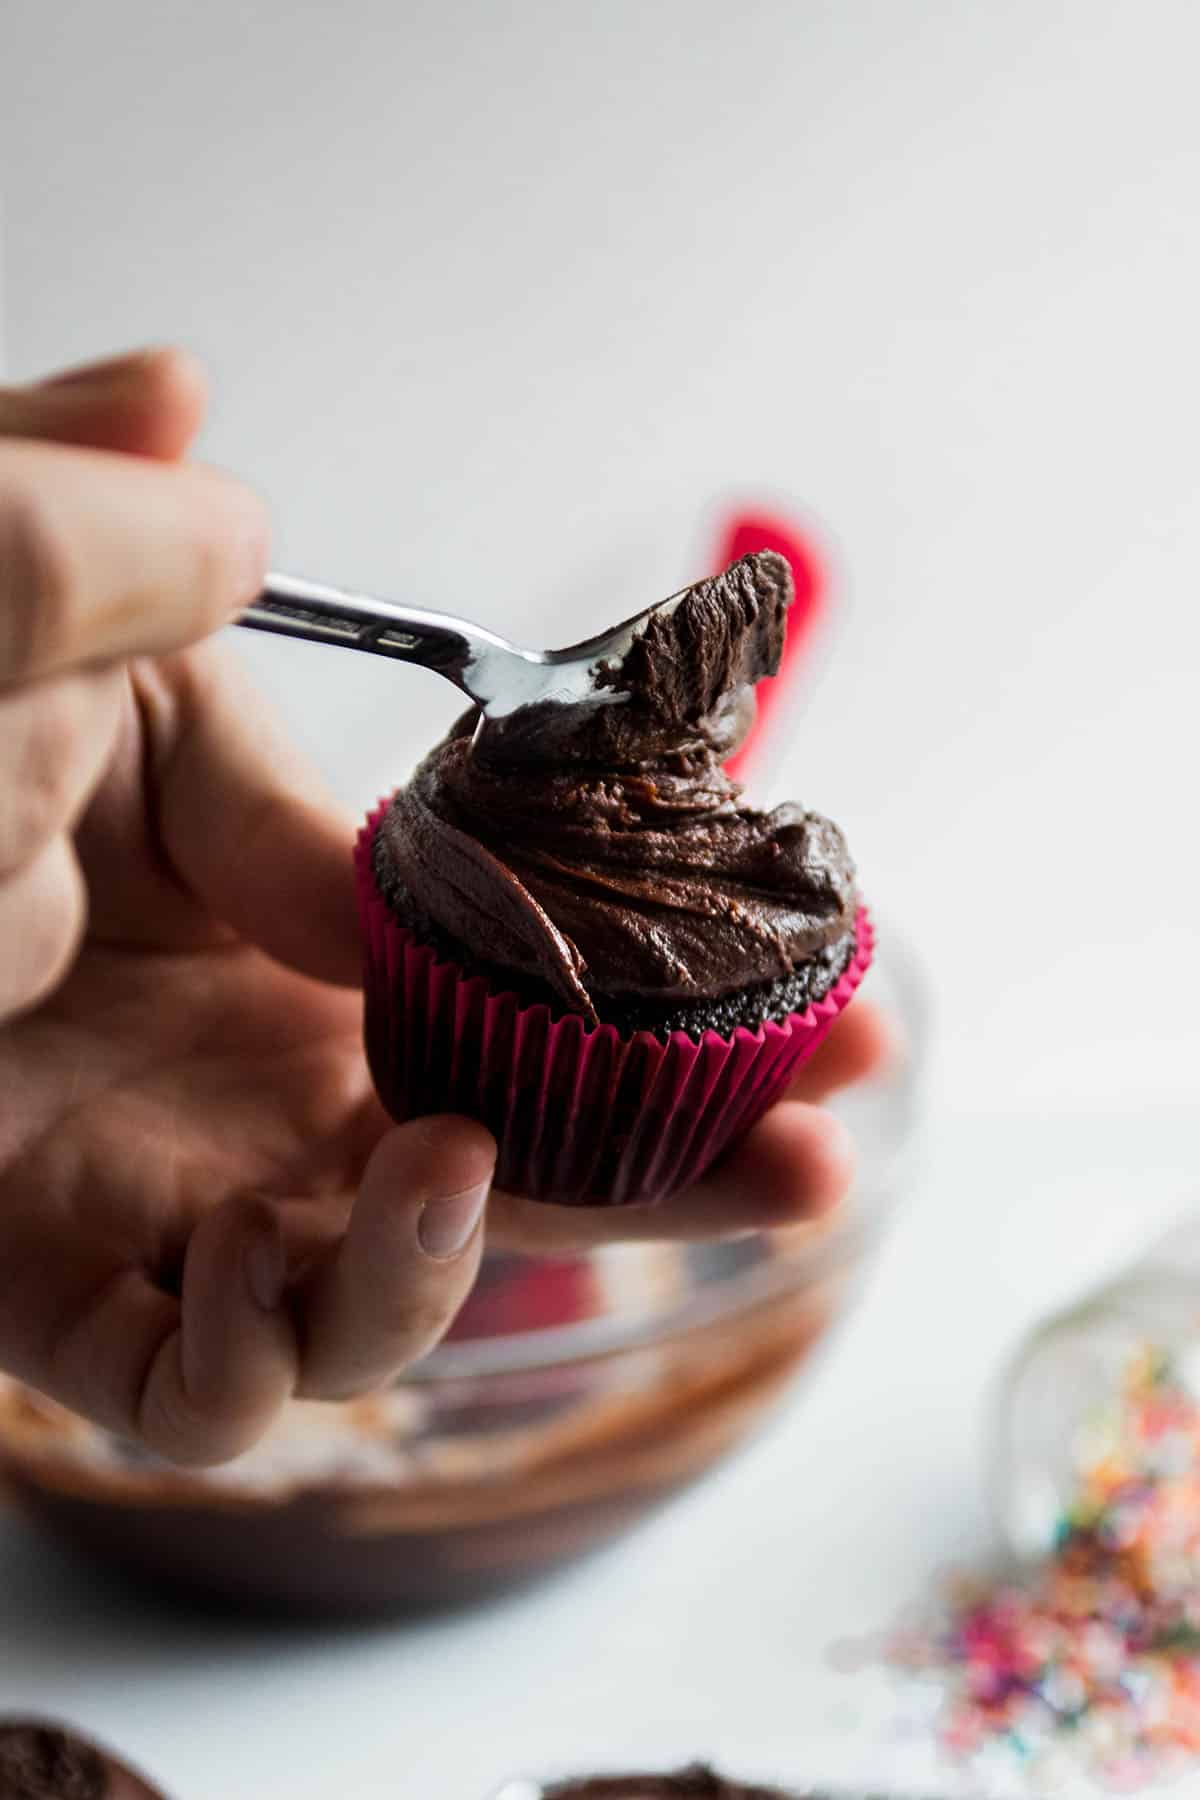
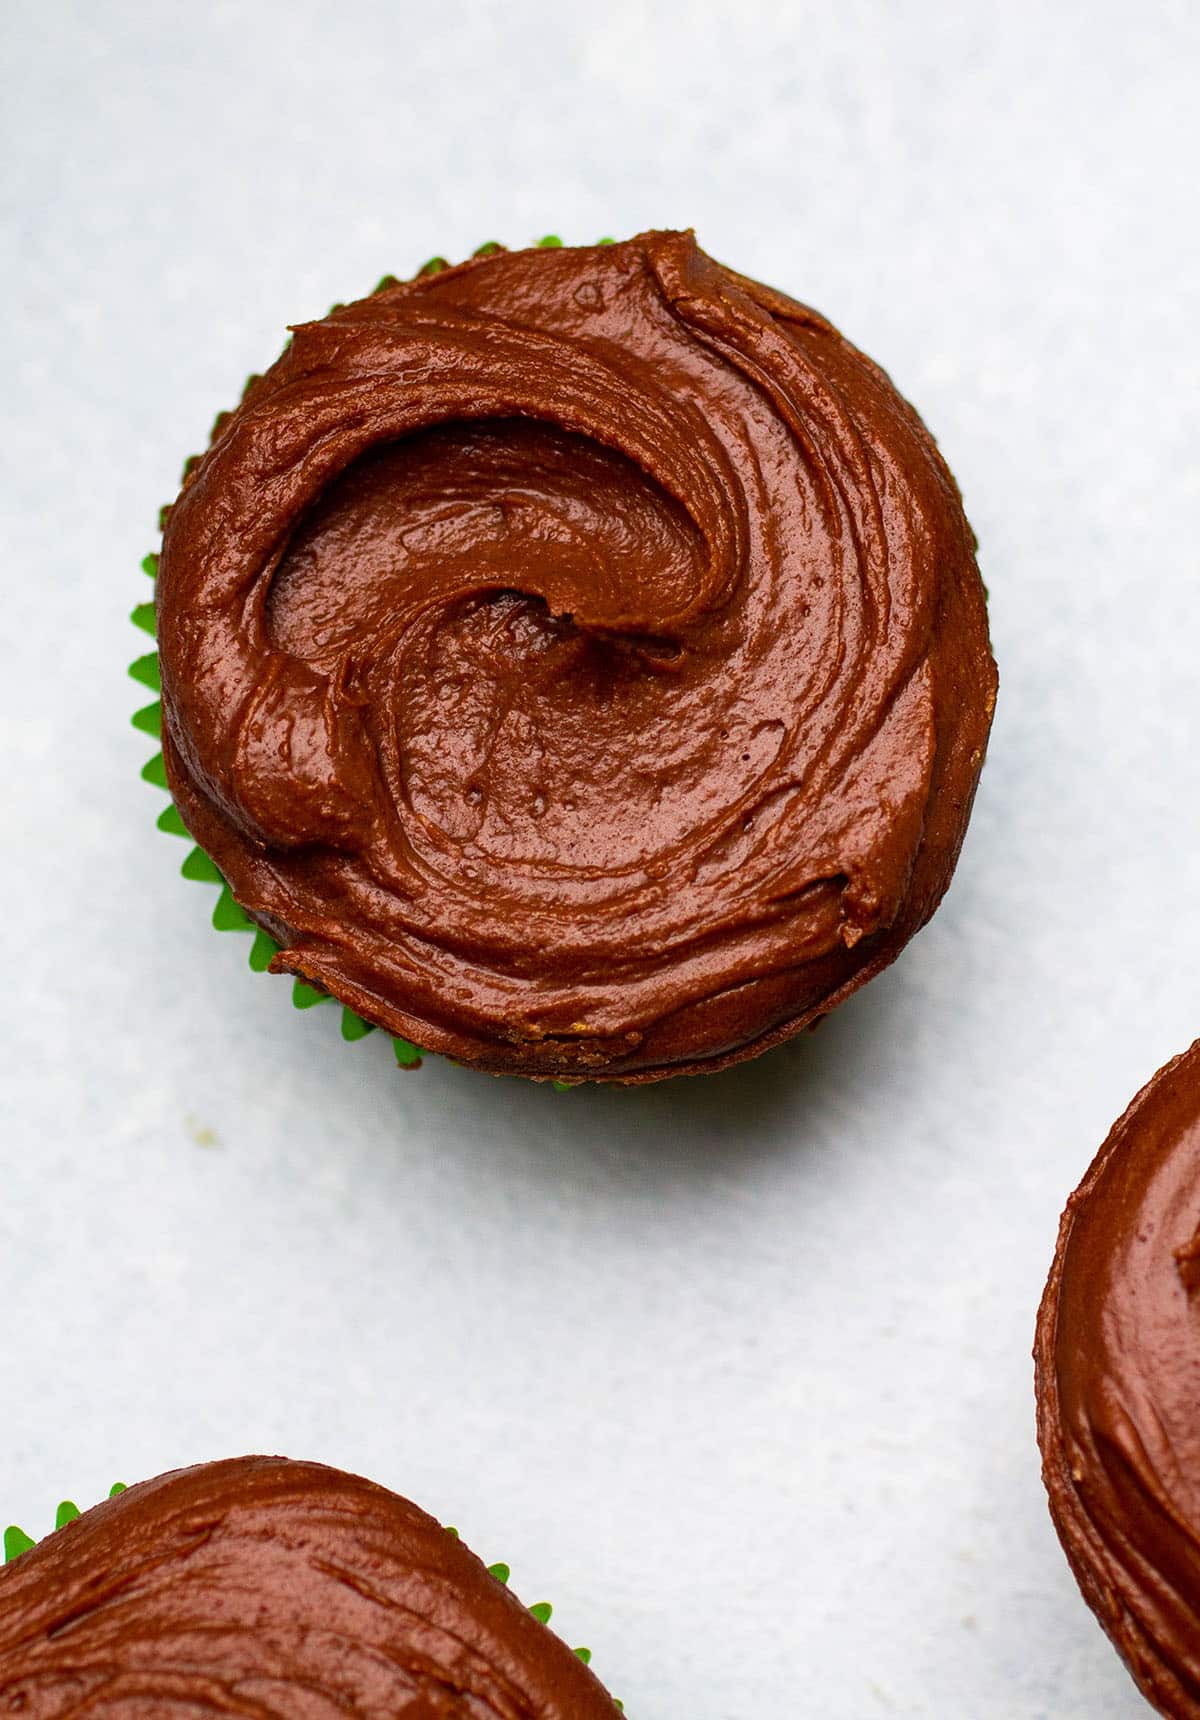
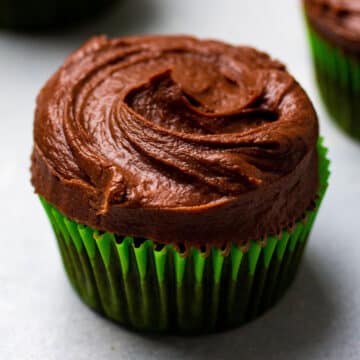
If you're frosting cupcakes, let the frosting set for a few minutes until it's soft enough to spread but firm enough to mostly hold its shape, then use the back of a spoon to swirl it onto the top of each cupcake.
This frosting can take some practice.
Don't worry if it doesn't feel super intuitive on the first go-around! It can take some practice to get a good feel for the texture and spread-ability of this frosting - it's very different from a traditional, soft buttercream!
The good news is this frosting is very easy to fix if it isn't behaving like you want (reheat it if it gets cold; add powdered sugar or let it sit for a few minutes if it's too runny!)
To get a feel for how this fudge frosting looks and behaves, we recommend using it on cupcakes the first time you make it: You'll get lots of practice spreading it around, and it's a good way to see firsthand how the frosting texture changes as it sits. Once you have a good feel for the frosting, you can start using it on sheet cakes or layer cakes as well!
A few final notes:
- If your frosting seizes up before you're done frosting your cake or cupcakes, you can microwave it on low heat (as long as it's in a microwave-safe container) in 5 second intervals, add another small splash of hot water, or heat it briefly over a double boiler to loosen it back up.
- The color of this frosting will vary depending on the cocoa powder that you use. Don't worry if it looks a little lighter or darker than the photos here! For a full breakdown of the differences between cocoa powders, check out Cupcakes 101.
- Add a few drops of vanilla extract or a scoop of peanut butter to this frosting for some extra depth of flavor!
- Love the texture of this chocolate frosting recipe? Try our Maple Fudge Frosting next!
How to use this chocolate frosting
This icing is super versatile - we love it on all kinds of baked goods! A few of our favorite places to use it:
- Small Batch Chocolate Cupcakes
- Coconut Oil Chocolate Cupcakes
- Fudgy Chocolate Chip Brownies
- Chocolate Sheet Cake
- Lemon Vanilla Cupcakes
- Butterscotch Cake
A few FAQs
Yes! Use melted coconut oil instead of butter if you'd like a dairy-free/vegan frosting. Coconut oil, like butter, is easy to melt and will solidify as it cools for the perfect fudge-y texture.
Because the texture of this frosting changes so quickly, we don't recommend piping it with a pastry bag. If you're looking for a good frosting to pipe onto cupcakes (we love a good frosting swirl!) check out the buttercream frosting in our chocolate stout cupcake recipe.
For best results, mix this frosting right before you're ready to use it. It will start to set right away once it's mixed, and it gets harder to spread as it seizes up.
As written, this recipe makes enough for a thin layer of frosting on one large chocolate sheet cake (you can double it if you want a thicker layer on a cake this size), a very thick layer of frosting on an 8-inch square cake, or a generous dollop of frosting on 10-15 cupcakes.
You can if you want to, but you don't need to! This frosting's texture comes from the melted butter, so we don't need to whip air into it the way we would if we were making a fluffy buttercream. A hand beater on low speed works fine here if you want to cut down on the manual mixing. If you use a stand mixer, be sure to pause the mixer to scrape down the sides and bottom of the bowl frequently.
📖 Recipe
Chocolate Fudge Frosting
- Prep Time: 5 minutes
- Cook Time: 5 minutes
- Total Time: 10 minutes
- Yield: About 2 cups 1x
- Category: Dessert
- Cuisine: American
- Diet: Vegetarian
Description
This easy chocolate fudge frosting is perfect on cakes, cupcakes, brownies, and more!
Ingredients
- 3 ½ cups powdered sugar
- ¾ cup cocoa powder
- pinch of kosher salt
- ½ cup melted butter
- ⅓ cup hot water (you may not need it all)
Instructions
- Mix powdered sugar, cocoa powder, and a pinch of salt together in a large mixing bowl.
- Stir in the melted butter. It will quickly clump up into a crumbly, sandy mixture - that’s what we want!
- Add hot water to powdered sugar mixture a Tablespoon at a time, stirring well between each addition (you likely won't need all the water!) The frosting will slowly start to come together. Continue stirring, adding water as needed, until the frosting is quite thick: It should have the consistency of warm fudge or a thick pudding. (It won’t look or feel like the traditional buttercream or whipped frostings we’re often used to!)
- Spread frosting over your prepared cake or cupcakes. Work quickly here - the frosting will set and harden as it cools. Let it sit at room temperature for an hour or so to fully set, then serve and enjoy!
Notes
How hot should my water be? The water here should be quite hot - nearly boiling - for best results. We usually heat water to the highest setting in an electric tea kettle, but you can also heat it in a small saucepan on the stovetop or (carefully) in the microwave. If you don’t have the time or equipment to heat water this way, you can use water straight from the tap on its hottest setting - it won’t keep the frosting soft for quite as long, but it will still work!
How much frosting does this make? As written, this recipe makes enough for a thin layer of frosting on one large sheet cake, a very thick layer of frosting on an 8-inch square cake, or a generous dollop of frosting on 10-15 cupcakes.
Fudge frosting will seize and harden as it cools, so work quickly to frost your cake. If the frosting is too thin (this often happens when too much hot water is added) add extra powdered sugar or let it cool on the counter for a few minutes to thicken it up. If frosting is too thick, stir in an extra splash of hot water or zap it in the microwave (using a microwave-safe bowl) for 5-second intervals to loosen it.
This frosting works best on cupcakes and sheet cakes. As it cools, the frosting will become more difficult to spread, so use it on low-maintenance cake styles like a sheet cake or cupcakes (rather than a layer cake) for best results. Because the consistency changes as it cools, we don't recommend piping this frosting with a pastry bag.
Frosting will last up to 4 days in an airtight container on the counter once it’s applied to your cake or cupcakes. After a few days, the frosting will lose some of its texture and start to release some of its moisture, which can make the cake below a little bit sticky. For best results, frost your cake as soon as you mix the frosting, and eat it within a day or two!
For a dairy free and vegan frosting, use melted coconut oil in place of the melted butter here.
Nutrition
- Serving Size: 3 Tablespoons
- Calories: 259
- Sugar: 41.2 g
- Sodium: 127.6 mg
- Fat: 10.1 g
- Carbohydrates: 45.7 g
- Protein: 1.3 g
- Cholesterol: 24.4 mg
coley
This was perfect for the cupcakes I made last weekend. It's so chocolatey and rich, without being overly sweet. Thanks for a great recipe!
Team Life As A Strawberry
WAHOO! We're so happy you loved it!