This easy (and we mean EASY!) homemade French bread recipe is sure to be a hit! Homemade dutch oven bread that's ready in just a few hours - no overnight rise. Crispy crust on the outside and soft, airy bread on the inside! Vegetarian.
WE NEED TO TALK ABOUT THIS BREAD. ⬆⬆⬆ ⬇⬇⬇
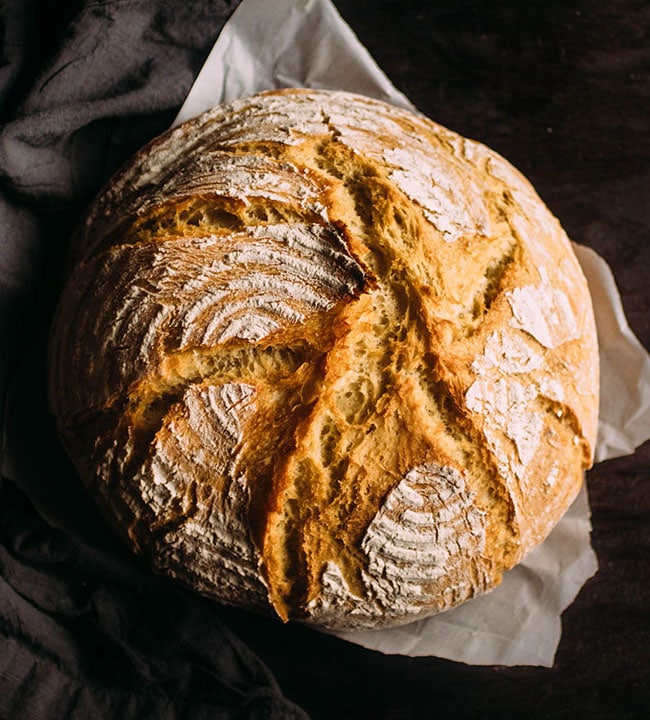
What you need to know about this crusty bread:
- It's ready in under three hours. No overnight rise necessary!
- It's ultra-forgiving. Read through ALL of our recipe notes for best results!
- No Dutch oven? You can still make great bread - check out this post for our best tried-and-true alternatives.
- YOU CAN MAKE THIS BREAD ⬇⬇⬇. I PROMISE.
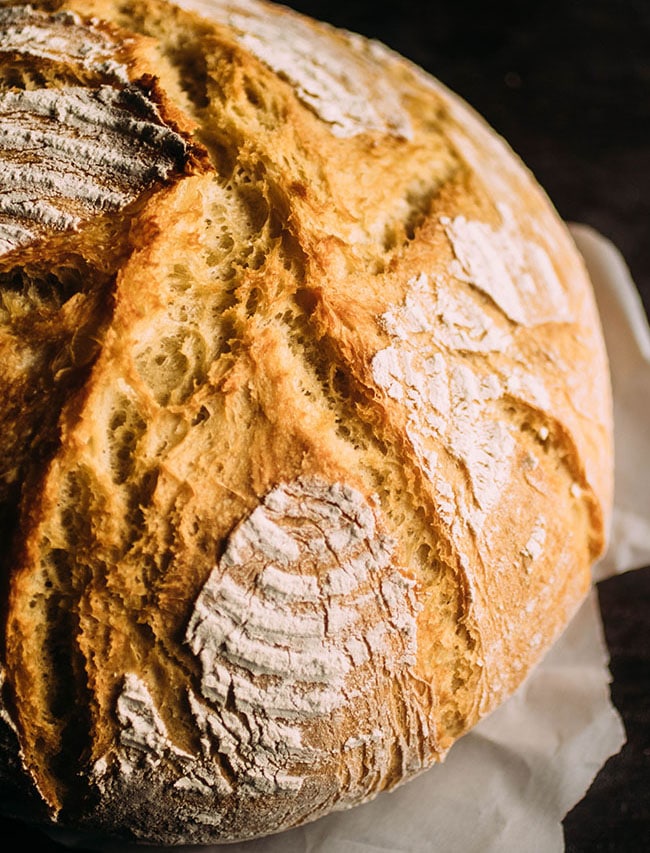
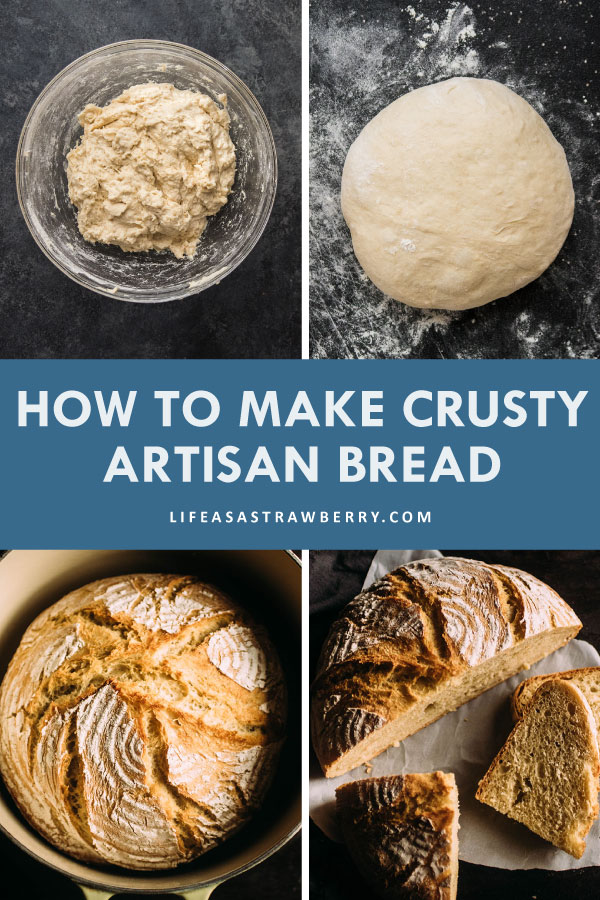
The basic order of operations for this artisan bread:
The instructions may look a little long, but they're all basically just notes on technique - so don't let the number of steps intimidate you!
After a couple of adventures with this bread, you'll be able to throw it together in your sleep.
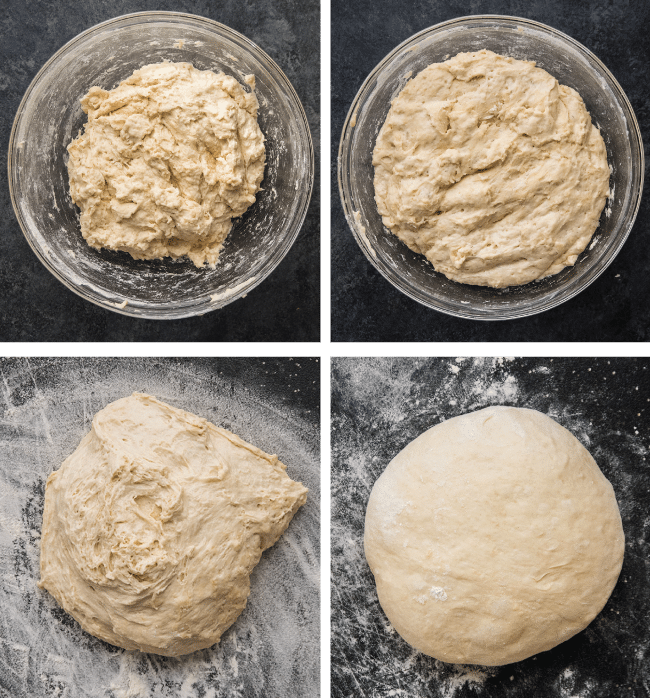
- Mix the dough (10 minutes) This is a very slack dough (also known as a wet or sticky dough) - it won't form a ball or be immediately elastic like some recipes you might be used to! The dough will be shaggy and somewhat sticky, but it will smooth out as the gluten develops while it rises and again when it's time to shape.
- Let the dough rise (1 hour) Kick back, relax, and let your dough do it's thing!
- Shape the dough (5 minutes) Lightly flour a cutting board, tip the dough out, and gently form it into a round loaf (watch the videos below to see exactly how we do this!)
- Let the dough rise one final time (30 minutes) When your dough is shaped, pop it into a medium-sized bowl or proofing basket to rise for 30 minutes while you preheat the oven.
- Bake (45 minutes) Carefully transfer the bread to your preheated Dutch oven (or use an alternative method!) I like to use a piece of parchment paper to make it easier to lift the bread in and out of the pot. Bake for 30 minutes with the lid on, then remove the lid and bake another 10-15 minutes to help the bread develop more color.
- Let the bread cool, slice, and enjoy!
If you're serious about homemade bread, you may enjoy using a proofing basket (it's one of my favorite kitchen tools!) to help the bread keep its shape while it rises. You also end up with beautiful flour rings on the crust! We like to use an 8- to 9-inch proofing basket for a single loaf of bread.
If you don't have a proofing basket, no worries! Just use a medium-sized (8- or 9-inch diameter) mixing bowl to let the bread do its final rise before you bake it. Flour the bowl well to prevent sticking!
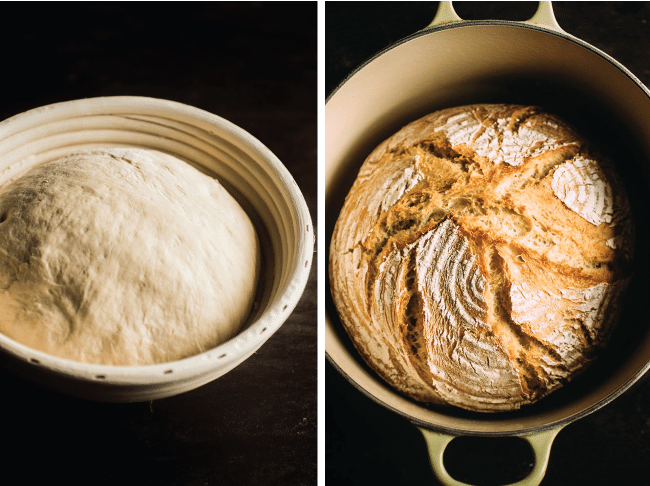
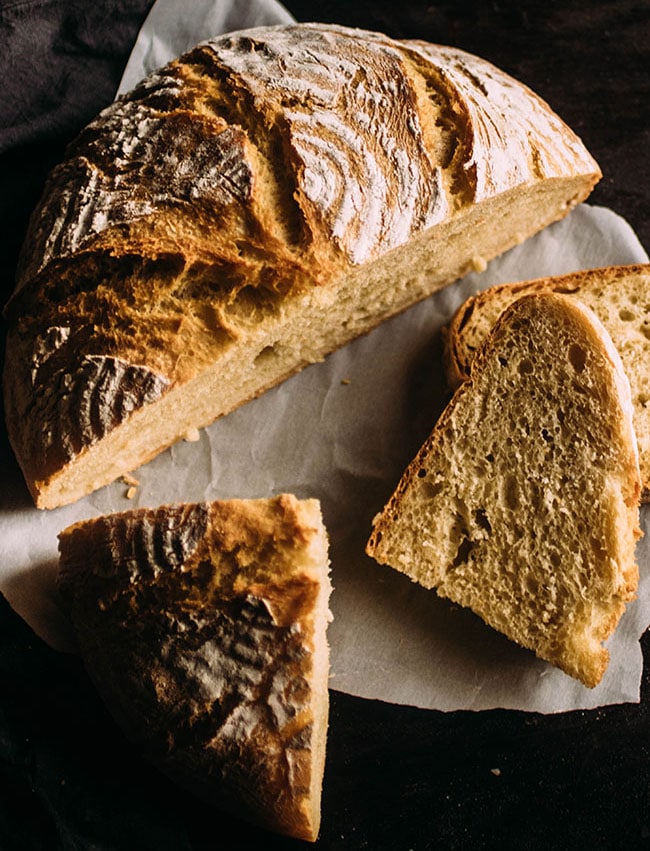
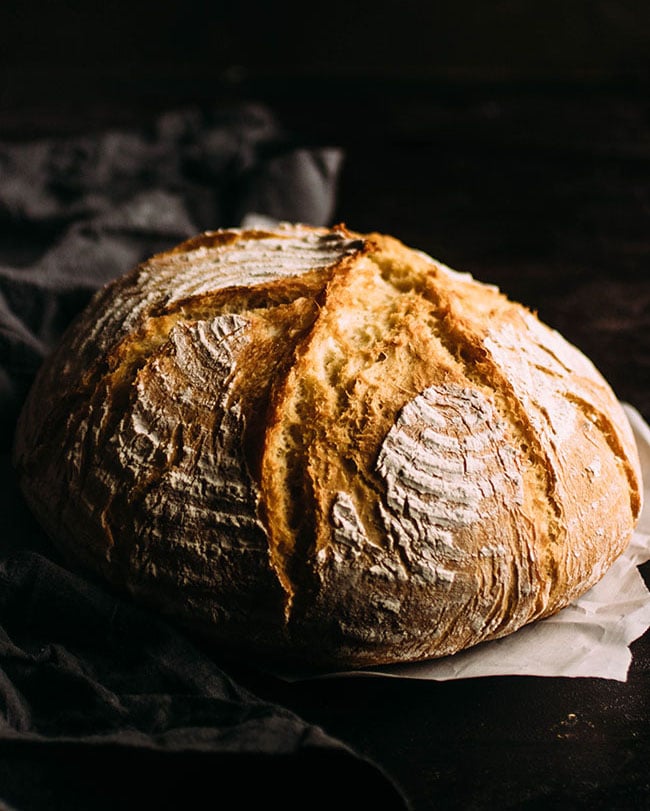
The crackly brown crust here is the result of baking this bread in a Dutch oven. By keeping the lid on while the bread bakes, you create a nice steamy atmosphere inside the pot - and the steam is what gives the bread that crispy, magical crust. (Read more about the importance of steam in bread baking here!)
HOMEMADE BREAD FAQ
This section is LONG - but we wanted to cover the most frequent questions we get! Feel free to skip right to the recipe, but please do utilize this section if you run into questions while you're baking. For additional training videos, tips, and recipes, check out Everyday Artisan Bread!
- My dough feels too wet. This is a very slack (wet) dough - the dough should feel quite shaggy and a bit sticky when mixed. This dough should NOT pull away from the sides of a bowl into a smooth, elastic ball like other recipes you may have used. Don't worry - it will become more elastic as gluten develops while the dough rises! If you are still worried about the consistency of the dough, feel free to mix in more flour ¼ cup at a time - especially if you measured your flour by volume (in cups, which can frequently result in using too much or too little flour) rather than by weight with a kitchen scale.
- Related: Please use a kitchen scale! If you already have a scale, please use it. Just set the scale to grams, place an empty bowl or container on top, set the scale to zero, and add your ingredients until it reaches the right weight. If you don't have a scale, you can still make great bread without it - just make sure to follow the notes in the recipe below - but if you plan to bake bread a lot, a scale is definitely worth the investment!
- Can I use rapid rise or instant yeast for this recipe? Yes - just reduce the amount of yeast to 1 ½ teaspoons (about 25% less than we use with Active Dry Yeast).
- How do I stop the bottom of my loaf from burning or overbaking? There are a bunch of ways to adjust if the bottom of your bread is burning! 1. use an oven thermometer to check the true temperature of your oven (I've had ovens that are off by as much as 40 degrees in one direction!) 2. Make sure your oven rack is in the center of your oven (or, if burning occurs while baking in the center of your oven, move your rack one notch farther away from your heat source). 3. Try placing a sheet pan directly underneath your Dutch oven when baking to redistribute some of the heat, or 4. preheating your Dutch oven for half the time. 5. Some testers also have good luck placing a baking steel or pizza stone on the rack directly below the Dutch oven, again to redistribute some of the heat. 6. Make sure to use a piece of parchment paper to lift the bread in and out of your Dutch oven. 7. Dust the bottom of your loaf with a thin layer of cornmeal before placing it into the Dutch oven to form a barrier between the dough and the hot surface. 8. Try preheating and baking at a slightly lower temperature (between 425 and 450 degrees F) OR preheating at the suggested temperature of 460 and then turning the oven down to 425 degrees F once you put the bread in. Don't worry if it takes a few tries to find your sweet spot - ovens and equipment can vary wildly when it comes to heat distribution, and a big part of bread baking is figuring out your oven's own unique quirks so you can consistently get the results you want!
- Can I double this recipe? Yes - double everything except the yeast in this recipe for best results*. After the first rise, divide the dough in half and form two loaves (our preference) or form one large loaf. If you bake a large loaf, you will likely need to extend the bake time and it may not cook quite as evenly - just keep an eye on it and use your best judgment! (*the converter in the recipe card below may tell you to double the yeast as well, but you really don't need to. We just can't figure out how to turn the converter off *facepalm*)
- Can I halve this recipe for a smaller loaf? Yes! We have a scaled-down version of this recipe (with adjusted measurements and instructions!) in our Small Batch Crusty Bread post.
- How hot should my water be? A good rule of thumb is "warm to the touch." Too-hot water (typically 130-140 degrees F and above) will kill your yeast, but use too-cold water and your yeast will take too long to activate. We typically use water that's between 95 and 110 degrees Fahrenheit for our Active Dry Yeast. You should be able to comfortably hold your hand under water running at about 100 degrees - it should feel warm, but not hot. Use a kitchen thermometer for a precise measurement if you like!
- A note about salt: Every brand of salt will perform a little differently. If you're measuring by volume, using Morton Kosher Salt, 1 ¼ teaspoons is usually plenty. If you're using Diamond Crystal Kosher Salt, you may want to use 1 ½ teaspoons since it's significantly lighter/less salty than other brands. If you're using table salt, you'll typically be fine sticking to 1 ¼ teaspoons, but if you prefer less salt in your food, you can dial it back to 1 teaspoon. We recommend measuring your salt by weight to keep things simple!
- What kind of Dutch oven should I use? We recommend using a 4- to 6-Quart Dutch oven. We have tested our artisan crusty bread recipes in Le Creuset, Lodge, Staub, and Marquette Castings Dutch ovens. All work well! Le Creuset and Staub are generally our favorite brands - they do a great job of controlling and evenly distributing heat, and are especially easy to clean. Lodge and Marquette Castings also work well (though if you're used to a Le Creuset, you may notice some differences) and are perfect if you're looking for a budget-friendly option.
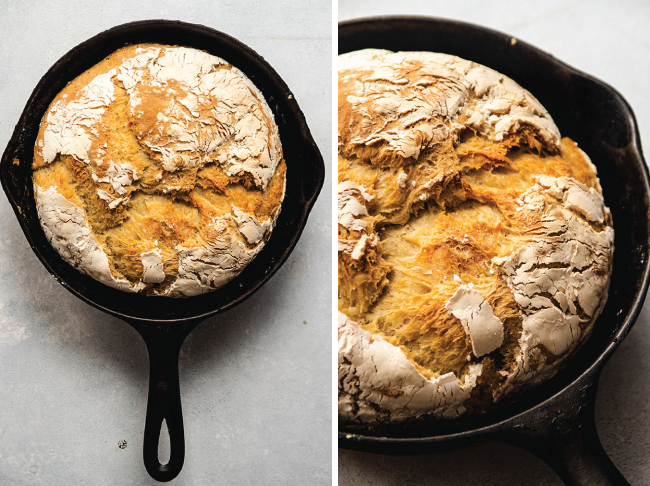
- Can I bake this bread without a Dutch oven? Definitely! Read this post for our favorite Dutch oven alternatives (you likely have most of them in your kitchen already!)
- What kind of flour should I use? After extensive testing, we recommend King Arthur All Purpose Flour or Bob's Red Mill All Purpose Flour. If you have bread flour and would like to use it, you certainly can! But it's not necessary. If you don't have Bob's or King Arthur, use whatever All Purpose Flour you have on hand (but add one of those brands to your list for next time - you'll notice a difference!) The only flour we do NOT recommend is Pillsbury - it was consistently the toughest flour to work with in our testing and always created a dough that tore rather than stretched (which we don't want here!)
- How should I store this bread? Store half-loaves cut-side down on a cutting board on the counter for up to 24 hours (no need to cover!) to keep the crust crispy and the interior moist. Store sliced bread in an airtight container in the freezer for 3-4 months (toast it up as needed!) or in an airtight container on the counter for 3-4 days. Freeze a full loaf by wrapping the bread in plastic wrap and popping into the freezer for 3-4 months, then defrost on the counter for a few hours when you're ready to eat (we prefer to avoid plastic, but haven't found a better alternative for this yet - bee's wrap just doesn't do as good of a job here!)
- Can I make this bread with whole wheat flour? Yes! We recommend substituting no more than 50% whole wheat flour for best results.
- My bread didn't rise, or it doesn't have enough big air pockets. Because this is a quick bread recipe with a short rise time, it will typically be a shorter loaf with a tighter crumb (fewer air pockets) than a sourdough recipe or a yeast bread that rises for 8+ hours. If you'd like bigger air pockets and/or a taller loaf of bread, give the gluten in the dough more time to develop by mixing the dough, covering with plastic wrap or a reusable bowl cover, and letting it rise in the fridge overnight. The next day, bring dough to room temperature on the counter, shape and bake as directed! PS - We have a ton of different baking timelines and tips like this in our course!
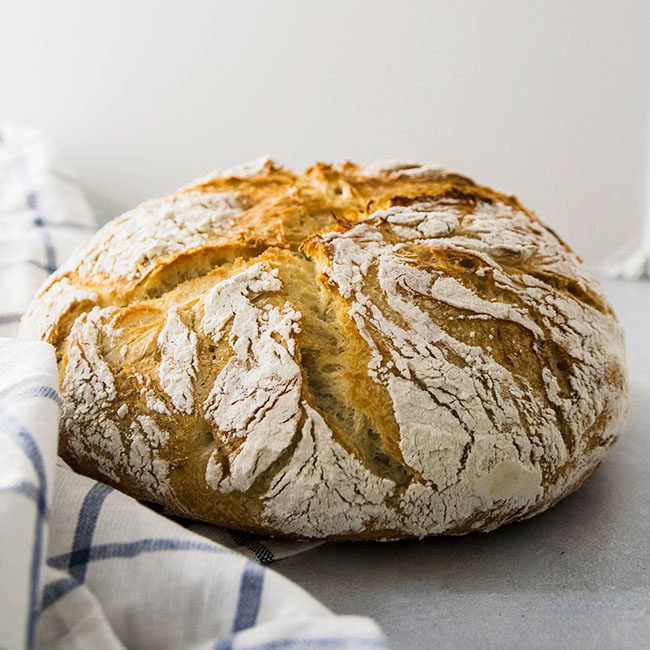
- Can I add fruits, flavors, or other mix-ins to this bread? Yes! Check out our Roasted Garlic & Rosemary Crusty Bread or our Easy Crusty Asiago Bread for a few of our favorite flavors. Add fresh or dried herbs, spices, roasted garlic, nuts, or dried fruit to the dough right when you mix it. For anything that may release more moisture - fresh fruit, olives, etc. - we recommend folding it in as you shape the bread. Pull the dough into a large circle, spread an even layer of mix-ins across it, then fold dough into the center as directed and repeat until you've added all of the mix-ins.
- Why did my loaf flatten or not hold its shape? Typically, this happens when we haven't built enough strength into the dough before baking. Because this is a relatively quick bread recipe, we lose out on the strength that builds while gluten networks develop over a long rise - so we build strength into the dough by folding it over on itself many times during shaping. If your loaf isn't as tall as you'd like, first be sure to thoroughly mix the dough so that no dry bits of flour remain. You may also want to knead the dough a few times by hand (you can do this right in the mixing bowl) or let your mixer run an extra minute or two with the dough hook attachment. Next, while the dough does its first rise, you can perform one set of "stretch and folds" at the half hour mark to increase strength. Finally, when shaping the dough, be sure to fold the dough over on itself several times until the dough feels tight and begins to resist your folding. Keep in mind that because this bread is made on a quick timeline, it won't typically rise as high as a hearty sourdough loaf or other bread that has had hours or even days to proof. We cover a ton of techniques to bake taller, more open bread in our online course.
- Why don't you transfer the dough to an oiled bowl during the first rise? We don't find it's necessary to add this extra step with this quick recipe, and we wanted to keep it as simple as possible. We just let the dough rise right in the mixing bowl and then run our hands under cold water to coax the dough out without sticking when it's time to tip the dough onto the cutting board. You can absolutely transfer the mixed dough to a lightly oiled bowl for its first rise if you like! A previous version of this recipe had you add a dusting of flour during this first rise; we omitted this step in later revisions to simplify the instructions.
- What is the hydration of this loaf? If you're familiar with baker's percentages, this bread is about 75% hydration by weight as written.
Trouble playing a video? Try disabling your ad blocker.
VIDEO 1: HOW TO MAKE CRUSTY BREAD WITH A STAND MIXER (NO PROOFING BASKET)
VIDEO 2: HOW TO MAKE ARTISAN BREAD BY HAND (WITH PROOFING BASKET)
VIDEO 3: HOW TO SHAPE A LOAF OF BREAD (TUTORIAL)
This video tutorial is an excerpt from our online course, Everyday Artisan Bread!
📖 Recipe

Easy Crusty French Bread
- Prep Time: 15 minutes
- Inactive Time: 1 hour 30 minutes
- Cook Time: 45 mins
- Total Time: 2 hours 30 minutes
- Yield: 1 loaf (about 6-8 servings) 1x
- Category: Bread
- Cuisine: American
- Diet: Vegan
Description
Easy dutch oven bread ready in just a few hours - no overnight rise needed.
Ingredients
- 2 ¼ teaspoons active dry yeast (9 grams)
- 1 teaspoon sugar (4 grams) (use honey if you prefer)
- 1 ¼ cups warm water (300 grams)
- 1 ¼ teaspoons (8 grams) kosher salt
- 2 ½ to 3 ½ cups All-Purpose Flour (400 grams) plus extra for dusting (see recipe notes)
Instructions
MIX THE DOUGH & FIRST RISE (1 HOUR):
- Combine yeast, sugar, and warm water in a large mixing bowl (you can also use a stand mixer fitted with a dough hook).
- Let the yeast proof for about 5 minutes, until the mixture is foamy.
- Add flour to bowl. Mix with a sturdy spatula until the dough starts to come together, then add salt and mix until all ingredients are incorporated. For best results, mix until no dry bits of flour remain. Note: This is a relatively slack (wet) dough, so it may seem a bit shaggy and sticky at this point. Don't worry - it will become more smooth and elastic as we go!
- Cover bowl with a clean tea towel and let rise on the counter for about 1 hour, until dough has doubled in size.
SHAPE THE DOUGH & FINAL RISE (30 MIN):
- When dough has risen, lightly flour a large cutting board.
- Tip the dough out of the bowl and onto the cutting board. DO NOT PUNCH THE DOUGH DOWN - you want to keep all those nice air bubbles intact so you have an airy, delicious loaf of bread. (Note: If the dough is sticking to the bowl a little bit, wet your hand with a bit of cold water and gently separate the dough from the bowl to get it all out).
- Shape the dough into a round loaf: Pull each corner of the dough in towards the center (like you're folding an envelope) and repeat until the dough feels tight and begins to resist your folds. Flip the dough over and pull it into a round loaf. Watch the video(s) above to see exactly how we do this!
- Flour a proofing basket or a medium bowl and place your loaf into it seam-side down. Cover with a tea towel and let rise another 30 minutes or so while you preheat the oven. Note: I like to line my proofing basket or mixing bowl with a clean linen napkin to distribute the flour more evenly and help with cleanup.
HEAT THE OVEN :
- While bread is rising, place an empty dutch oven (with the lid on) in your oven and heat to 460 degrees Fahrenheit.
BAKE!
- When the oven is hot, you're ready to go! Use oven mitts to pull the dutch oven out and remove the lid.
- Lay a piece of parchment paper down on your counter or cutting board (optional - it makes transferring the bread easier!)
- Tip your bread dough gently out of the proofing basket onto the parchment paper. Make sure the seam side is up this time - this is what will create those beautiful cracks on top of the bread!
- VERY CAREFULLY (without burning yourself!) use the sides of the parchment to lift the bread up and place it into the hot Dutch oven.
- Put your oven mitts back on, place the dutch oven lid back on the pot, and slide the whole thing back into your hot oven.
- Cook bread for 30 minutes.
- After 30 minutes, remove the lid from your dutch oven. The bread should be taller, crusty, and very lightly browned. Continue cooking the bread, uncovered, for 10-15 minutes more until the bread has deepened in color and you have a beautiful brown crust.
- When bread is done, use oven mitts to pull the pot out of your oven.
- Use a long spatula or the corners of your parchment paper to lift the bread out of the dutch oven and onto a cooling rack. Let cool for at least 30 minutes before cutting into it.
- Slice, slather with butter, and enjoy!
Notes
How to measure flour: If you have a kitchen scale, please use it! Measuring by weight is MUCH more accurate than measuring by volume (with cups) and will give you more consistent bread. That being said, you can certainly make great bread without a kitchen scale! To measure flour in cups: If you measure flour by dipping your cup straight into the bag or bin and shaking off the excess, plan to use about 2 ½ cups of flour. If you measure by stirring the flour with a spoon or scoop before scooping it into a measuring cup and leveling it off, plan to use about 3 cups of flour. You can always add more flour if you need to - just be aware that this is a relatively slack (wet) dough, so it will be a bit shaggy and sticky at first (but it will smooth out and become more elastic as it rises and again as you shape it!)
Equipment. We recommend a 4- to 6-quart Dutch oven for best results. Le Creuset and Staub are our favorites, but Marquette Castings and Lodge also make solid options that are more budget-friendly. If you don't have a Dutch oven, see this post for alternative baking methods (you can still make great bread without fancy equipment!) Please make sure that your Dutch oven is fitted with a metal (rather than plastic) knob on its lid for best results, and please check the care instructions on your individual equipment before baking. We use this 8.5-inch proofing basket, but an 8- or 9-inch banneton or medium-sized mixing bowl also work well for the final rise.
PLEASE READ THE POST ABOVE FOR OUR COMPLETE FAQs, TIPS, AND ADVICE. We've gotten so many amazing questions from you - we wanted to be sure to answer as many as we can as thoroughly as we can, but if we put our answers here in the recipe it would make it very annoying to print. Please check the FAQ section in the post above if you have a question or run into a problem!
Love this recipe? We'd love to see you in our online course, Everyday Artisan Bread, where we share exclusive training videos, worksheets, and ad-free recipes!
Nutrition
- Serving Size: ⅙ of a loaf
- Calories: 250
- Sugar: 0.9 g
- Sodium: 585.5 mg
- Fat: 0.8 g
- Carbohydrates: 52.2 g
- Protein: 7.5 g
- Cholesterol: 0 mg
HUNGRY FOR MORE? OUR FAVORITE BREAD RECIPES AND RESOURCES:
How to Bake Crusty Bread Without a Dutch Oven
Roasted Garlic and Rosemary Bread
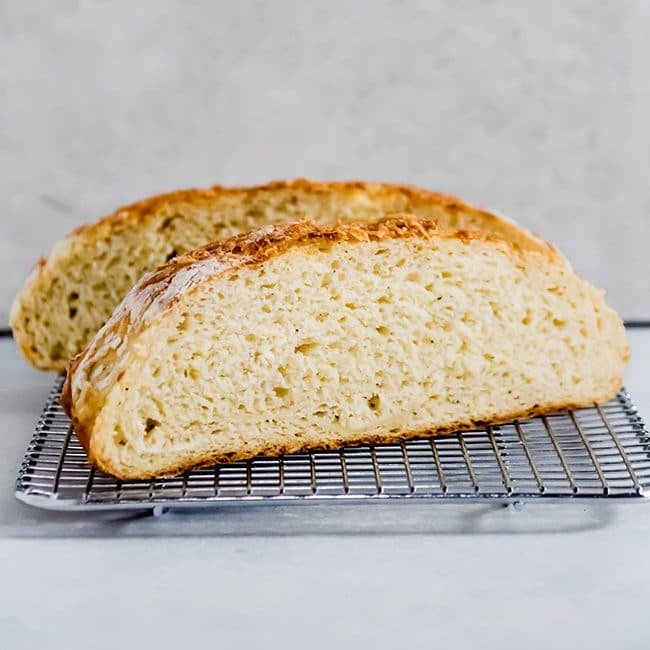
Easy Crusty Asiago Bread
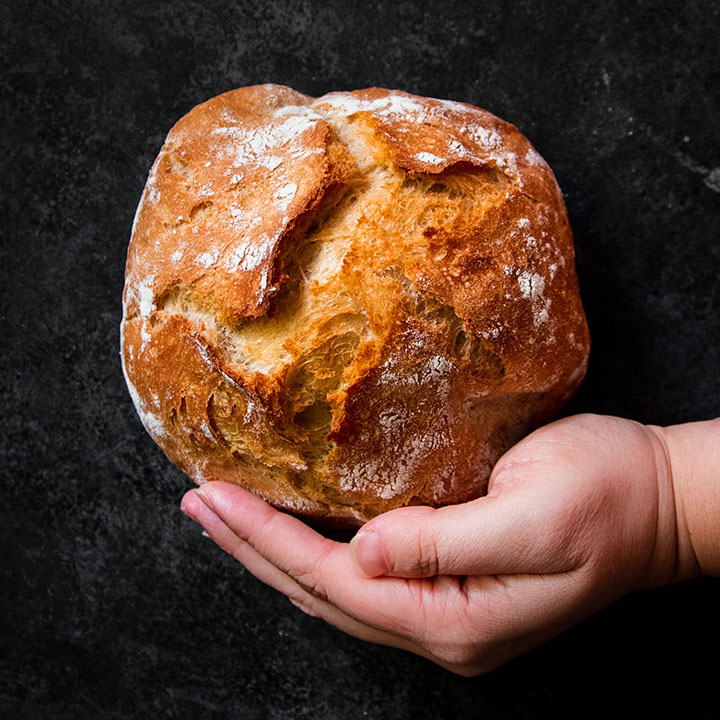
Small Batch Crusty Bread (Perfect for Two!)
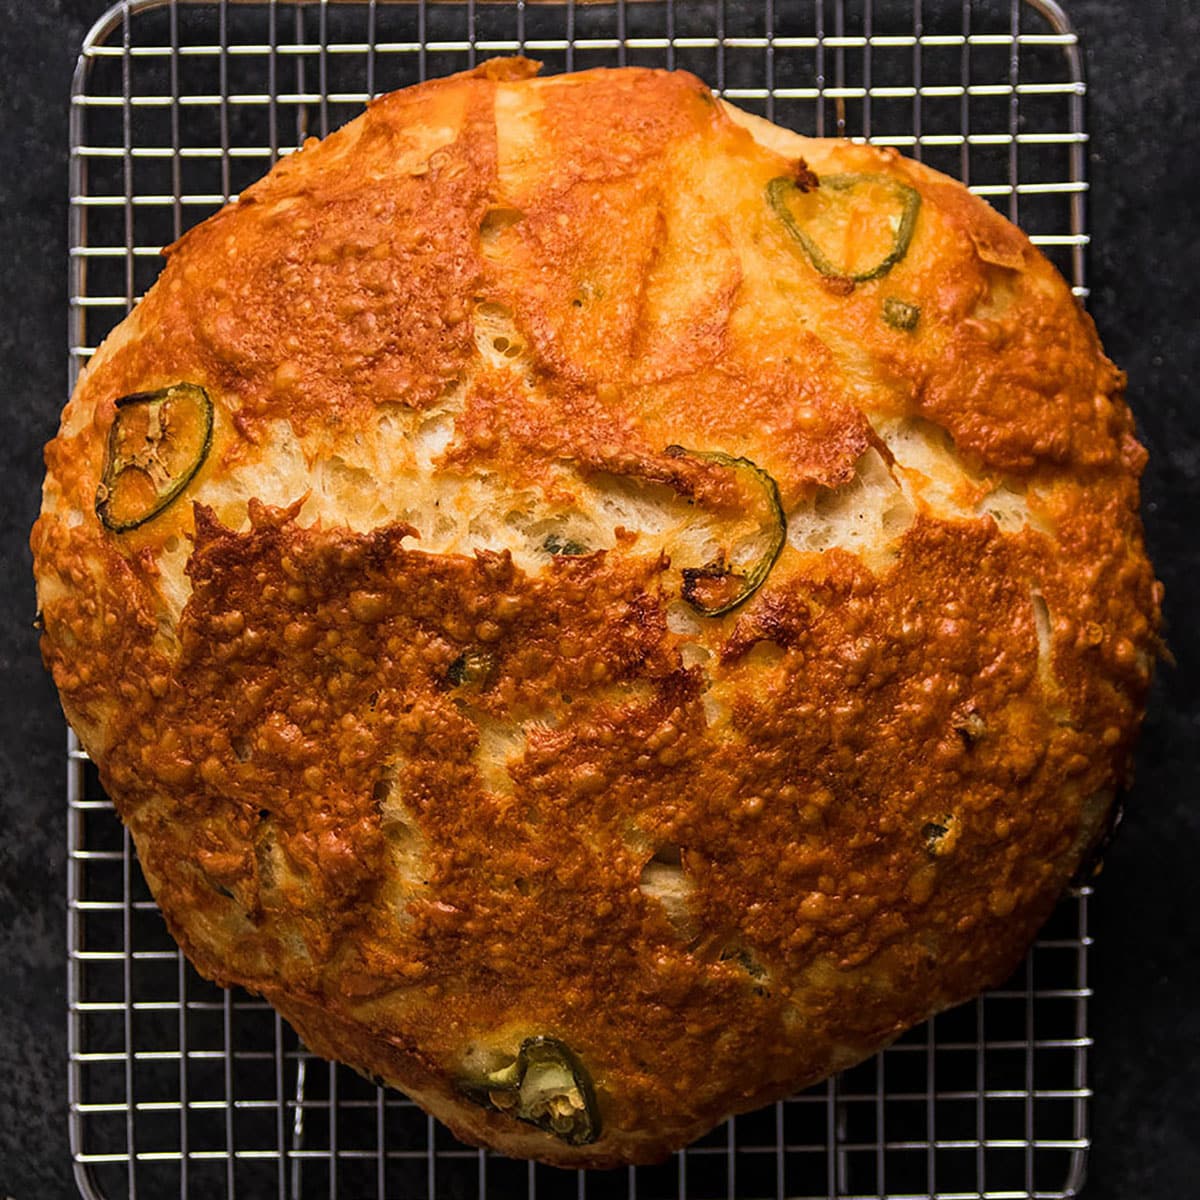
Jalapeño cheddar loaf





Libby
I have a question on using whole wheat flour. You stated this is OK but only 50%. That said, can the remaining 50% be whole wheat all pourpose bread flour or soft white whole wheat?
I am trying to avoid regular white flour?
Thank you
Team Life As A Strawberry
We have a whole lesson on using whole wheat flours in our Everyday Artisan Bread course! The basics: Whole wheat flour has more protein and texture which can affect the hydration and gluten in our dough. This recipe was created using all-purpose flour, so the closest to all-purpose you can find for the remaining 50% will have the best results - we would recommend trying the whole wheat all purpose bread flour first!
Jord
I tried half the recipe in a big stock pot with lid, no mixer, and I proofed the loaf in the same bowl. It turned out great. A full recipe might have been underdone in the middle. The loaf had good colour on the crust and tasted good, not too yeasty. My second attempt I'm going to focus on the folding and shaping to improve the crumb.
Thank you!
Team Life As A Strawberry
WAHOO! We're so glad you loved it. We have a half-loaf version of this recipe with a few tweaks to the recipe: Small Batch Crusty Bread and tips for how to bake bread without a Dutch oven.
Emily
I have repeatedly come back to this recipe for years now. It’s amazing. I just moved to a high elevation city - do you have any suggestions for how to modify this recipe? I’ve tried it a few times and it’s still delicious, just a bit more dense. I’ve tried other high elevation recipes that just don’t add up to yours when I made it at sea level! It might be a lost cause but I thought I’d ask, just in case there were others with similar issues!
Team Life As A Strawberry
We have a comprehensive (8-page!) lesson on high-altitude baking complete with recipe-specific instructions and recipe recommendations for both yeast breads and sourdough in our Everyday Artisan Bread course!
Our top recommendation is to add a little extra flour (start with 2 Tablespoons/15 grams) to the recipe. You can also experiment with shortening the rise times, using bread flour, or adding a set of stretch and folds after the first 30 minutes of bulk fermentation to build strength and control the rise time.
Kate
I have made this many times now. The only problem is with such a good recipe I’m hesitant to try new recipes!
Team Life As A Strawberry
If you enjoy our teaching style and recipes, check out our online course Everyday Artisan Bread!
Jillian
Hi! I’ve made this twice, both times it came out great with one small issue. Both times I baked the bread in my staub Dutch oven on the bottom rack in a wolf oven with specified temperature and timing. I had burning/charging on the bottom of the bread. I’ve adjusted the time a little with no change yet. Should I try to bake on the middle rack? Or should I leave the parchment paper in? I use the parchment paper to transfer the dough in, but should I leave it? Thank you!
David
Yes, you lower the bread into the Dutch oven in a parchment paper hammock and leave the parchment paper in the Dutch oven with the bread while it bakes, both during when the lid's on and off. I'd also advise baking it on the middle, not bottom, shelf. That should fix it!
Yee Mun
As a new person to bread making the videos would be super helpful to understand how to do things properly. (I trusted your expertise after much research comparing you to other websites). I am VERY disappointed by the interference of ads in the videos that jumpstarts an irrelevant cooking video in the middle of a cliffhanger to learning how to fold the dough before baking it. There’s no easy way to use your website. Please fix this for future prospects that would want to support your business.
Team Life As A Strawberry
We depend on advertising revenue to keep our website online and pay our staff. We try to keep our ads to a minimum in order to prioritize user experience, but they're a necessary evil if we want to keep the lights on. That said, we do not allow many types of ads on our website - including suggestive or inappropriate content, alcohol or cannabis products, weight-loss or get-rich-quick schemes, and political ads. If you notice one of those ads on our site, please take a screenshot and let us know so that we can get it removed! Thanks for understanding!
Michelle
I agree with the original poster. Using my iPhone, I cannot complete the video on how to correctly shape the loaf. It cuts off halfway, cuts to an add and then starts a new recipe. I had to look elsewhere for a video and hope it works for this type of bread. Advertisements are expected and understandable but the inability to see all of the content needed to finish the recipe would make me not come back.
Team Life As A Strawberry
Thanks for the details - they helped us figure out what was going on! Let us know if you still have any trouble viewing the entire shaping video.
Sawyer
This is my faaaavorite go-to bread recipe! It's easy and delicious!
Team Life As A Strawberry
We're so happy you keep coming back to it!
Jen
I’ve made this recipe several times and love it, but the past two times my bread has had barely any air bubbles and even though it’s still delicious, it’s a bit too dense. I never punch the dough or try to overwork it- maybe I’ve taken the not over working it to the extreme? Any ideas of what I might be doing wrong?
Team Life As A Strawberry
It's hard to say without being in the kitchen with you, but there are two key factors that could be affecting your bread: environment and ingredients. If it's been especially warm or humid where you live, your bread could be over-proofing in the time that used to be perfect, and the opposite is also true if your weather has been cold! Another possible cause for your bread not rising as expected is a change in ingredients like using a new brand of flour or if your yeast has expired or gone bad. We go over all these variables and more in our Everyday Artisan Bread course!
Jim B
Have to agree with George D. Measured everything by weight and this dough is a tremendous pain to deal with by hand. Far too sticky. Don't know why the second step wouldn't just call to use a stand mixer, or at least present that as an option.
Team Life As A Strawberry
This is a relatively slack (wet) dough, so it will be a bit shaggy and sticky at first, but it will smooth out and become more elastic as it rises and again as you shape it. You can always add more flour as needed to reach a texture you're more comfortable working with! This bread can also be made using a stand mixer, see the post above for the details and a video!
Kylie Cook
My bread turned out pretty dense after following this recipe. Great crust and was super easy but the interior texture wasn’t quite chewy and airy. Any idea where I may have gone wrong?
Team Life As A Strawberry
The number one culprit to a too-dense loaf is too much flour! We highly recommend using a kitchen scale for the most accurate measurements.
This quick loaf won't be as light and airy as a loaf of sourdough, but if you’d like bigger air pockets and/or a taller loaf of bread, give the gluten in the dough more time to develop by mixing the dough, covering with plastic wrap or a reusable bowl cover, and letting it rise in the fridge overnight. The next day, bring the dough to room temperature on the counter, shape, and bake as directed!
PS – We have a ton of different baking timelines and tips like this in our course!
Dani
I’m not new to bread baking, but I thought I’d try something described as easy.
It certainly is! I used a blend of white un bleached plain flour and whole-wheat flour 50/50. Great texture. The shorter rise time was helpful. The result was a neat smaller loaf with a chewy texture and a crunchy crust.
Team Life As A Strawberry
WAHOO! We're so happy to hear you loved it!
Kassi Thompson
Can I put seam side down and score it?
Team Life As A Strawberry
Absolutely! We have all the tips and tricks for more advanced techniques like scoring in our Everyday Artisan Bread course!
S
Love this recipe! Quick question, do you have to do all these steps right away? Or could we let the dough sit out (or refrigerate) to bake later? Like make the dough before work and bake at dinner time?
Team Life As A Strawberry
We're SO happy you love the bread! One option to change the timeline is to make the dough in advance and allow it to rise overnight in the refrigerator. With an overnight rise in the fridge, it usually takes 2-3 hours in the morning for your dough to come back to temperature before baking; which may not be a great fit for your work schedule. If you're a member of our Everyday Artisan Bread online course, I'd recommend using one of our all-day bread recipes for your dinner! Those recipes are exclusive to EAB and are specifically designed to rise over a long period of time while you're at work. (If you're not in the course already, you can find it at everydayartisanbread.com!)
This bread also keeps pretty well on the counter once it's baked: If you want to use this recipe but need to do the bulk of the work the morning of or day before, I'd recommend making and baking the bread as directed, but taking it out of the oven when you take the lid off (instead of letting it bake another few minutes to darken the crust after you remove the lid). The bread will be a little lighter in color but should still be "done" (to double-check, you can tap on the bottom of the loaf with your knuckles - it should sound hollow when bread is fully baked!) Let it cool and leave it on a wire rack on the counter (uncovered) for up to 24 hours, then just pop it back in the oven to heat up and brown before dinner!
Aliceann Norris
Do you have a sourdough recipe without having to make and use a starter ?
Team Life As A Strawberry
All sourdough recipes are naturally leavened using a starter, but you can achieve deeper flavor in yeast loaves using advanced techniques like an autolyse or poolish as well as integrating whole wheat flours. We go over all of these techniques and teach how to build and maintain a sourdough starter in our Everyday Artisan Bread online course!
Liz
Do I need to make any changes if I add cranberries and walnuts? More water, less flour? I hoping this recipe works cuz I don’t want to wait 12-18 hours for rise. I’m impatient lol
Team Life As A Strawberry
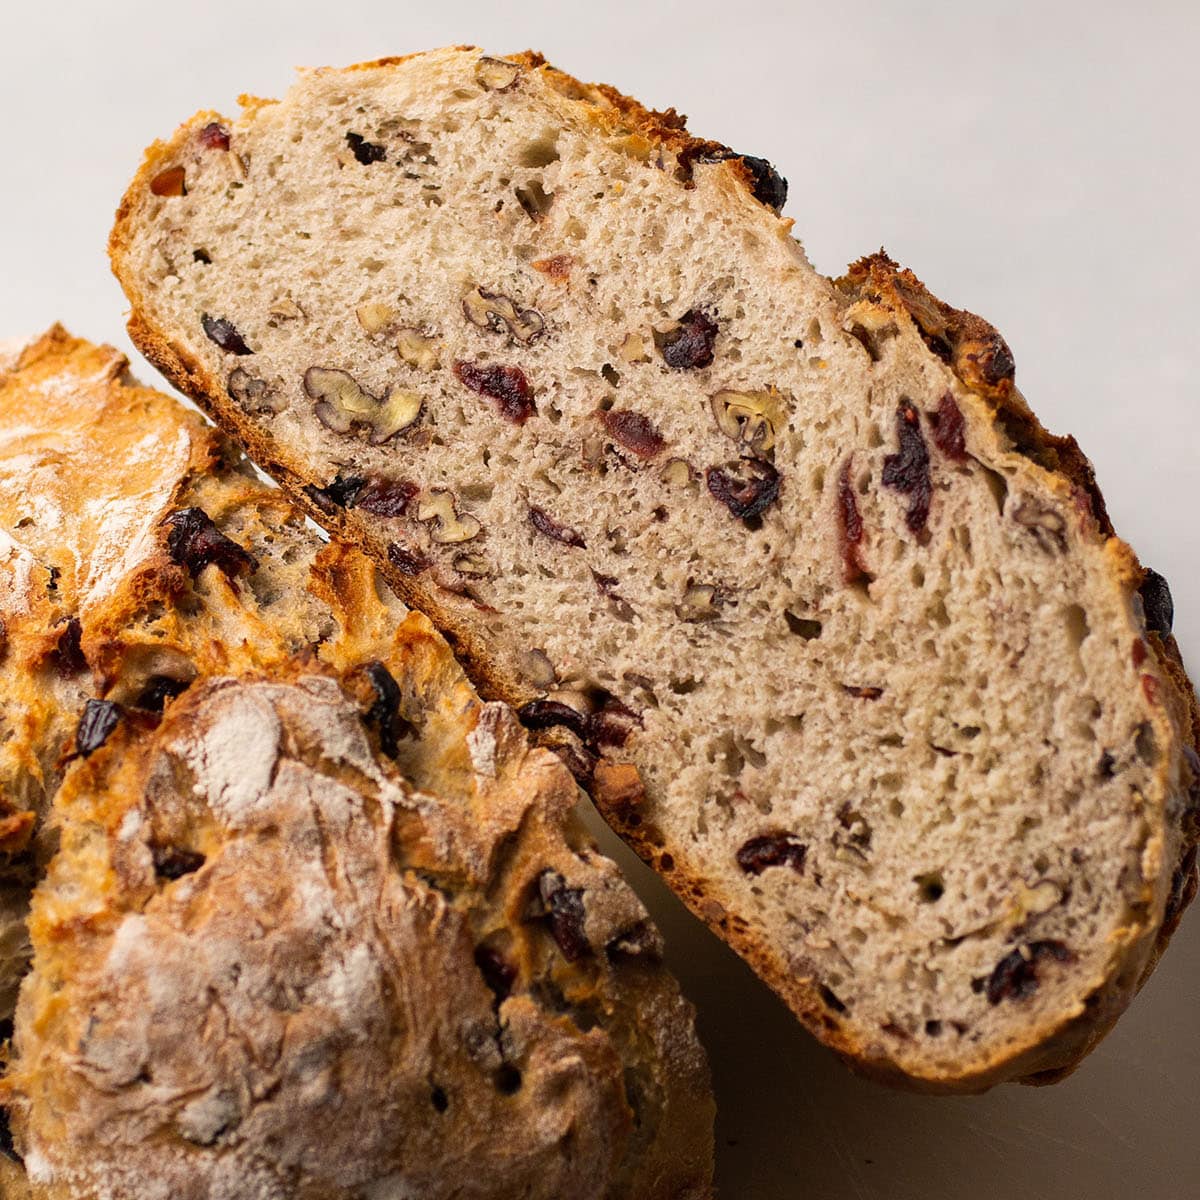
You're in luck! You can follow our recipe for Crusty Cranberry Pecan Bread and swap the pecans for toasted, roughly chopped walnuts!
Greggum
What’s best way to store this amazing bread?
if for some reason I can’t ear it all immediately…haha
Team Life As A Strawberry
Store half-loaves cut-side down on a cutting board on the counter for up to 24 hours (no need to cover!) to keep the crust crispy and the interior moist. Store sliced bread in an airtight container on the counter for 3-4 days, refreshing in the toaster as needed!
Kendra
I just love this easy recipe! I’ve made about 10 loaves over the past few weeks. My French hubby loves it and my friends who I gifted rave how delicious and beautiful it is. I’m enjoying making it so much I invested in a proofing bowl and it’s cut down on the stickiness. Thanks so much!
Team Life As A Strawberry
We are SO happy to hear how much you love this recipe!
Anna Marion
This is honestly the best bread! Turns out perfect every time! You have to really read and listen to the instructions, the dough is very soggy till it is turned out and folded on the counter/ bowl for the second rise. I’ve added roasted garlic and rosemary and my family can’t get enough of it! Thanks so much for sharing and putting the video in also! That helped with the folding part a ton!
Rhonda @ Life As A Strawberry
So glad you love this recipe as much as we do! If you want to learn more about bread baking (like hydration, folds, and add-ins) we have an excellent online course with tons of information including videos. You can find it on our site or here Everyday Artisan Bread Course link if you are interested in enrolling. Happy baking!