Homemade pie crust, delicious marscapone cheese and seasonal stone fruit topped with a tasty balsamic drizzle. The perfect healthier dessert recipe for summertime!
I am in loooooove with these tartlets.
First, they're delicious, which is obviously somewhat important. Second, (the VERY important part) they are MINIATURE, which means they are perfect for dinner parties where everyone gets a cute little individual dessert (also, perfect to make for just yourself and eat one by one over the course of an afternoon).
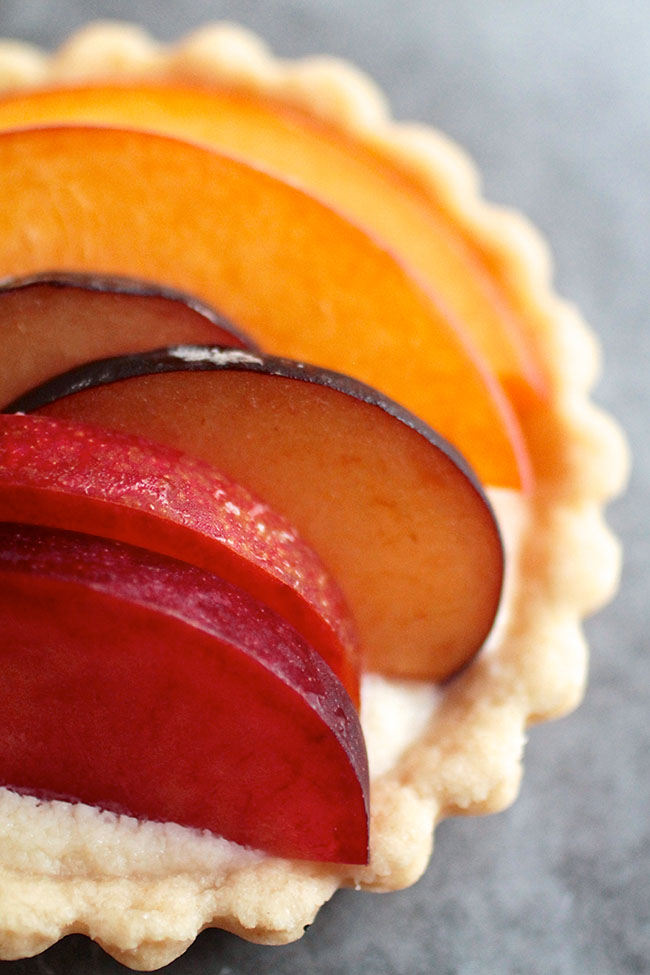
I also love the color of these stone fruit tartlets - they just scream SUMMER to me (see also: our favorite chocolate strawberries). I can't stop staring at the fruit on top. Also, this was the first time I'd ever tried a pluot (a plum + apricot hybrid) and, um, I'm hooked. But you can absolutely substitute whatever fruit suits your fancy to top these tiny tartlets (BAM, look at that alliteration) - apples! Pears! White peaches! Apricots! Roasted grapes! Go nuts, folks. These tartlets are a beautiful, buttery, marscapone-y blank canvas.
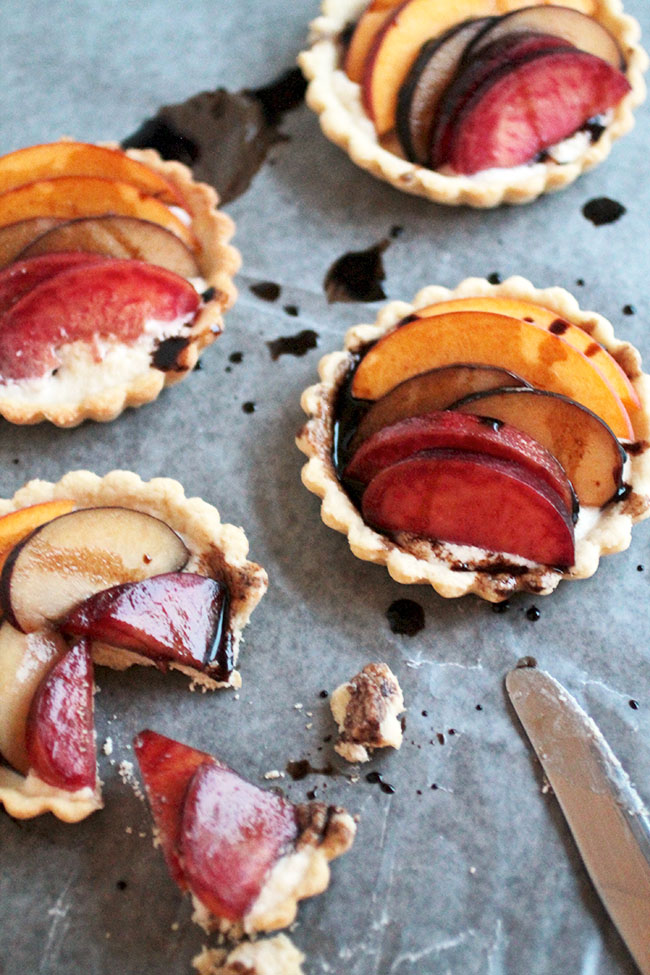
Now, I am NOT ordinarily a fruit-for-dessert person - I'm actually not much of a dessert person, period. More in the "if I'm going to eat cake, it's going to be for breakfast" kind of camp. But I was surprisingly happy to eat these tartlets as dessert - both because they have fruit, sooooo HEALTH FOOD, and because they were just plain tasty. I may or not have foregone the cutlery completely and started gobbling them up with just my hands like they were pieces of toast. And by may or may not, I mean that's definitely 100% what I did. WORTH IT.
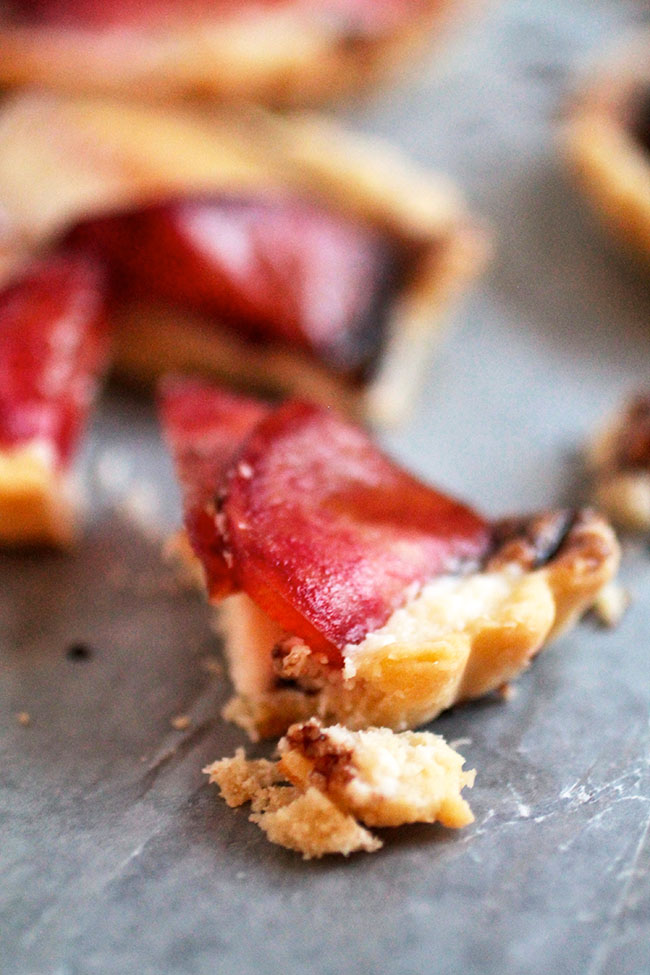
📖 Recipe

Stone Fruit Tartlets
- Prep Time: 30 mins
- Cook Time: 25 mins
- Total Time: 55 minutes
- Yield: Makes 6 4-inch tartlets 1x
- Category: Dessert
- Cuisine: American
- Diet: Vegetarian
Description
These easy stone fruit tartlets are perfect for summer!
Ingredients
FOR THE CRUST:
- 1.5 cups flour
- ¼ cup sugar
- ½ tsp. salt
- ½ cup (1 stick) unsalted COLD butter, cubed
- 4-6 Tablespoons ice water
FOR THE FILLING:
- 6 oz. marscapone cheese
- ¼ tsp. salt
- 1 tsp. lemon juice
- 1 Tablespoon powdered sugar
- ¼ tsp. vanilla extract
FOR THE TOPPING:
- 1 large peach, sliced
- 1 large plum, sliced
- 1 large pluot (a super tasty plum + apricot hybrid), sliced
- ½ cup balsamic vinegar
Instructions
FOR THE CRUST:
- Place the cold cubed butter in the freezer to keep it nice and chilly while you assemble the other ingredients.
- Place flour, sugar, and salt into the bowl of a food processor (you can also do this by hand, but I love using the food processor because it goes much more quickly).
- Remove cubed butter from the freezer and place it in the food processor with the flour mixture. Pulse a few times until butter has been incorporated into the flour and forms a coarse mixture.
- Add ice water one tablespoon at a time, pulsing in between each addition. Continue adding water 1 Tbsp. at a time until dough begins to come together but is not sticky. You may not need all of the water.
- Turn dough out onto a floured surface and lightly knead to bring it all together. Wrap in plastic and place in the fridge to chill for at least 30 minutes.
- Spray 6 4-inch tartlet pans with a light layer of cooking spray. Set aside.
- When dough has chilled, roll it out on a floured surface to about ¼ inch thick.
- Cut dough into 5 x 5 inch squares and lay each square of dough over a greased tartlet pan. Press dough into each pan, then run a rolling pin over the top to "cut" any remaining dough away from the tartlet pan. Remove excess dough.
- Use a fork to poke a few holes in the dough of each tartlet pan. (TECHNICALLY, this is where you should place a layer of foil over the tartlet dough and fill it with baking beans or something else heavy to keep the crust from bubbling...but I'm lazy and don't do that. I know, shame on me).
- Place tartlet pans on a large sheet pan and bake at 375 for 15-25 minutes, until crust is a light golden brown.
- Remove tartlet shells from the oven and let them cool for 15 minutes or so, then gently remove the shells from the pans. I like to flip the pans over onto a cooling rack and gently tap the bottom until the shell pops out.
- Let shells cool completely before filling, about 30 minutes to 1 hour.
FOR THE FILLING:
- Combine all filling ingredients in a medium-sized bowl and stir to combine.
- Spoon filling into each tart shell, filling each shell about ¾ of the way full. Spread filling out with a spoon so that it is relatively smooth.
TO ASSEMBLE:
- Heat balsamic vinegar in a small saucepan or skillet over medium-high heat. Bring to a simmer and cook until it has reduced to a thick syrup, 8-12 minutes.
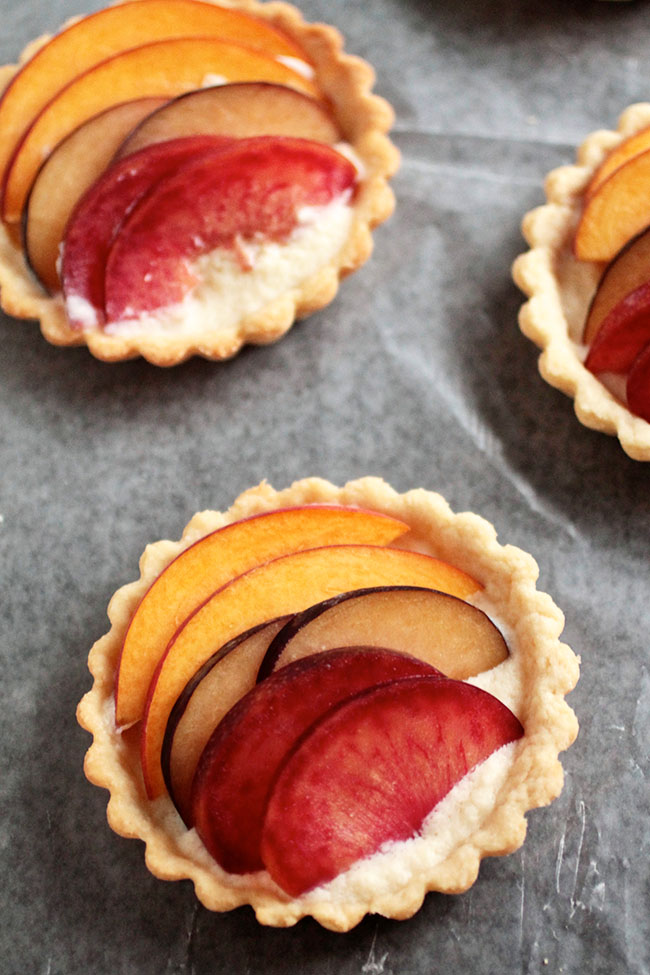
- Top each tart with two slices of each stone fruit.
- Drizzle tarts with a bit of balsamic reduction. Serve immediately.
Notes
Use any kind of stone fruit (or any kind of FRUIT, for that matter) that you have on hand - apricots, apples, or pears would be a great addition!
You can easily make these tarts ahead of time - just wrap baked, cooled, empty shells in plastic wrap and store them in the fridge until you're ready to use them. You can also mix the marscapone filling in advance and keep it in the fridge. When you're ready to serve, just fill the tart shells, slice the fruit, and top the tartlets!
Nutrition
- Serving Size:
- Calories: 455
- Sugar: 18.1 g
- Sodium: 315 mg
- Fat: 28.8 g
- Carbohydrates: 43.7 g
- Protein: 6 g
- Cholesterol: 76.7 mg




Thalia @ butter and brioche
These tartlets look seriously delicious and full of sweet fruit flavour! Craving one right now!