

These make-ahead cinnamon rolls are perfect for holidays or cozy weekends! Make the dough and shape the rolls, refrigerate overnight, and bake in the morning. Top with our quick cream cheese frosting (or use your favorite icing recipe!)

We developed this recipe specifically to be made ahead of time! You'll do the bulk of the work a day in advance, then pop the cinnamon buns in the oven the next morning. This baking timeline is perfect for holidays like Christmas or Thanksgiving, when you want a cozy breakfast that's made from scratch!
This recipe isn't difficult, but it does have quite a few steps. Read through the entire post before you start for best results, especially if you're new to baking with yeast! This article is full of step by step photos, tips, and best practices to help you along.
Ingredients overview

Note: The image above does not include ingredients for an optional cream cheese frosting. For a full ingredients list with exact quantities - including our go-to frosting recipe - see the recipe card below.
Before you start baking, we want to highlight a few important things:
- Use high quality flour. We recommend King Arthur All Purpose Flour. Its high protein content creates stronger gluten networks, which make our dough stretchy and elastic (as opposed to "sticky"). You can also use bread flour here if you like.
- Really good ground cinnamon takes these rolls from good to great (our favorite splurge is Diaspora Co Peni Miris Cinnamon!)
- Warm milk helps activate the yeast. Heat milk in a small saucepan over medium-low heat (or microwave it in short intervals) until it's warm to the touch - about 100° F.
- Bring eggs to room temperature for half an hour on the counter before you start: They'll incorporate more smoothly into the dough and you'll get a better rise.
Please use a kitchen scale
Measuring ingredients like flour by volume (with measuring cups) is notoriously unreliable: Because everyone measures a cup of flour a little differently, it's easy to accidentally use too much and end up with dry, dense cinnamon buns.
When you use a kitchen scale to measure by weight (in grams), you get a perfect measurement every time. So if you have a kitchen scale, please use it! (No kitchen scale? Use the scoop and level method for best results!)
Variations and Substitutions
- Adjust the spices. Adjust the amount of cinnamon in the filling to suit your tastes (different brands can vary in intensity!), or add extra spices like ground cloves, cardamom, or nutmeg.
- Add orange zest. A bit of orange zest in the filling or the frosting of these rolls lends a bright, citrus-y note.
- Switch up the icing. We used a quick cream cheese icing here (find the recipe below!) but you can also use a simple cinnamon glaze or maple frosting.
Day 1 instructions: Prep
Mix the dough

Mix sugar, active dry yeast, and warm milk together in a large mixing bowl (Images 1-2, above). Let this mixture sit for 5-10 minutes, until the surface is slightly foamy (3).
Lightly whisk the eggs to break them up, then stir those into the mixture along with melted butter. Add flour and kosher salt (4).
Pro Tip: Yeast won't foam as much when you use warm milk as it does with warm water. If you're used to proofing yeast with warm water (like in our crusty bread recipe), the bubbles here will seem less dramatic.

Stir with a sturdy spoon or spatula until the dough is fully combined (5). It may still look shaggy and sticky at this point: That's ok!
Transfer dough to a large cutting board. Knead by hand for 5-10 minutes until the dough is smooth and no longer sticks to the board (6). Kneading can feel tedious, but it's important here: It makes the dough much easier to work with later. Learn more: How to knead dough.
Pro Tip: You don't need to flour the cutting board. The dough will feel sticky at first, but as you knead, the gluten will develop and the dough will get smoother. If the dough still feels sticky after a few minutes of kneading, cover and let it rest for 15 minutes, then knead again. Note: Doughs made with lower-protein flours develop weaker gluten networks; they may feel stickier and require more kneading. We recommend King Arthur Flours.
First rise (1 hour)

When the dough is smooth and elastic, return it to your mixing bowl (7). Cover with a clean tea towel and let rise for one hour, until dough has puffed up slightly and the surface has smoothed out (8).
The dough won't double in size during this first rise - that's ok! Because this is an enriched dough that was developed to stay in the fridge overnight, it rises slowly and holds its shape more than other doughs.
Prep the pan

Spread a thin layer of room temperature butter over the bottom and sides of a large baking dish (Images 9-10, above).
What pan should I use? We used an 8x11" ceramic casserole dish (similar to this large baking dish) in these photos. We have also tested this recipe in a 9x13" glass pan. You can use a metal pan, but you may need to reduce the cook time by a few minutes.
Make the filling

Mix granulated sugar, brown sugar, and ground cinnamon in a small bowl (Images 11-12, above). This is your filling: Set it aside until you're ready to shape the cinnamon rolls.
Roll out the dough

Place dough on a large cutting board and knead it a few times to work out any air bubbles, then press it into a loose rectangle. Use a rolling pin to roll it into shape (Images 13-14, above).
Pro Tip: Lift the dough up and rotate it a few times as you roll to make sure it doesn't stick to the board. Learn more: How to roll dough.

Aim for a rectangle that's about 18 inches wide by 8 inches tall and ¼-inch thick (15). This step is very forgiving, so it doesn't have to be perfect - just do the best you can!
Add the filling

Drizzle melted butter over the surface of the dough (16), then use the back of a spoon to spread it out into an even layer.
Sprinkle cinnamon sugar filling mixture over the surface of the dough (17). Leave about ⅛ of an inch of space along one long side - this will help you pinch the rolls together so they hold their shape!
Roll and slice

Starting on the long side with no extra space, carefully roll the dough into a log (Images 18-19, above).
This technique can take some practice. Move slowly, and do your best to make as tight of a roll as possible!

Once your roll is formed, gently press along the seam to help the dough stick to itself, then roll the log over so it's seam-side down on the cutting board. Press in from the outer edges to ensure you have a tight roll with uniform thickness (20).
Use a sharp knife to cut the dough into twelve evenly-sized rolls, each about 1 ½ inches thick (Images 21-23).
Pro Tip: A very sharp paring knife or small serrated knife will cut cinnamon rolls just fine! Let the sharp blade do most of the work for you as you pull it across the dough (as opposed to pressing the knife down into the dough). This can take practice! You can also use unflavored dental floss to cut your cinnamon rolls (we use this method in our small batch cinnamon rolls).
Cover and refrigerate overnight

Transfer rolls to your prepared baking dish, then cover with an airtight lid or a piece of cling wrap (24). Place the cinnamon rolls in the fridge overnight, about 8-10 hours.
The cinnamon rolls won't rise too dramatically in the fridge. When you check on them in the morning, they should have puffed up just enough to fill in some of the empty space that was there before (25).
Day 2 instructions: Bake

Pull the cinnamon rolls out of the fridge and remove the lid or cling wrap.
Grab a large sheet pan that's big enough to cover your baking dish: This will serve as a makeshift lid to help the cinnamon rolls stay soft as they bake!
Pro Tip: If you don't have a sheet pan that will fit, cover the baking dish with a piece of aluminum foil.

Flip the sheet pan upside down and place it over the baking dish (Image 1, above). You don't need a perfect, airtight seal here - we're just trying to give the cinnamon buns a bit of extra protection so they don't brown too early.
Place the baking dish - covered with the sheet pan - into a cold oven (2). Once the cinnamon rolls are in the oven, turn it on and heat to 350° Fahrenheit.
Never place a cold pan into a hot oven, as extreme temperature differences can cause glass or ceramic dishes to break. Place your cold pan into a COLD oven, then preheat the oven with the cinnamon rolls already inside. This method heats the baking dish up gradually, allowing it to come to temperature without breaking. As always, please consult care and use instructions for your own equipment, and use your best judgment in your own kitchen, as equipment and experiences may vary.

Bake the cinnamon rolls for 35 minutes (this includes the time it takes the oven to preheat - set your timer right when you turn the oven on!)
Use oven mitts to carefully remove the sheet pan from the top of the cinnamon rolls. They should have risen quite a bit and show some very faint browning around the outer edges of the pan (3). Bake another 5-10 minutes, uncovered, until the cinnamon rolls are lightly browned (4).
Pro Tip: Ovens vary widely in both the time it takes them to heat up and the accuracy of their internal temperature. Use an oven thermometer to check for accuracy, and don't be afraid to adjust the bake time here to account for your oven's individual quirks.

Once baked, we tend to let the cinnamon rolls cool right in their baking pan to keep things easy. You could also transfer them to a serving platter if you prefer!
Frosting Tip: Let cinnamon buns cool for at least 20 minutes before adding any icing (if they're too hot, the frosting will melt right off!)
Make the frosting

Add cream cheese, vanilla, powdered sugar, and a small pinch of kosher salt to a small mixing bowl (5). Add milk a little at a time, stirring well between each addition, until you have a smooth, spreadable icing (6).

Spread frosting over cooled cinnamon buns in an even layer, then serve and enjoy!
Note: The recipe below includes instructions for this quick cream cheese frosting, but you can use any icing you like! These cinnamon buns are also great with our cinnamon glaze or maple frosting.
3 tips for the best cinnamon rolls
- Make a test batch. If you're cooking for a special occasion like Christmas morning - especially if you haven't worked with yeast dough before - make a test batch of cinnamon rolls ahead of time. A trial run will help you get a feel for the dough and the process before any high-stakes event.
- Knead the dough. We love a good no-knead bread recipe, but in this particular instance, kneading will actually make a HUGE difference. A few minutes of kneading by hand helps develop the gluten that helps this dough stay soft and elastic, which makes it easier to roll out and gives you a better final texture.
- Practice makes perfect. We like to say that bread recipes are actually 10% recipe and 90% technique. Be patient with yourself, especially if you're new to making homemade cinnamon buns, and leave us a comment or send an us an email if you get stuck! We're here to help. And remember: With any recipe, the most important ingredient is practice.
Storing leftovers
Keep cooled leftover cinnamon rolls in an airtight container on the counter for up to 2 days, or in the fridge for up to 5 days (although they'll start to dry out the longer they're in the fridge).
Store leftover cream cheese frosting in an airtight container in the fridge for up to a week.
We recommend saving leftover frosting and leftover cinnamon rolls separately, so you can frost each roll as needed when you reheat them. Reheat cinnamon rolls in a 325°F oven for a few minutes until warmed through, then frost and enjoy.

FAQs
Yes. Prepare the cinnamon rolls as directed and place them in the prepared baking dish. Instead of putting them in the fridge overnight, cover the rolls with a clean kitchen towel and rest for 30 minutes on the counter before baking. You may want to reduce the bake time by a few minutes.
One note: The overnight rise in the fridge gives these make ahead cinnamon rolls a chance to develop much deeper, more complex flavor. If you skip the overnight rise, you'll lose a bit of that depth and your cinnamon buns may not rise quite as much in the oven (but they'll still taste good!)
Yes - this cinnamon roll recipe freezes very well! For best results, we recommend freezing unbaked cinnamon rolls. (You can freeze cinnamon rolls after baking if you need to, but they tend to dry out a bit after too much time in the freezer).
To freeze a full pan of unbaked cinnamon rolls: Prepare cinnamon rolls and place them in an oven-safe baking dish as directed, then cover with an airtight lid or a piece of plastic wrap and place in the freezer. They'll last up to 6 weeks in the freezer when covered in just plastic wrap (past that, they start to dry out or get freezer burn); if you have an airtight lid that fits your casserole dish, they can last up to 3 months before they start to dry out. When you're ready to bake, defrost cinnamon rolls overnight in the fridge, then bake as instructed.
To freeze individual unbaked cinnamon rolls, make and slice the rolls as directed. Instead of putting the cinnamon rolls in a big baking dish, place them about 1 inch apart on a baking sheet lined with parchment paper. Place the baking sheet in the freezer for 2-3 hours, until rolls are solid. Once frozen, transfer rolls to an airtight container or freezer-safe bag and store for up to 3 months. When you're ready to bake, place a frozen roll or two in a small casserole dish, cover with a sheet pan or a piece of foil, and bake as directed (you'll need a few extra minutes in the oven if you're baking rolls straight from frozen).
Yes! If you're cooking for a crowd, use the 2x or 3x buttons in the recipe card below to automatically double or triple this overnight cinnamon rolls recipe.
If your cinnamon roll dough sticks to your cutting board and hands, it's likely because you haven't developed enough gluten in the dough. This problem occurs when 1) The dough wasn't kneaded enough and/or 2) A low-protein flour was used.
Strong gluten networks let you roll this dough out without needing any additional flour to prevent it from sticking. For best results, knead the dough until it is smooth and no longer sticky, and use a high quality, high protein flour like King Arthur All Purpose Flour. Bob's Red Mill All Purpose flour is also a solid choice, as are most bread flours.
If you're new to homemade yeast doughs, we recommend mixing and kneading the dough by hand the first few times so you can get a feel for how it should look and feel at every stage. If you are struggling to knead the dough (if it feels like it isn't getting any smoother, or like it's too tough to knead easily) cover it and let it rest for 15 minutes, then try kneading it again. With stand mixers, in particular, it can seem like the dough is still sticky even though you've kneaded it with the dough hook - in this case, we recommend letting the dough rest for 15 minutes, and then kneading it by hand until smooth.
To learn more about how gluten affects your yeast doughs - and for exclusive recipes that help you take your baking to the next level - check out our Everyday Artisan Bread online course.
No.
Do NOT place a cold pan into a hot oven, as the extreme temperature difference can cause glass and ceramic dishes to shatter. To bake cinnamon rolls straight from the fridge, place your pan into a COLD oven and preheat the oven with the cinnamon rolls already inside.
We have tested this baking method - placing a cold pan into a cold oven, then turning on the heat - in multiple kitchens, with several different combinations of ovens + baking dishes (including glass and ceramic pans), and have not encountered any problems.
If your oven is exceptionally quick to heat - like some convection or commercial ovens - you may want to let your glass or ceramic dish come to room temperature before baking to avoid big temperature swings that can cause breakage.
As always, please consult the care and use instructions for your own equipment and appliances, and use your best judgment in your own kitchen, as equipment and experiences may vary.
If your oven is already hot and you are unable to place your cinnamon rolls directly into a cold oven, we recommend you bring cinnamon rolls to room temperature on the counter for an hour or two before baking.
Try our small batch cinnamon rolls - it makes just six rolls!
We tested several variations of the filling in this recipe for traditional cinnamon rolls (including room temperature butter with the cinnamon mixture on top and room temperature butter with the cinnamon and sugar mixed directly into the butter itself).
Softened butter tended to clump easily and would sometimes tear the dough or make it more difficult to roll into a log. Our testers agreed the melted butter approach was the easiest method, especially for newer bakers. Melted butter also consistently produced the tightest rolls, since it didn't create big lumps in the filling.
Plus, the melted butter will solidify in the fridge overnight, so you still get a lovely, soft texture in the final filling!
Yes! For mini cinnamon rolls, shape the dough into a thinner, longer roll and cut into 1-inch pieces (it's helpful to divide the dough into pieces and make multiple small logs, as opposed to one ultra-long, thin roll).
To make extra-large cinnamon rolls, roll the dough into a 12x12 inch square, add filling normally, and cut 2-inch thick rolls. For smaller rolls, you will need to reduce the baking time; larger rolls will need more time in the oven.
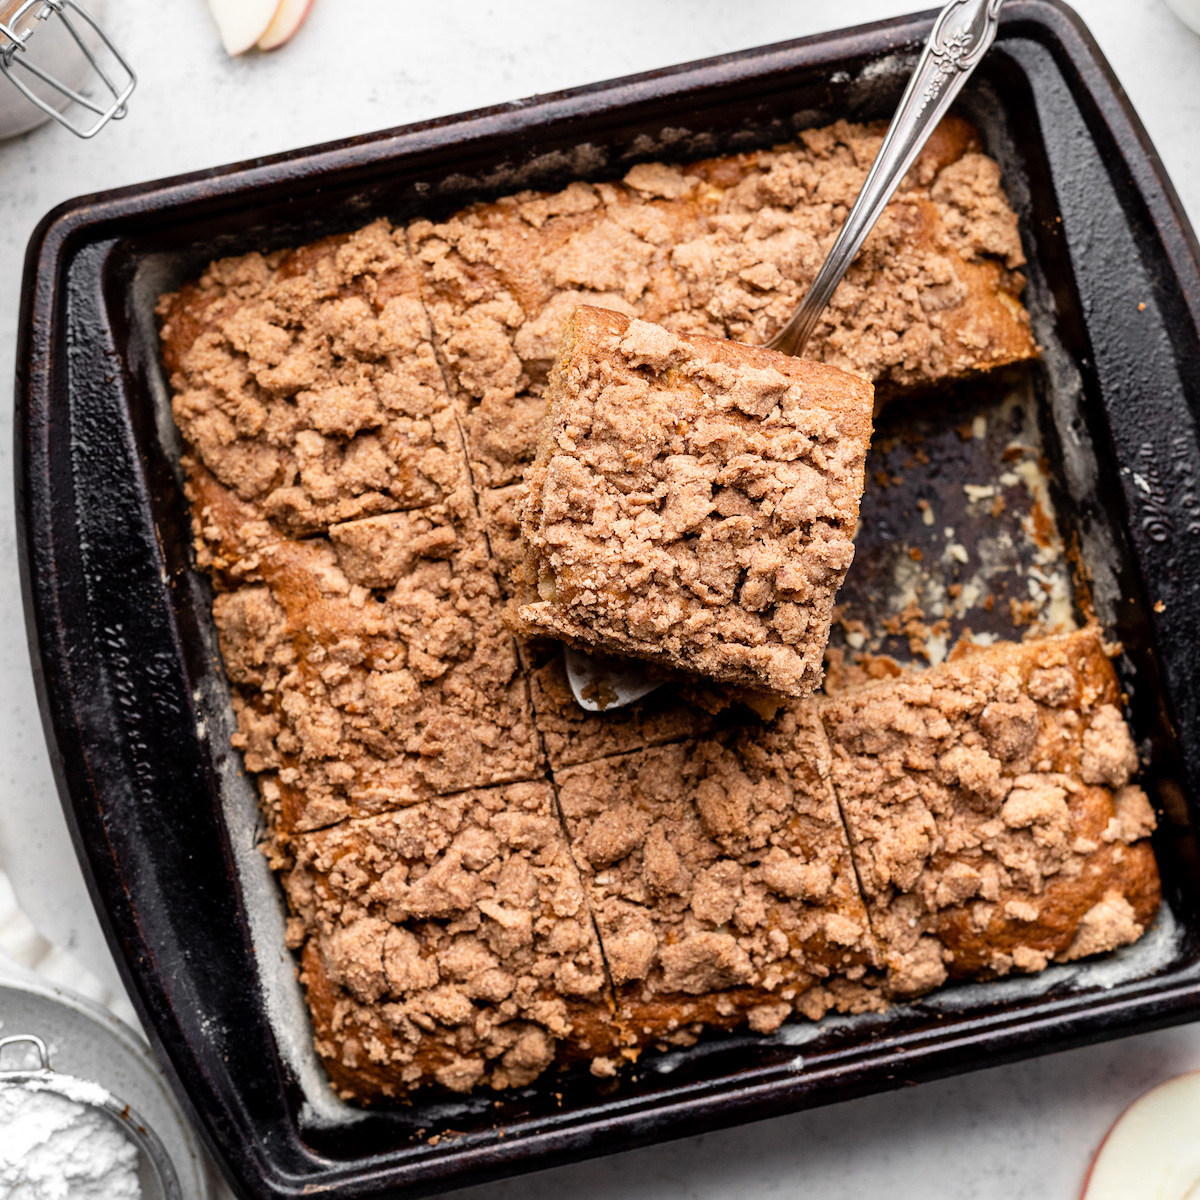
In the photos above, we used an 8x11 ceramic pan (similar to this ceramic pan); we have also tested this recipe in a 9x13 glass pan with no problems. You can also use a 9x13 metal pan if you like, but you may need to reduce the cook time by about five minutes with a metal pan. (See an example of cinnamon rolls baked in a 9x13 pan in our apple pie cinnamon rolls recipe).
Yes - you can use a stand mixer fitted with a dough hook to mix the dough.
Keep in mind that some mixers struggle to properly knead enriched doughs, and the bowl of a stand mixer can often trap some flour under the dough at the bottom of the bowl. For best results, we recommend kneading the finished dough for a few minutes by hand even if you use a stand mixer to make it.
If you’re new to baking with yeast, we always recommend making dough by hand the first few times so you can get a feel for what it should look and feel like (that way, when you transition to using a stand mixer, you’ll be quick to notice when something’s wrong and can easily adapt!)
We chose Active Dry Yeast for this homemade cinnamon rolls recipe because it moves a bit more slowly than instant yeast or rapid rise yeast, which helps our cinnamon buns keep their shape even after they rise overnight in the fridge.
We recommend sticking to Active Dry Yeast if you can; if you must use Instant or Rapid Rise yeast, reduce the yeast in this recipe by 25% and prep the cinnamon rolls as late in the day as possible so they don't have quite as much time in the fridge. Keep an eye on the dough as it may rise more quickly in the fridge (if the rolls are rising too fast and losing their shape, you may just need to bake them sooner).
In our testing, we preferred cinnamon rolls be refrigerated no more than 15 hours before baking.
Past the 15-hour mark, you may notice some liquid seep out of the cinnamon rolls and into the pan. This is fine - it’s just the sugar drawing out some moisture as it sits - but may result in more caramelized bottom edges.
If you want to make these cinnamon rolls more than 24 hours in advance, we recommend freezing them rather than leaving them in the fridge for an extended period of time.
For the softest, richest cinnamon roll dough, we recommend using whole milk. We have also tested this recipe with 1% milk, which works perfectly fine - the dough just isn't quite as soft and fluffy as it is when you use whole milk.
If you would like to keep the tops of your cinnamon rolls even softer, you can brush them with a layer of heavy cream before baking (we use this method in our small batch cinnamon rolls).
More make-ahead breakfast ideas
These recipes are easy to make in advance and enjoy the next morning!

Did you make this recipe? Leave a comment and star rating below to let us know how it turned out!
📖 Recipe

Easy Overnight Cinnamon Rolls
- Prep Time: 45 minutes
- Inactive Time: 9 hours
- Cook Time: 45 minutes
- Total Time: 10-12 hours
- Yield: Makes 12 1x
- Category: Bread
- Cuisine: American
Description
These easy homemade cinnamon rolls are perfect for weekends and holidays! Prep them in just a few hours the night before you want to eat, then let them rise in the fridge overnight and bake them in the morning.
** Please read this recipe and the blog post above ENTIRELY before you start baking, especially if you are new to yeast doughs. There are important notes and tips throughout this page to help you succeed!**
Ingredients
For the dough:
- 120 grams milk, heated to about 100° F (½ cup)
- 6 grams active dry yeast (1 ¾ teaspoon)
- 75 grams sugar (⅓ cup)
- 2 eggs, at room temperature
- 72 grams unsalted butter, melted (5 Tablespoons)
- 360 grams all purpose flour (about 3 cups)
- 3 grams kosher salt (½ teaspoon)
For the filling mixture:
- 75 grams sugar (⅓ cup)
- 70 grams brown sugar (⅓ lightly packed cup)
- 18 grams ground cinnamon (3 Tablespoons)
- 1 Tablespoon unsalted butter, at room temperature, to grease the baking dish
To form the rolls:
- 56 grams unsalted butter, melted (¼ cup)
For the frosting (optional):
- 40 grams cream cheese (about 3 Tablespoons, or 2 ounces)
- 4 grams vanilla extract (1 teaspoon)
- 210 grams powdered sugar (2 cups)
- Pinch of kosher salt
- 2-4 Tablespoons milk
Instructions
The Day Before
Make the dough & first rise (1 hour)
- Stir warm milk, yeast, and sugar together in a large mixing bowl. Let it sit for 5-10 minutes, until the surface of the mixture is slightly foamy.
- Crack the eggs into a separate small bowl and whisk with a fork to break them up. Add whisked eggs to the yeast mixture, along with the melted butter. Stir everything together (it doesn't need to be completely uniform - just get it started!)
- Add flour and kosher salt. Use a wooden spoon or sturdy spatula to stir until the dough is fully incorporated and no dry flour remains. The dough may seem a little shaggy or sticky here - that's ok!
- Transfer dough to a large cutting board. Knead by hand for 5-10 minutes, until you have a smooth dough that no longer sticks to the board. You shouldn't need to flour the cutting board here: The dough will feel sticky at first, but as you knead, the gluten will develop and the dough will smooth out and become more elastic. Pro Tip: Place a damp cloth under your cutting board to help anchor it to the counter so it doesn't slip around.
- Return the dough to your mixing bowl. Cover with a clean tea towel and let rise on the counter for 1 hour. Note: During this first rise, the dough will puff up a bit and the surface will smooth out, but it won't fully double in size.
Make the filling mixture & prep the baking dish (5 minutes)
- Mix sugar, brown sugar, and cinnamon in a small bowl. This is your filling mixture; set it aside until you're ready to form the rolls.
- Grease the bottom and sides of a large baking dish with a thin layer of room temperature butter.
Form the Rolls (30 minutes)
- When the first rise is complete, tip dough out onto a large cutting board. Gently stretch the dough into a rough rectangle shape, then use a rolling pin to roll it out to about 18" wide by 8" tall, and ¼" thick. It doesn't have to be perfect: Just get it as even as you can!
- Spread melted butter in an even layer over the surface of the dough, all the way to the edges.
- Sprinkle filling mixture evenly across the top of the melted butter. Leave about ⅛ inch of space on one of the long edges (this will help you pinch the dough together when you roll it up).
- Gently roll the dough into a log, starting on the long edge with no extra space and moving slowly towards the edge where you left a bit of dough exposed. Try to roll the dough into as tight a log as possible - this will help the cinnamon rolls keep their shape. Gently press along the seam to help the log stay together, then roll the log over so it is seam-side down on the cutting board.
- Use a sharp knife to cut the dough into 12 evenly-sized rolls, each about 1 ½ inches thick.
- Place cinnamon rolls into your prepared baking dish, leaving at least ½ inch of space between each roll. Cover the dish with an airtight lid or a piece of plastic wrap, then place in the refrigerator for 8-12 hours or overnight.
In the Morning
Bake (45 minutes)
- Remove cinnamon rolls from the fridge and remove any lids or plastic wrap. Note: The rolls will puff up slightly in the fridge, but they won't look much different than they did last night! They'll rise quite a bit once they're in the oven.
- Carefully place a large baking sheet over the top of the baking dish filled with cinnamon rolls. The goal here is to keep the rolls covered so they can rise without browning too much. Use a piece of foil in place of a large baking sheet if you prefer.
- Place the cinnamon rolls into a COLD oven, with the baking sheet (or a piece of foil) over the top to keep them covered. Turn the oven on and heat it to 350° Fahrenheit. Bake for 35 minutes (this includes the time the oven spends pre-heating: Set your timer for 35 minutes from when you turn the oven on). Safety Tip: Make sure the oven is cold when you put the cinnamon rolls in. Never put a cold glass or ceramic baking dish into a hot oven, as it can shatter.
- After 35 minutes, carefully remove the baking sheet from the top of the cinnamon rolls. Bake uncovered rolls an additional 5-10 minutes, until they are lightly browned. Let them cool directly in the pan, or transfer them to a serving dish if you prefer.
Make the Frosting (10 minutes)
- Add cream cheese, vanilla, powdered sugar, and a small pinch of kosher salt to a small mixing bowl.
- Add milk a Tablespoon at a time, stirring well between each addition to break up any clumps of cream cheese. You likely won't need all of the milk: Continue adding it a little at a time until the frosting reaches your desired consistency. Note: An electric beater makes quick work of this frosting; if you mix it by hand, you'll just need a bit of elbow grease!
- Spread frosting over the cinnamon rolls and serve. Note: If the cinnamon rolls are still hot, the frosting will melt quickly. We like waiting until the cinnamon rolls are at least partially cooled before frosting, but to each their own!
Notes
Please use a kitchen scale! Measuring dry ingredients - especially flour - by volume (with cups) is notoriously unreliable. For best results, use a kitchen scale to measure by weight using the gram measurements provided above.
Additions and Substitutions. Use honey instead of sugar in the dough (you will still need to use regular sugar for the filling). For a sweeter, thicker filling, add up to 3 Tablespoons of additional brown sugar. Add extra spices (cardamom, cloves, nutmeg, additional cinnamon) to the filling. Cinnamon can vary widely by brand: Increase or reduce the cinnamon here as needed to suit your tastes. Add orange zest to the filling or frosting for a bright citrus note. Add chopped, toasted nuts (pecans, walnuts, almonds) to the filling or as a topping once cinnamon rolls are frosted.
High quality flour makes a huge difference. We test all our recipes with - and highly recommend - King Arthur All Purpose flour, which has a high protein content that results in smoother, more elastic dough. Bob's Red Mill All Purpose Flour is another good choice; you can also swap bread flour for the all purpose flour here if you like. Lower protein flours produce less gluten, which can make your dough stickier or more difficult to work with, even after kneading.
Never place a cold pan into a hot oven. Extreme temperature differences can cause glass and ceramic dishes to break. To bake cinnamon rolls straight from the fridge, place your pan into a COLD oven and preheat the oven with the cinnamon rolls already inside. If you would prefer to avoid this method, let the cinnamon rolls come to room temperature on the counter before baking. If your oven is exceptionally quick to heat - like some convection or commercial ovens - you may want to let your dish come to room temperature before baking to avoid big temperature swings that can cause breakage. As always, please consult the care and use instructions for your own equipment and appliances, and use your best judgment in your own kitchen, as equipment and experiences may vary.
If you are struggling to knead the dough (if it feels like it isn't getting any smoother, or like it's too tough to knead easily) cover it and let it rest for 15 minutes, then try kneading it again. With stand mixers, in particular, it can seem like the dough is still sticky even though you've kneaded it with the dough hook - in this case, we recommend letting the dough rest for 15 minutes, and then kneading it by hand until smooth.
Nutrition
- Serving Size: 1 cinnamon roll
- Calories: 362
- Sugar: 36.2 g
- Sodium: 232.2 mg
- Fat: 11.3 g
- Carbohydrates: 61.3 g
- Protein: 5.2 g
- Cholesterol: 58.4 mg


Comments
No Comments